Freshly cut wood is roughly half water by weight. Put it in a stove and a large share of the fire's energy goes into boiling that water off instead of heating your house. You get a sulky, smoky fire, black glass, and creosote building up in the flue — which is how chimney fires start. Properly seasoned wood sits under about 20 percent moisture content. Getting there's not complicated, but it takes time and it takes air, and almost every mistake people make comes down to denying it one or the other.
The short version: cut and split in late winter or early spring, stack it off the ground in a single row where wind and sun can reach it, cover the top only, and burn it the winter after next if it's oak. Everything below is how to do that without hurting yourself or wasting a season.
Handle the saw work first, and keep the dirt out of it
Buck your rounds to length before you split anything. Measure your firebox and cut two inches shorter than the opening. Don't guess. A stack of rounds that are half an inch too long is a stack you'll be re-cutting in January with cold hands.
Cut on a sawbuck or on top of another log, never into the dirt. Soil dulls a chain in about three seconds, and a dull chain is the thing that grabs, kicks, and hurts people. Chaps, eye protection, ear protection, gloves, boots. If you're new to a chainsaw, get someone experienced to watch your first tankful. Kickback is the injury that lands men in the emergency room, and it happens at the upper quadrant of the bar tip.
Rounds split easiest when they're either green or frozen. Wood that's been sitting in rounds for a year, half-dried and checked, fights you.
Set your splitting block at the right height
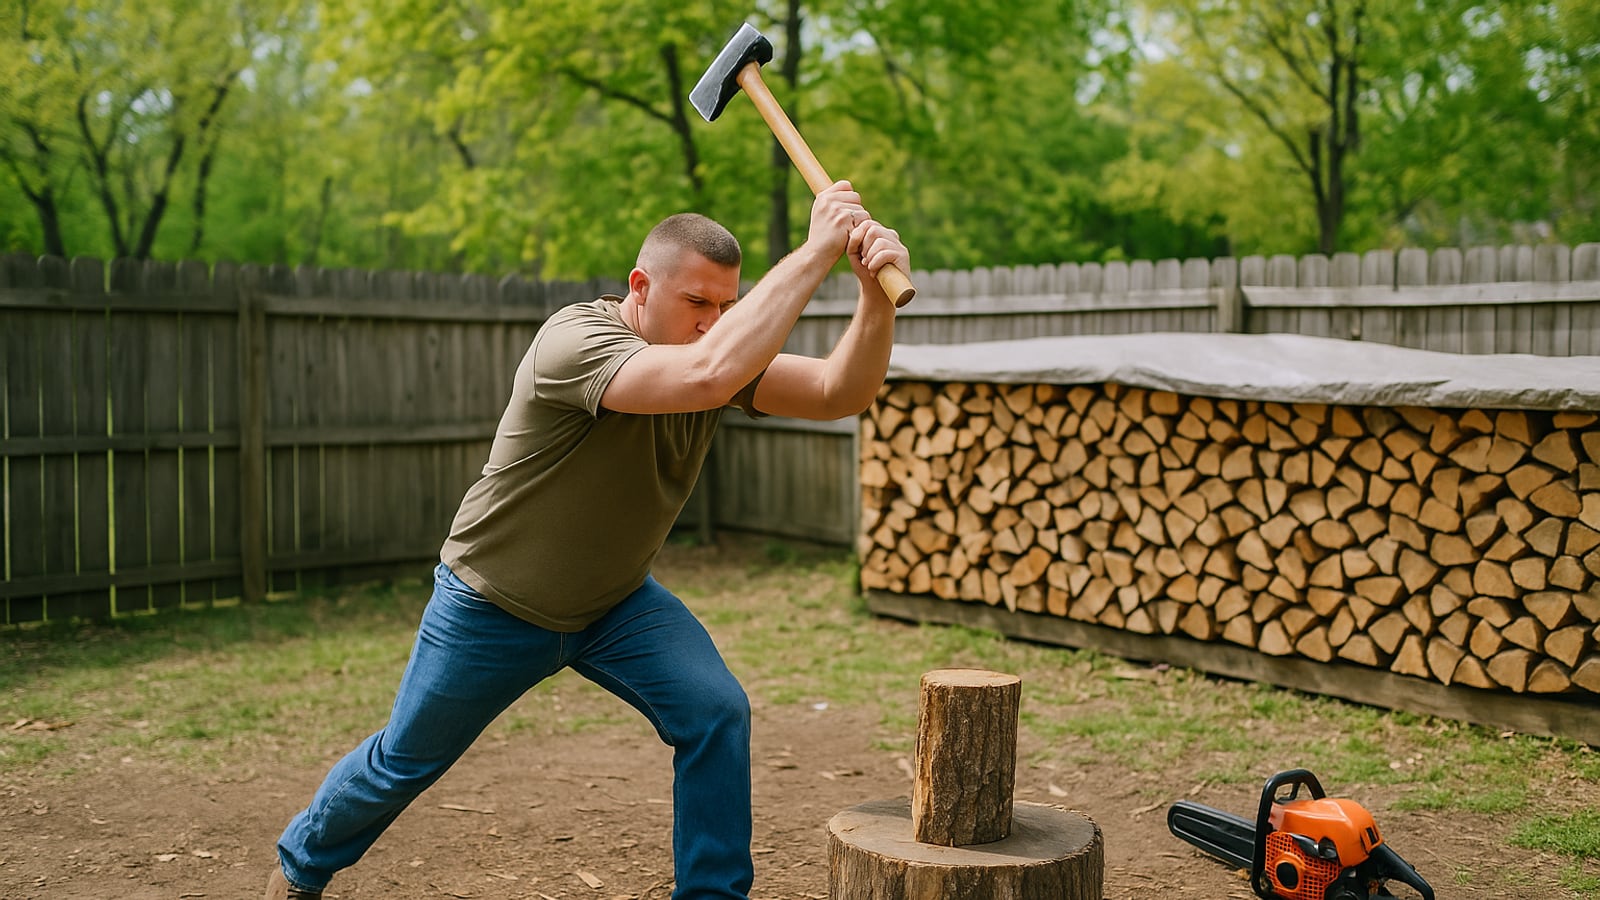
The block should put the top of your round at roughly knee height. Too low and you're bending over, losing power, and swinging a heavy tool toward your own shins. Too high and you can't get the maul moving.
Use a maul, not an axe. Six to eight pounds is the range most men work best with; heavier isn't better if it wears you out in twenty minutes. Keep a couple of steel wedges and a sledge nearby for the rounds that refuse.
Stand with your feet shoulder-width, square to the block, and slide your top hand down to meet the bottom as the maul comes down. Aim for a spot at the edge of the round rather than dead center — the edge splits off far easier than trying to halve a wide log through the heart. Work around the outside, then attack what's left.
Look for existing checks, the cracks that radiate from the center of the end grain. Hit those and the wood does half the work. Avoid knots. Go around them, not through them.
The single best trick: drop an old tire over your block and stand the round inside it. Split pieces stay upright instead of flying off into the grass, and you can break a round into six or eight without bending down once. Your back will thank you by round forty.
If you're using a hydraulic splitter, one operator, one job. The person feeding the wood is the person working the lever. Never let a second set of hands position a round while you run the control. That's how fingers get lost, and it happens fast enough that nobody sees it coming.
Split it smaller than you think
This is where most people go wrong. Wood dries mainly through the exposed end grain and the split faces, barely at all through bark. A round left whole can sit outside for three years and still be wet in the middle.
Aim for pieces about the thickness of your wrist to your forearm — three to five inches across. Yes, that's more splitting. It's also the difference between wood that's ready in eight months and wood that's still hissing in eighteen. Split a handful smaller still for kindling and starting.
Species matters. Ash, birch, and softwoods dry fast, sometimes in a single summer if split small and stacked well. Maple and cherry want a full year. Oak wants two, and there's no arguing with it. If you're cutting oak this spring, you're cutting for the winter after next. Plan accordingly, which means running two stacks: one you're burning, one you're seasoning.
Get it off the ground and into the wind
Ground contact is the fastest way to rot a stack from below. Pallets work and are usually free. So do two lengths of scrap 4x4, some steel pipe, or a couple of rails laid across concrete blocks. Four to six inches of clearance is plenty.
Pick your spot for sun and prevailing wind, not for convenience. A windy, sunny south-facing spot will dry wood twice as fast as a shady corner behind the shed. Air movement matters more than direct sun.
Stack in a single row, one split deep. Two and three rows deep look tidy and dry terribly, because the middle never sees moving air. If you need more capacity, build more single rows with at least a foot of gap between them.
Don't stack against the house or the garage wall. It traps moisture against the siding and it gives mice, carpenter ants, and termites a ramp into your home.
Bark side up sheds a bit of rain. Bark side down lets the piece breathe from beneath. The debate is older than either of us and the difference is small. Be consistent, don't stress about it.
Build the ends so the whole thing doesn't come down
The ends of a freestanding row are the weak point. Cross-crib them: lay two or three splits one way, then two or three across at ninety degrees, alternating up the height. Pick your flattest, squarest pieces for this. Lean the cribbed ends very slightly inward.
Keep the stack under four feet tall unless it's braced between posts or trees. A collapsing six-foot row is dangerous and it's an hour of your life you'll never get back.
Cover the top, leave the sides open
Put a strip of roofing, a board, or a tarp folded narrow over the top foot of the stack, weighted down. Nothing more.
Wrapping a tarp down the sides is the single most common firewood error. You've just built a greenhouse. Moisture leaves the wood, hits the plastic, condenses, and runs back in. People do this in April and wonder in December why the wood is wetter than when they stacked it.
Same logic applies to stacking green wood in a closed shed or garage. Season it outside in the wind, then move it under cover once it's dry.
Know when it's ready
Check the end grain for deep cracks radiating out like spokes. Bark on ash and maple starts to loosen and fall off. Bang two pieces together — seasoned wood rings, green wood thuds. A dry split is noticeably lighter than it was.
A moisture meter costs less than a tank of gas and settles the argument. Split a piece open and test the fresh inside face, not the weathered outside, which will always read dry and lie to you. Under 20 percent, you're good.
Bring in about a week's worth at a time and let it sit by the stove. Any more than that and you're importing spiders and shedding bark onto the floor, which is a conversation with your wife you don't need to have.
Stack this spring and you'll spend next December carrying armloads in from a row that's already done its work. The saying is that wood warms you twice. The stack is the part that warms you a year later, quietly, while you've forgotten all about it.
Wes Dunbar
Country & Skills
Grew up on an acreage and never quite left. Covers trucks, trades, land, and how to do the thing yourself.

Watch
Worth an hour of your evening
More from Skills.
From channels we rate. Plays on YouTube.
Read next