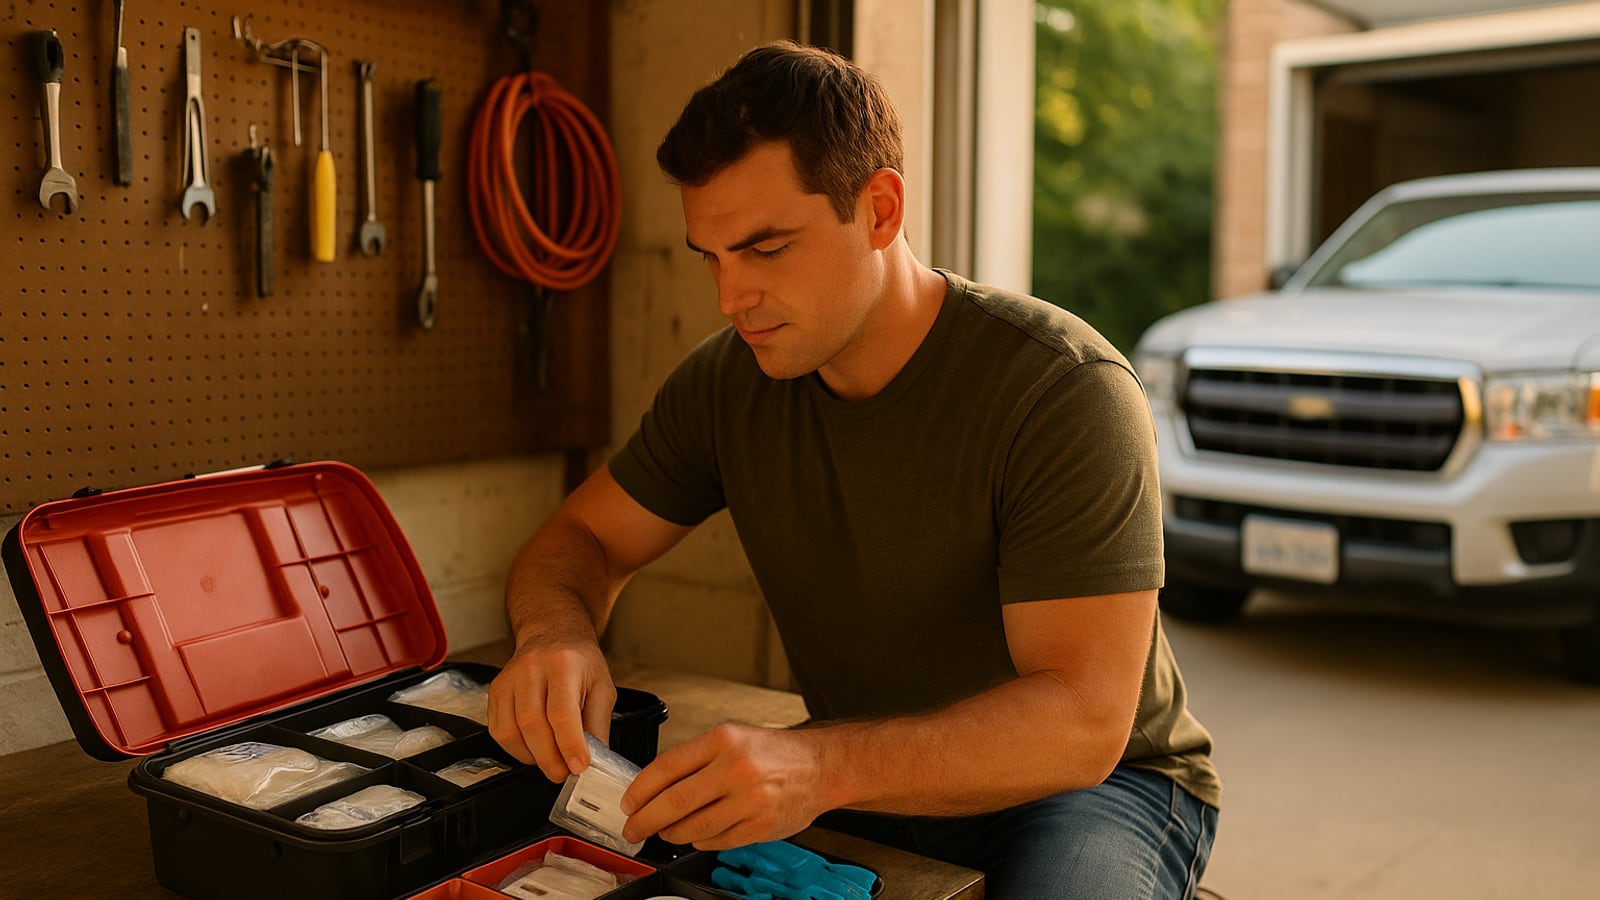
Six 4x4 gauze pads, a roll of one-inch cloth tape and a pair of nitrile gloves will handle more of what happens to your family in a year than the drugstore case that advertises its piece count on the front. Those cases are mostly adhesive bandages in four sizes and a foil packet of aspirin from the Obama administration. You open one with a bleeding hand and discover it holds nothing that stops bleeding.
So build your own. It takes an hour and one trip, and the order matters, because the order is what stops you buying a splint before you own gloves.
Start by writing down five injuries
Not hypothetically. Actually write them. Think about the last two years in your house, your truck and wherever you spend Saturdays.
Mine came out like this: kitchen burns, a knife slip on the cutting board, blisters on the second day of a hike, a kid going face-first into a coffee table, and a bad splinter that turned into something that needed cleaning properly. That's the real list. That's the list the kit gets built for.
Notice what isn't on it. Snake bite. Sucking chest wound. Compound fracture in the backcountry. Those aren't impossible, they're just not what you'll meet, and a kit stuffed with answers to them is a kit you can't find the tweezers in.
If your Saturdays involve a chainsaw, a band saw, a motorcycle or a firearm, your list changes and one specific thing goes in that otherwise wouldn't. More on that below.
Buy the bag before the contents
The container decides whether you use the kit or avoid it. Hard plastic cases with molded compartments look organized and are terrible. Everything shifts, the lid has to be laid flat to open, and you can't see what's in there without emptying it.
Get a zip pouch with clear vinyl or mesh panels, or two smaller pouches, in a color that isn't black. Red, orange, yellow. You want to spot it in a dim garage from ten feet.
Two pouches beats one big one, and this is the single change that made my kit usable. A small one lives in the kitchen drawer with the boring stuff you reach for weekly. The bigger one lives in the hall closet at adult chest height, not the bathroom cabinet behind the shampoo. Bathrooms are humid and full of things that aren't the kit.
Then load it in layers, starting with the layer that saves a life.
The bleeding layer
This is the part every store-bought kit gets wrong. Bandages the size of a postage stamp don't address a deep cut.
- Two 5x9 inch absorbent pads (sometimes sold as trauma pads or ABD pads). These are the workhorses. Big, thick, cheap.
- Six 4x4 gauze pads, sterile, individually wrapped.
- One roll of self-adherent wrap, two or three inches wide, the stretchy stuff that sticks to itself. It holds pressure on a limb without tape.
- One pressure bandage — the type with a sterile pad and an integrated elastic wrap and a bar to cinch it. Israeli bandages are the common name. One is enough.
- Two pairs of nitrile gloves, sized to your hands, not "one size."
Pressure is the skill, and it's mostly just pressure. Hard, direct, on the spot that's bleeding, with something absorbent in between, and you don't peek every twenty seconds. Bleeding that won't stop or pulses is a 911 call first, then pressure while you wait, not the other way around.
If your list includes power tools or blades, add a tourniquet, and add a real one. The windlass kind used by militaries and ambulance services, bought from a reputable medical supplier, not a three-dollar copy off a marketplace listing. A counterfeit tourniquet is worse than no tourniquet because it breaks under load while you believe it's working. And take the class. Tourniquets are simple and unforgiving, and reading about one isn't the same as having put one on someone's thigh.
Wounds, blisters and burns
This is the layer you'll actually open. Weekly, some months.
Adhesive bandages in two sizes only — the standard strip and the knuckle shape. Skip the novelty assortment. Add a few larger adhesive pads for the palm-sized scrapes kids collect.
Then the things almost nobody has:
- Leukotape or zinc oxide tape. Stays on through sweat, showers and three days of hiking. Ordinary fabric tape gives up in an hour.
- A sheet of transparent film dressing, cut to size as needed. Waterproof, you can see the wound through it, and it makes a scrape on a forearm survivable under a shirt sleeve.
- Saline or an irrigation syringe. Cleaning a wound properly is more important than what you put over it. A bottle of drinkable water and firm pressure works too, and you'll have that anyway.
- Antiseptic wipes and a small tube of antibiotic ointment.
- Blister care — hydrocolloid dressings, or moleskin and the tape above.
- Burn gel dressing. A cast iron handle at eight in the morning is how I learned that cool running water for a good ten to twenty minutes is the actual treatment, and the dressing is what you use after, for the drive or the rest of the day. Not butter. Not ice.
Medications, and the honest limit
Keep it short and keep it current. A basic pain reliever, an antihistamine for stings and reactions, something for an upset stomach, and whatever your household specifically needs.
Here's where I stop giving advice and you go talk to a pharmacist. Dosing for children by weight, what's safe alongside a prescription you already take, and whether anyone in the house needs an epinephrine auto-injector on hand — that's a five-minute conversation at the counter and it's free. Do it once, write the answers on an index card, and put the card in the kit. You won't remember a child's dose at two in the morning.
Tools, then the stuff you shouldn't buy
Trauma shears that cut through a sleeve or a boot lace. Good tweezers with a fine point, which means splinter tweezers, not eyebrow tweezers. A permanent marker to write the time you applied a dressing. A small flashlight. A few safety pins. One triangular bandage, which slings an arm and does nine other jobs.
Leave out the pill-sized "emergency blanket" that tears the first time. Leave out the plastic finger splints. Leave out anything with the words "survival" and "22-in-1" on the same package.
And tie the shears to the pouch with a loop of cord, because the household will steal them for opening packages and you'll find out at the wrong moment.
Pack it so you can work one-handed
Bleeding stuff in one pocket, everything else behind it. Nothing loose. Gloves on top, first thing you touch, because you'll be tempted to skip them and shouldn't.
Write the contents on a card and tape it inside the lid. Then write the restock date on masking tape on the outside.
Twice a year, when the clocks change, open it. Bin what's expired, replace what got used, and hold each item for a second and ask whether you'd know what to do with it. Anything that gets a no either comes out or you go learn it.
Which is the real point. A certified class from the Red Cross, the American Heart Association, or St John Ambulance if you're in the UK, runs a weekend at most. Hands-on CPR, bleeding control, choking. It will do more for your family than every item on this list combined, because the gear is just what your hands reach for once they already know where to go.
Somebody else will open your kit one day. Might be your wife, working on your kid. Might be a stranger, working on you. Label it like that's true.
Marcus Vale
Editor-in-Chief
Twenty years in magazines, most of it deciding what to cut. Writes about work, discipline and the decisions that compound.

Watch
Worth an hour of your evening
More from Skills.
From channels we rate. Plays on YouTube.
Read next