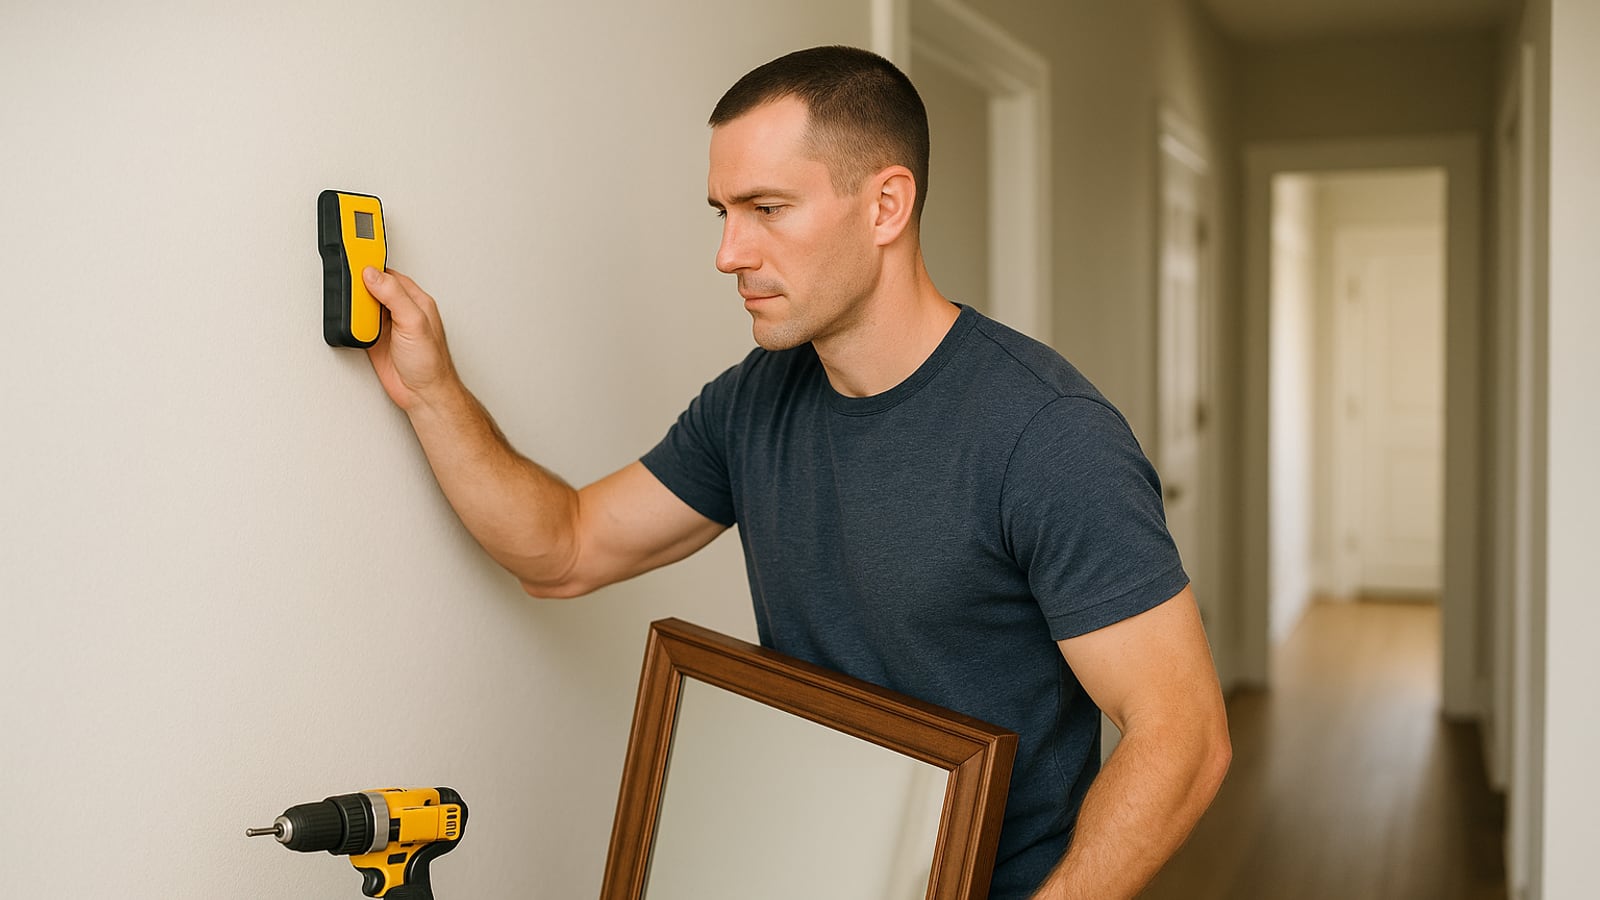
The anchor almost never fails. The wall does.
A 60-pound mirror sitting on two plastic expansion anchors in half-inch drywall isn't held up by anything except friction and optimism. It'll sit there for a year. Then the humidity changes, the drywall crumbles a little around each anchor, the mirror slips a quarter inch, and one night you'll hear it go. If it's over a bed, that's a very bad sound.
So before you buy a single screw, find out what's behind the paint.
Work out what your wall actually is
Knock on it with a knuckle. Hollow and drummy means drywall over studs. A dull, dense thud with almost no resonance means plaster over masonry, or masonry with a skim coat. A hollow sound with a slightly harder, more brittle surface is usually plaster over wood lath, which is common in anything built before the 1950s.
The knock test gets you close. A drill bit confirms it.
Pick a spot that'll end up behind whatever you're hanging, or inside a closet on the same wall. Drill a 1/16-inch hole about an inch and a half deep and look at the dust. White and powdery is drywall or plaster. Gray and gritty is concrete or plaster over block. Wood shavings mean you hit a stud or lath. Red-brown dust is brick.
Feel the bit, too. Drywall offers almost no resistance. Plaster fights you for the first half inch then breaks through into a void. Masonry stops a standard bit dead, which is your cue to go buy a masonry bit and a hammer drill.
If the house predates 1980 and the wall has a textured or sprayed finish, don't sand it or make a mess of it. Some older textured coatings and plasters contain asbestos. Drilling one small hole is generally not the concern; grinding or scraping is. If you're unsure, get it tested before you do anything beyond a pilot hole.
Find the studs and then prove you found them
Electronic stud finders lie. They read seams, pipes, wiring and old repairs as studs, and they're worst on plaster and lath, where they're close to useless.
Use them as a first guess, then verify.
The magnet trick is better and costs about five dollars. A strong neodymium magnet dragged slowly across the wall will stick to the drywall screws holding the board to the stud. Find two screws vertically in line and you've found the center of a stud, not the edge. Mark it.
Studs in American framing usually sit 16 inches on center, sometimes 24 in newer or cheaper construction. Once you've confirmed one, measure 16 inches over and check. If a stud turns up there, you've got the pattern.
Final confirmation is a 1/16-inch bit. Drill where you think the center is. Wood shavings and firm resistance all the way in means you're on it. Drill one inch left and one inch right too. If all three bite, you're near the middle. Those holes disappear under a dab of spackle.
Don't drill blind
Electrical cable generally runs vertically from outlets and switches up into the ceiling or down into the floor. Treat the column directly above and below every outlet and switch as a no-drill zone, six inches wide either side. Cable also runs horizontally through studs, usually in the lower third of the wall, which is one more reason to keep heavy hangings up high.
Bathroom and kitchen walls have water in them. Anything backing onto a bathroom on the other side deserves extra caution. If you're hanging a heavy cabinet on a wet wall, a cheap borescope camera that drops through a one-inch hole will tell you more in thirty seconds than any guesswork.
Killing the breaker doesn't stop you drilling through a cable. It just stops the cable from killing you while you do it.
Match the fastener to the wall
Into a stud. This is the strongest option and the one to reach for first. A #10 or 1/4-inch structural screw with at least 1.5 inches of thread biting into solid wood will hold far more than anything you're likely to hang. Pre-drill a pilot hole slightly narrower than the screw's shank so the wood doesn't split. Skip the lag bolts and ratchet unless you're mounting something genuinely enormous; modern structural screws drive with an impact driver and hold beautifully.
Drywall only, no stud available. Toggle bolts. Not plastic anchors, not the little ribbed conical things that come free in the box, and not self-drilling threaded anchors unless the load is genuinely light. A strap-toggle style anchor, where a metal bar flips open behind the board and a plastic strap lets you snug it tight, is the best thing available to a homeowner. It spreads the load across the back face of the board instead of relying on a half-inch of crumbly gypsum.
Plaster and lath. Toggles work, but drill slowly with a sharp bit and let the bit cut rather than pushing. Plaster cracks when you lean on it. If you can catch a lath board and a stud behind it, better still.
Masonry. Hammer drill, masonry bit, and either a sleeve anchor or a concrete screw. Blow the dust out of the hole before you set the anchor. Dust left in the hole is the single most common reason masonry anchors pull out.
Halve the number on the package
Anchor ratings are for a static, straight-down load in ideal material, installed perfectly. Your wall isn't ideal material and your installation isn't perfect. Take whatever the box says and cut it in half. Then spread the load across more fasteners than you think you need.
Keep the weight close to the wall, too. A shelf that sticks out 14 inches puts enormous leverage on the top fasteners, pulling them straight out of the wall. That's pullout force, and it's what kills anchors. A picture hanging flat against the wall puts the load in shear, which is far easier to resist. A deep shelf needs studs. Full stop.
The order it's actually done
- Measure from the top edge of the object down to the hanging hardware. That drop number is what you're working with, not the object's height.
- Decide the finished top height and mark it lightly in pencil.
- Subtract the drop. Mark that line.
- Put a strip of painter's tape across the wall on that line. Transfer your hole positions onto the tape, not the wall.
- Level the tape. Check it twice. Tape is easy to move; holes aren't.
- Drill through the tape. It catches most of the dust and stops the bit skating.
- Set the anchors, drive the fasteners, peel the tape.
- Hang it. Then push down on it with real weight before you walk away.
For anything wide, heavy and flat, use a cleat
A French cleat is a board ripped at 45 degrees. One half screws to the wall, angle facing up and in. The other screws to the back of the object, angle facing down and out. They interlock.
The beauty of it is that you can hit three or four studs with the wall half, spreading the load across the whole frame, and the object slides side to side until it's exactly where you want it. Big mirrors, heavy cabinets, headboards, a slab of live-edge shelving. If it's over 50 pounds and wider than 24 inches, a cleat is usually the right answer.
TVs
Mount into studs. Always. A cantilevered arm holding a 65-inch panel, extended and tilted, generates pullout force that no drywall anchor is designed for.
If the studs don't line up with where you want the TV, don't fudge it. Screw a piece of 3/4-inch plywood across two studs, paint it the wall color, and mount to that. It looks deliberate and it'll outlive the television.
When to stop
If you've drilled three exploratory holes and found nothing but void, or the plaster is powdering out around every hole, or the wall is a non-load-bearing partition of thin board over metal studs, the honest move is to stop. Metal studs need toggle-style fasteners, not wood screws. Some walls simply aren't built to carry what you want them to carry, and a carpenter can add blocking in an hour.
Fill the holes, sand them flat, and hang the thing somewhere else. Nobody has ever regretted that. Plenty of people have regretted the alternative at two in the morning.
Wes Dunbar
Country & Skills
Grew up on an acreage and never quite left. Covers trucks, trades, land, and how to do the thing yourself.

Watch
Worth an hour of your evening
More from Skills.
From channels we rate. Plays on YouTube.
Read next