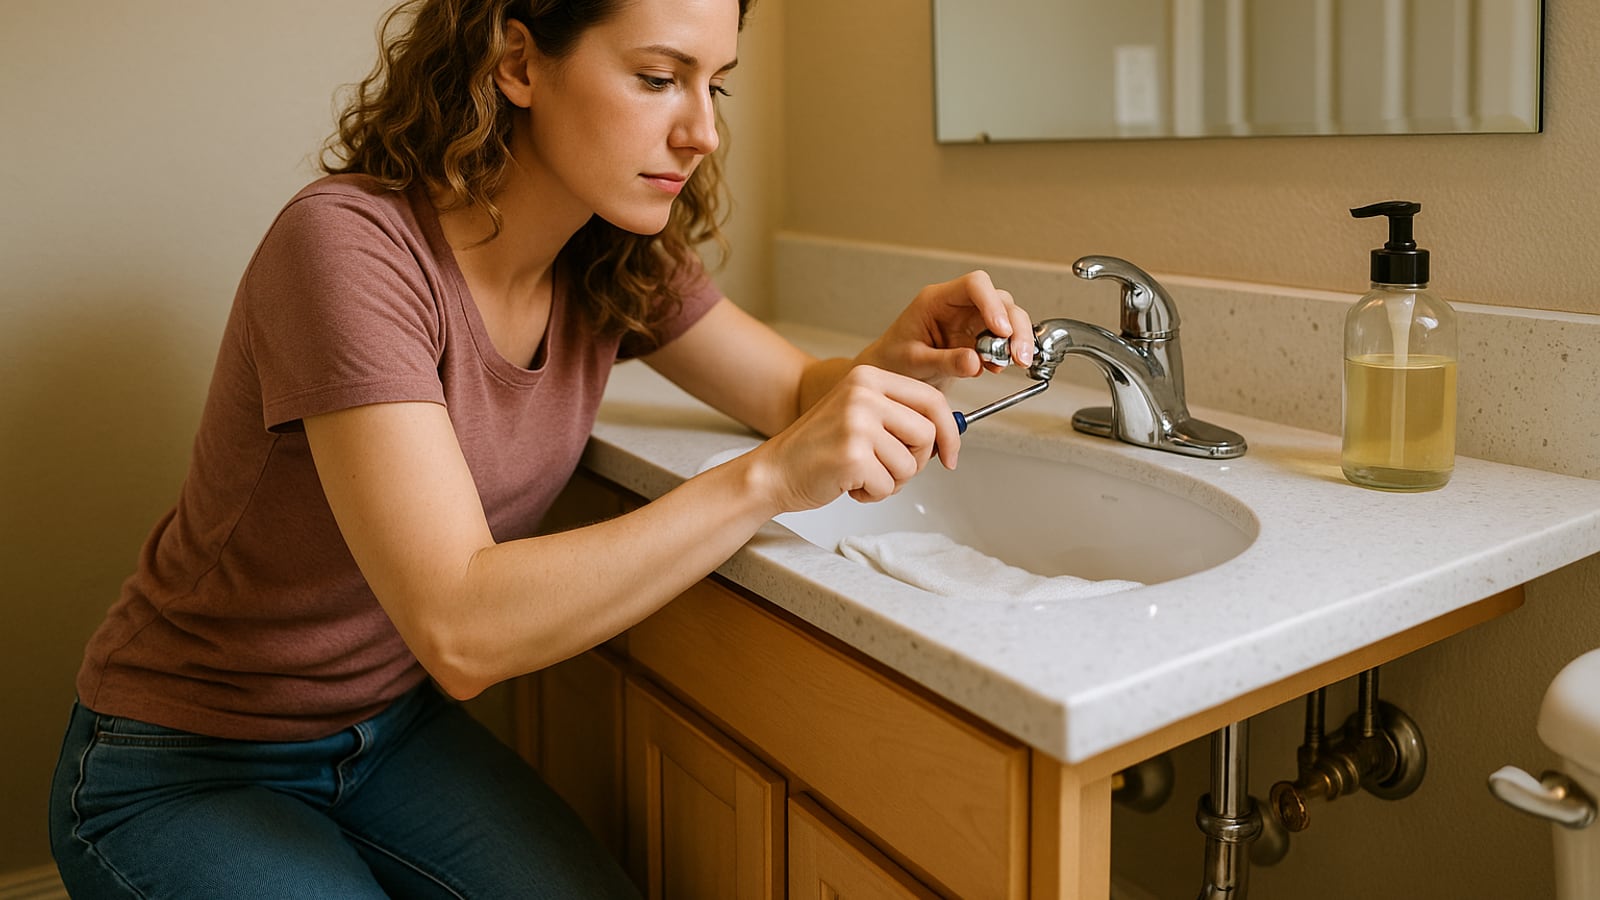
A dripping tap is almost always one of two parts: a rubber washer the size of a five pence piece, or a ceramic cartridge that costs a few pounds. Neither requires a plumber. What it requires is turning the water off properly, and knowing which of the two you're dealing with before you start dismantling anything.
Look under the basin first. If there are small chrome valves on the pipes going up to the tap, each with a slot across the middle, you've got isolation valves and this job just got much easier. Turn the slot with a flathead screwdriver so it sits across the pipe rather than along it. That's closed. Along the pipe is open.
No isolation valves means the main stopcock, usually under the kitchen sink or near the front door in a cupboard.
Turn the water off, and put the plug in
Close the valve or stopcock, then open the tap fully and let it run dry. There'll be a few seconds of water and then nothing. Leave it open. That releases the pressure and tells you the isolation actually worked.
Now put the plug in the sink. This sounds fussy. It isn't. Every tap has a tiny retaining screw, and if you drop it down an open plughole you're finished for the day. A cloth in the basin catches it too, and stops a dropped spanner chipping the ceramic.
One warning about old stopcocks. If yours hasn't been turned in fifteen years, it may weep from the spindle once you move it, or refuse to close fully. Turn it gently, and if it starts dripping from the top nut, a quarter turn tighter on that nut usually settles it. If your stopcock is seized solid and you have no isolation valves, stop and call a plumber. The tap drip can wait a day. A stuck stopcock in an emergency can't.
Work out which kind of tap you have
Turn the handle. If it goes round and round a few full turns before it closes, it's a traditional compression tap with a rubber washer. If it stops after a quarter turn, it's a ceramic disc cartridge.
That single test decides the whole job. Washers are pennies and universal-ish. Cartridges are specific to the tap, and the left-hand and right-hand ones are often different, because they turn opposite ways.
A mixer tap with a single lever is a third case: one cartridge doing both hot and cold, usually held by a large brass nut under the lever.
Tools you'll want on the side before you start: an adjustable spanner, a flathead and a crosshead screwdriver, a 2.5mm hex key for lever taps, a cloth, and either a pack of assorted tap washers or the old cartridge to match in the shop. Silicone grease is worth having. Ordinary oil degrades rubber.
Compression tap: replacing the washer
Prise off the little red or blue index cap on top of the handle with a small flathead, or unscrew the decorative cover on the front of a lever. Under it's a screw. Undo it and lift the handle off. If it's stuck, a few taps upwards from underneath with the handle of a screwdriver will shift it.
Under the handle is the headgear, a brass hexagon. Most are 19mm or 22mm. Fit the spanner squarely and hold the tap body with your other hand while you undo it. This is the part people get wrong. If you let the whole tap twist, you'll shear or loosen the connection to the pipe under the basin, and a five-minute job becomes a flooded cupboard.
The headgear unscrews anticlockwise and lifts out. On the bottom you'll find the washer, either pushed onto a spigot or held by a small nut. Pick the old one off with a screwdriver tip. If there's a nut and it's corroded, hold the headgear in a cloth and turn carefully.
Fit the new washer flat side down against the metal. Check the spindle O-ring while you're there and smear a little silicone grease on it if it's dry. Reassemble in reverse. Tighten the headgear firmly but don't lean on it. Brass strips easily.
Ceramic cartridge: same idea, different part
Cap off, screw out, handle off, then the retaining nut. The cartridge lifts straight out. It'll be a cylinder with two ceramic discs inside, and the failure is usually a hairline crack or a bit of grit from a mains repair that's scored the face.
Take it to the shop. Photograph the tap too. Cartridges vary in diameter, spline count and length, and "looks about right" doesn't seal. If your tap is a recognisable brand, the manufacturer usually sells the exact cartridge, often cheaper than a merchant.
While the cartridge is out, wipe the seat inside the tap body clean. Limescale flakes sitting in there will chew a new cartridge in a fortnight.
When it isn't the washer
If water is seeping from around the base of the spout rather than dripping out of the end, the washer is innocent. That's the spout O-rings. Undo the retaining screw or grub screw at the back of the spout, pull the spout up, and you'll find one or two rubber rings in grooves. Replace both, grease them, and push the spout back on with a twisting motion rather than forcing it straight down.
And if you fit a brand new washer and it still drips, the seat is pitted. Years of a hard washer grinding on brass leaves a rough ring you can feel with a fingertip. You can buy a reseating tool, or you can fit a combination washer and seat set, which drops a nylon seat over the damaged brass. The nylon set takes two minutes. It's the honest fix for an old tap you're not ready to replace.
Turning it back on
Leave the tap open. Open the isolation valve or stopcock slowly, maybe a third of a turn, and listen. Air and brown water will spit out of the spout for a few seconds. Let it run until it's clear, then close the tap and open the valve fully.
Now check under the basin with a dry piece of kitchen roll pressed around each joint. Dry paper shows a leak you'd never see with your eyes.
Check again in the morning. A joint that's weeping slowly won't show itself in thirty seconds.
The honest version of "fifteen minutes"
Fifteen minutes is the work. If the tap was fitted in the eighties, add half an hour of persuasion to get the headgear moving, and a trip to the shop because the washer pack you bought is metric and yours isn't.
Two things to know when to stop. If the tap body itself is cracked or the threads are stripped, you're replacing the tap, not repairing it. And if the supply pipes under the basin are copper with old compression fittings that have gone green and crusty, don't start cranking on them. Get a plumber for that part.
The rest is a screwdriver, a washer and a plug in the plughole.
Last thing. Buy two washers and two cartridges, not one. The other tap is four months behind this one, and you'll be glad the part is already in the drawer.
Wes Dunbar
Country & Skills
Grew up on an acreage and never quite left. Covers trucks, trades, land, and how to do the thing yourself.

Watch
Worth an hour of your evening
More from Skills.
From channels we rate. Plays on YouTube.
Read next