Before you fix anything, go find two things tonight.
The first is your main water shutoff. Usually in the basement or crawlspace where the supply line enters, sometimes in a utility closet, sometimes at the street under a meter lid that needs a key. Turn it. If it's a gate valve that hasn't moved in fifteen years, you want to discover that on a dry Tuesday, not at eleven at night with water coming through the kitchen ceiling.
The second is your breaker panel. Open it. If the labels say "bedroom?" in faded pencil, spend an hour with a lamp and a helper and relabel every circuit properly.
Do that, and the five repairs below get a lot less frightening. None of them need a license. All of them cost you a part and an evening.
The toilet that won't stop running
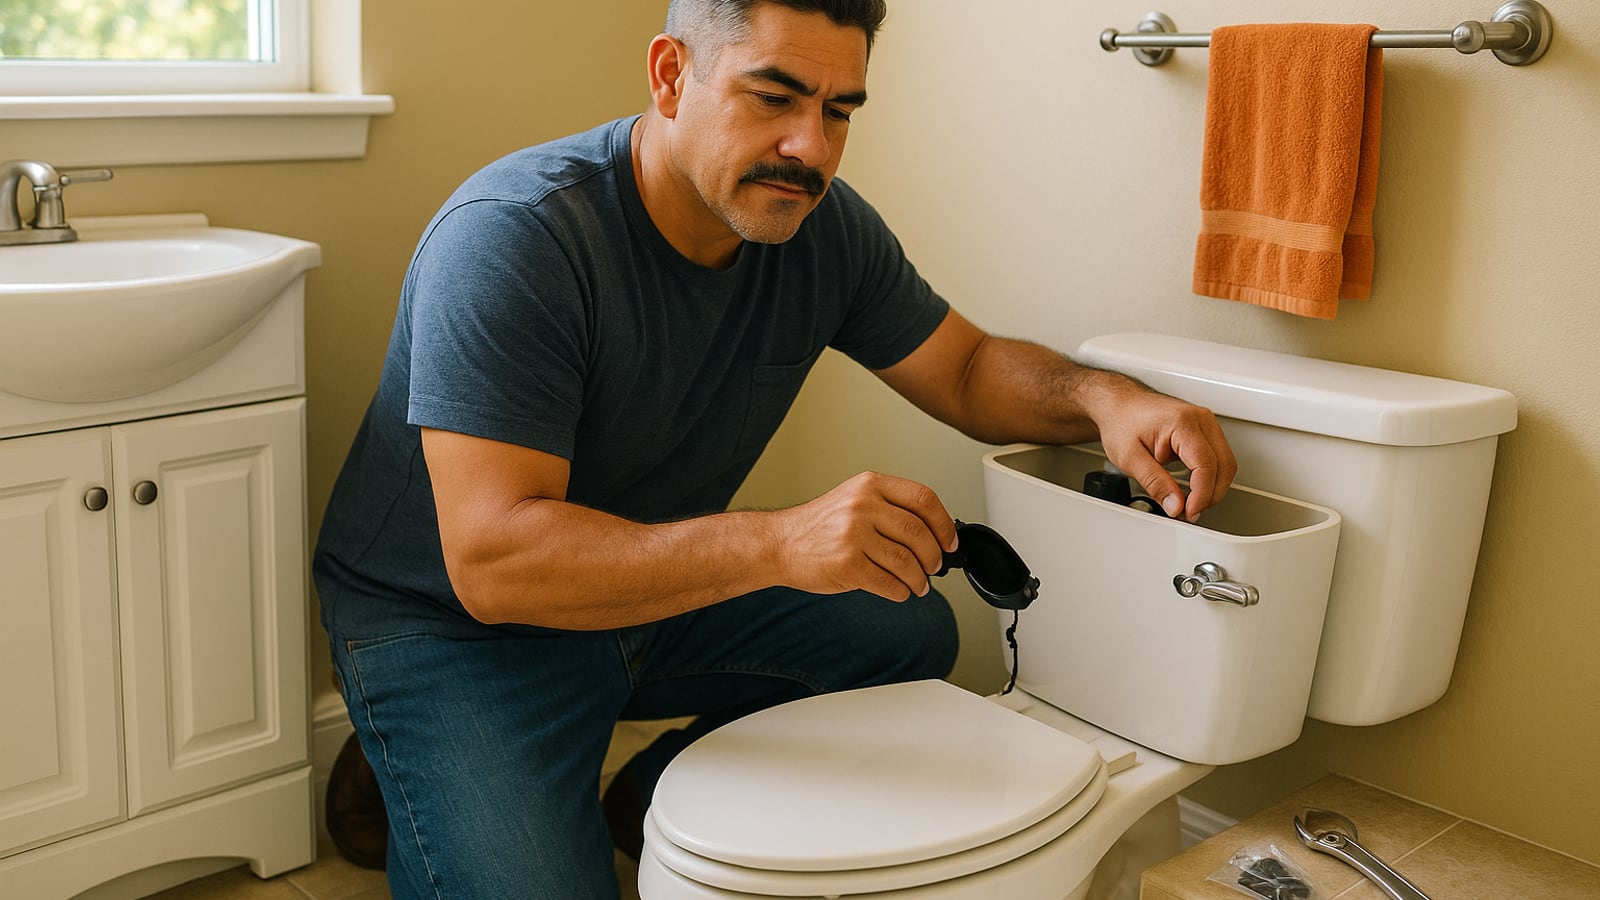
A running toilet wastes more water than anything else in a house, and almost always it's one of two parts.
Take the lid off and watch. If water is trickling over the lip of the overflow tube, the fill valve is letting in too much. If the tank is quiet but the toilet refills itself every few minutes on its own, water is leaking past the flapper into the bowl.
Flapper first, because it's the cheaper part and the likelier culprit. Turn the shutoff behind the toilet clockwise. Flush to empty the tank. Unhook the chain, unclip the flapper from the two pegs on the flush valve, and take it to the hardware store to match it — there are several shapes and they're not interchangeable.
Install the new one, leave about half an inch of slack in the chain, and turn the water back on. Too tight and the flapper never seats. Too loose and it catches under the flapper.
If the fill valve is the problem, that's a twenty-minute job too: sponge the tank dry, disconnect the supply line, hold the valve shank while you undo the nut underneath, drop the new one in, set the water level about an inch below the top of the overflow tube.
The thing that goes wrong: the old shutoff valve behind the toilet seizes or starts weeping when you turn it. That's what the main shutoff is for.
A blocked sink, all the way to the trap
Don't reach for chemical drain cleaner. It rarely clears a real clog, it sits in the trap waiting for you, and it will burn you when you open the pipe.
Put a bucket under the P-trap, the U-shaped section under the sink. Loosen the two slip nuts, usually by hand, sometimes with channel-lock pliers wrapped in a rag. Pull the trap off and expect the contents to be unpleasant. Clean it out with an old brush.
While it's off, look at the horizontal arm going into the wall. If the clog is further back, feed a small hand auger in and crank it.
Reassembling is where people create leaks. The cone washers go on with the tapered side pointing toward the trap. Hand tight plus a small nudge — plastic nuts crack if you torque them like a lug nut. Run water and dry the joints with tissue to spot a weep before it becomes a puddle.
A hole in the drywall
Nail holes take lightweight spackle, a putty knife, and two passes because the first one shrinks.
A doorknob-sized hole is more involved and still well within reach. Cut the damaged area into a clean rectangle with a utility knife. Slide two scraps of wood lath or plywood behind, and screw through the good drywall into them. Cut a drywall patch to fit, screw it to the backers, and tape the seams.
Then three coats of joint compound, each one wider and thinner than the last. Use a 6-inch knife for the first, a 10-inch for the last. Sand lightly between coats, and again at the end with 150 then 220 grit.
Prime the patch before you paint. Bare compound drinks paint at a different rate than the wall and the repair will show as a dull ghost otherwise.
Budget the time honestly: two coats means two overnight waits. It isn't hard work, it's patient work.
A light switch or a receptacle
This one comes with conditions, and they matter.
Kill the breaker. Then confirm it's dead with a non-contact voltage tester, and confirm the tester itself works on a circuit you know is live. Test the device, not just the air near it. Switches especially can have a second circuit in the same box.
Photograph the existing wiring before you disconnect anything. Then it's a matching exercise: black to the brass screw, white to silver, bare or green to the green ground screw.
Use the screw terminals, not the push-in holes on the back. Hook the wire clockwise so tightening pulls it in.
Stop and call an electrician if you see dull silver-colored wire instead of copper, which suggests aluminum branch wiring, or cloth-insulated wiring on ceramic knobs, or scorch marks, or a box with no ground. Also check your local rules — some places require a permit or licensed work even for a swap.
Caulk around the tub and the sink
The least glamorous of the five, and the one that saves the most money, because failing caulk lets water behind tile and into subfloor for years before you notice.
Cut and scrape out every bit of the old bead. A plastic caulk removal tool plus a fresh utility blade gets it. Clean the joint with denatured alcohol, then let it dry completely — overnight isn't excessive in a bathroom.
Use 100 percent silicone, not painter's acrylic, for anything that gets wet. Fill the tub with water first if you're caulking where the tub meets the tile. A full tub sits lower, and caulking it empty means the bead tears the first time someone takes a bath.
Cut the nozzle small and at an angle, run a steady bead, and tool it with a finger dipped in soapy water. Keep water off it for a full day.
The kit that covers all five
- A 4-in-1 screwdriver and a set of nut drivers
- Channel-lock pliers and an adjustable wrench
- A non-contact voltage tester
- 6-inch and 10-inch taping knives, a sanding sponge
- A dripless caulk gun and a caulk removal tool
- A small hand auger
- A headlamp, a bucket, and old towels
When to put the tool down
Anything involving gas. Anything where sewage backs up in more than one fixture at once, which points at the main line, not your trap. Water appearing in a ceiling. Work inside the breaker panel itself. Removing a wall you haven't proven is non-load-bearing. Roofs. Anything your city wants a permit for.
And one more: if you've been at it two hours and the situation is worse than when you started, that's information. Stop, shut the water or the breaker off, and make the call. Knowing the limit is part of the skill, not a failure of it.
The real return on all this isn't the money. It's that your kid sees the water stop, the wall go smooth, the light come back on — and learns that a house is something you take care of rather than something that happens to you. Hand them the flashlight. Then, sooner than you think, hand them the screwdriver.
Wes Dunbar
Country & Skills
Grew up on an acreage and never quite left. Covers trucks, trades, land, and how to do the thing yourself.

Watch
Worth an hour of your evening
More from Home.
From channels we rate. Plays on YouTube.