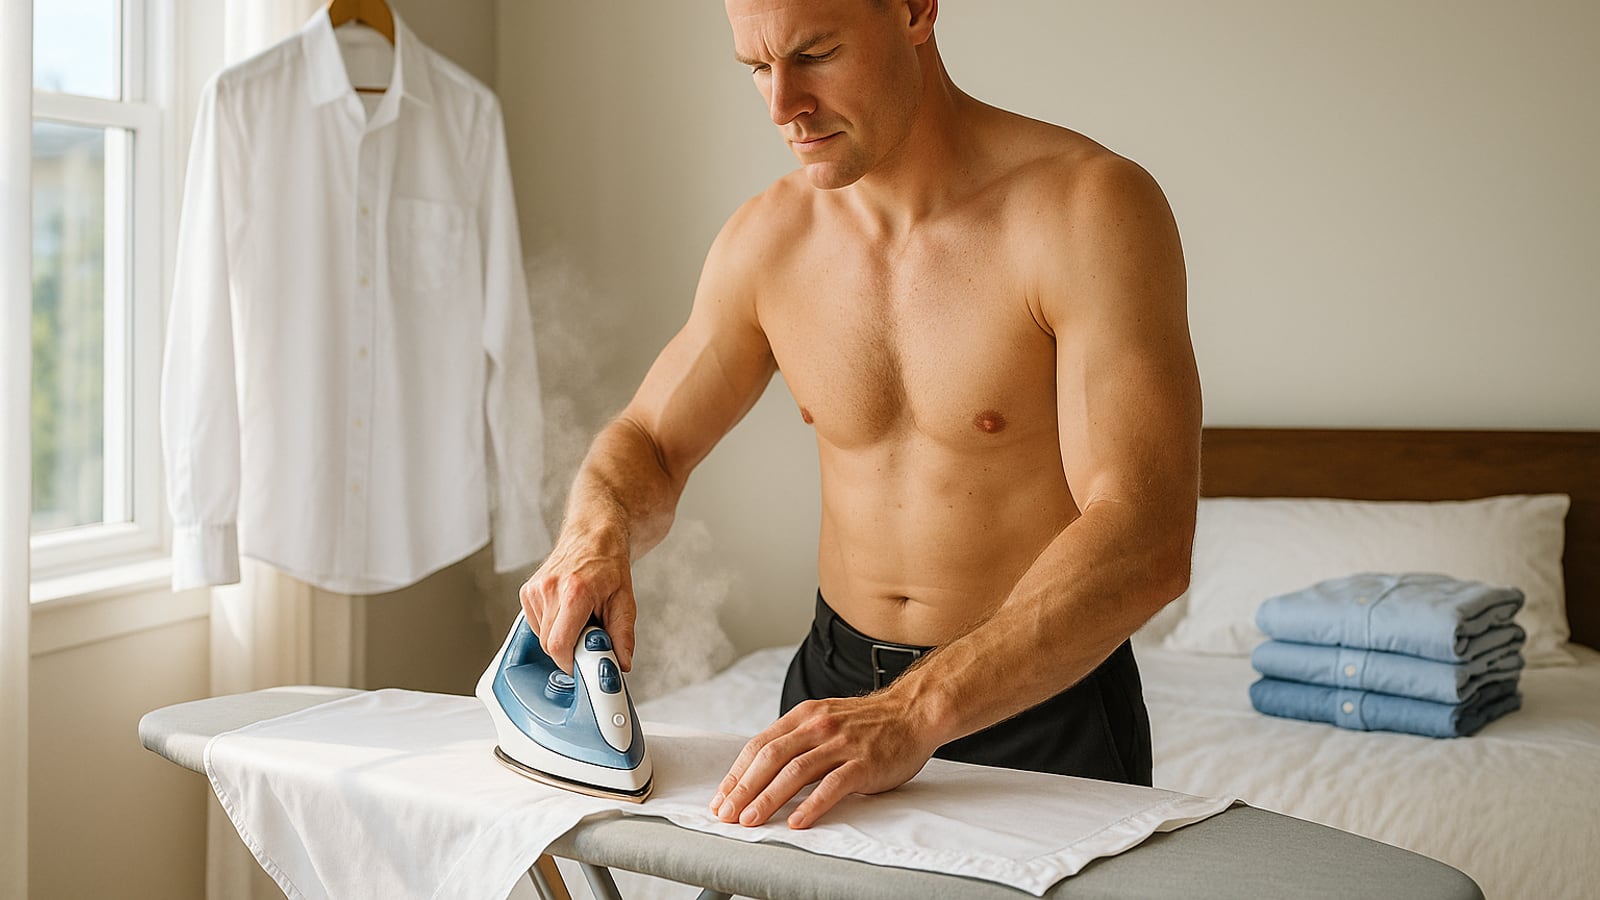
Four minutes is achievable because of the order, not because you're rushing. Collar, cuffs, sleeves, back, fronts. You work from the small, fiddly bits to the big flat ones, so the parts you handle last don't get crushed by the parts you handle after them. Most men do it backwards, iron the body first, then crumple it while wrestling the sleeves, then start over.
The second thing that buys you time: iron the shirt slightly damp. Pull it out of the dryer a few minutes early, or hang it and mist it with a spray bottle and let it sit two minutes. Damp cotton gives up its wrinkles almost instantly. Bone-dry cotton fights you for every pass.
Set up before you plug anything in
Board at hip height or a little above. If you're pressing down with your shoulders and leaning in, it's too low, and you'll be tired and sloppy by the second sleeve. The pointed end of the board goes to your left if you're right-handed, so sleeves and shoulders slide on and off easily.
Run the cord behind you, not across the front of the board where you'll catch it with your elbow. An iron pulled off a board lands face-down on carpet, and that's a house fire in about ninety seconds.
Fill the reservoir before you switch it on, not after. If your tap water is hard, use distilled — mineral scale clogs the steam holes and eventually spits brown water onto a white shirt. That's the stain nobody gets out in a hurry.
Set the iron on its heel every single time you take your hand off it. Every time. Not for a second, not while you reposition the shirt. Make it automatic and you'll never think about it again.
Get the heat right and stop worrying
Cotton takes high heat and plenty of steam. Linen takes the highest setting and wants to be genuinely damp. Wool goes on low with a press cloth over it. Polyester and poly-cotton blends go medium at most — synthetics don't scorch, they melt, and a melted patch is permanent and shiny.
Silk goes low with no steam at all. Water spots it.
If you're not sure what you've got, check the care label. If the label's gone, test on the inside of the hem or the underside of the tail where nobody will ever look. Ten seconds of testing beats ruining a shirt you liked.
Dark fabrics shine when a hot plate presses directly on them. Turn the shirt inside out for the body panels, or lay a thin cotton cloth between the iron and the fabric. This matters most on navy and charcoal.
Give the iron a full two minutes to come up to temperature. An iron that isn't hot yet just pushes wrinkles around.
Collar first, and from the points inward
Unbutton everything, including the collar button and any collar stays. Pull the stays out and put them somewhere you'll find them. Ironing over a plastic stay leaves a ridge, and over a metal one leaves a mark.
Lay the collar flat, underside up. Iron from each point toward the center. Working point-to-center stops the fabric bunching at the tips, which is exactly where bunching shows.
Flip it, do the outside the same way. Don't press a crease into the fold — let the collar keep its natural roll. A collar with a knife-edge crease at the fold looks cheap, and it fights the tie knot.
Twenty seconds, both sides.
Cuffs, then the sleeves
Open the cuff completely. Both buttons. Lay it flat, inside face up, and press around the buttons rather than over them. Ironing straight over a button cracks it and leaves a dent in the fabric underneath.
Then the sleeves, which is where the four minutes get lost if you're careless.
Take one sleeve and hold it by the shoulder seam and the cuff. Shake it so the underarm seam falls into line, then lay it flat on the board so that seam sits along the bottom edge. Smooth it with your free hand before the iron touches it. If there's a fold in there and you press it, you've just ironed in a second crease that's harder to remove than the wrinkles you started with.
Iron from the shoulder down to the cuff. Flip, repeat. Other sleeve.
Whether you put a sharp crease along the top of the sleeve is a preference. A crease reads slightly more formal and a bit more military. No crease reads softer and more modern. If you want no crease at all, use a sleeve board — a narrow padded board you slide inside the sleeve so nothing gets folded.
About a minute for both sleeves once you've done it fifty times.
Yoke, back, fronts
Slide the shoulder area over the pointed end of the board, one side at a time, so the curve of the shoulder sits on the curve of the board. Short strokes. Rotate, do the other shoulder, then the yoke panel across the upper back.
Then the back. Lay the whole back panel flat, iron from the yoke down to the hem in long passes. This is the easiest part of the shirt and it takes about twenty seconds.
The fronts last. Do the button side first. Iron between the buttons and around them, using the point of the iron. Then the placket itself, which is the strip the buttonholes sit in — press it flat, because that strip is directly under a tie and everybody sees it.
Then the other front panel, which is mostly open cotton and goes quickly. If there's a chest pocket, iron the fabric under it first, then the pocket flat on top.
Hang it while it's still warm
Straight onto a hanger, buttoned at the collar and one button halfway down. Warm cotton is still relaxing into shape, and five minutes on a hanger sets everything you just did. Five minutes in a laundry basket undoes it.
Use a hanger with some shoulder width to it. Wire hangers put a point in the shoulder of every shirt you own.
The mistakes that cost the most time
Ironing dry. Doubles your passes. Keep a spray bottle on the board.
Circling with the iron. Stretches the weave and distorts the panel. Straight passes, along the grain of the fabric, lifting at the end of each stroke.
Starting with a stain. Heat sets stains permanently. Look at the collar and the underarms before you begin, and if something's there, wash it again instead.
Leaving the iron face-down. Scorches in under a minute, and the mark doesn't come out.
When there's no time at all
Hang the shirt in the bathroom while you shower with the door shut. The steam handles light creasing, not a packed-suitcase disaster. Or run a warm iron over just the collar, the cuffs and the front placket — the parts visible above and below a jacket. Two minutes, and nobody at the table will know the back is a mess.
The first shirt you do this way will take eight minutes and feel clumsy. The tenth takes four. Somewhere around the twentieth you'll notice you're doing it without thinking, coffee in reach, and that a pressed collar changes how a shirt sits on you far more than what you paid for it.
Dean Shaw
Gear & Garage
Tests things until they break, then reports what broke first. Trucks, tools, watches, and the cheap version that costs more.

Watch
Worth an hour of your evening
More from Skills.
From channels we rate. Plays on YouTube.
Read next