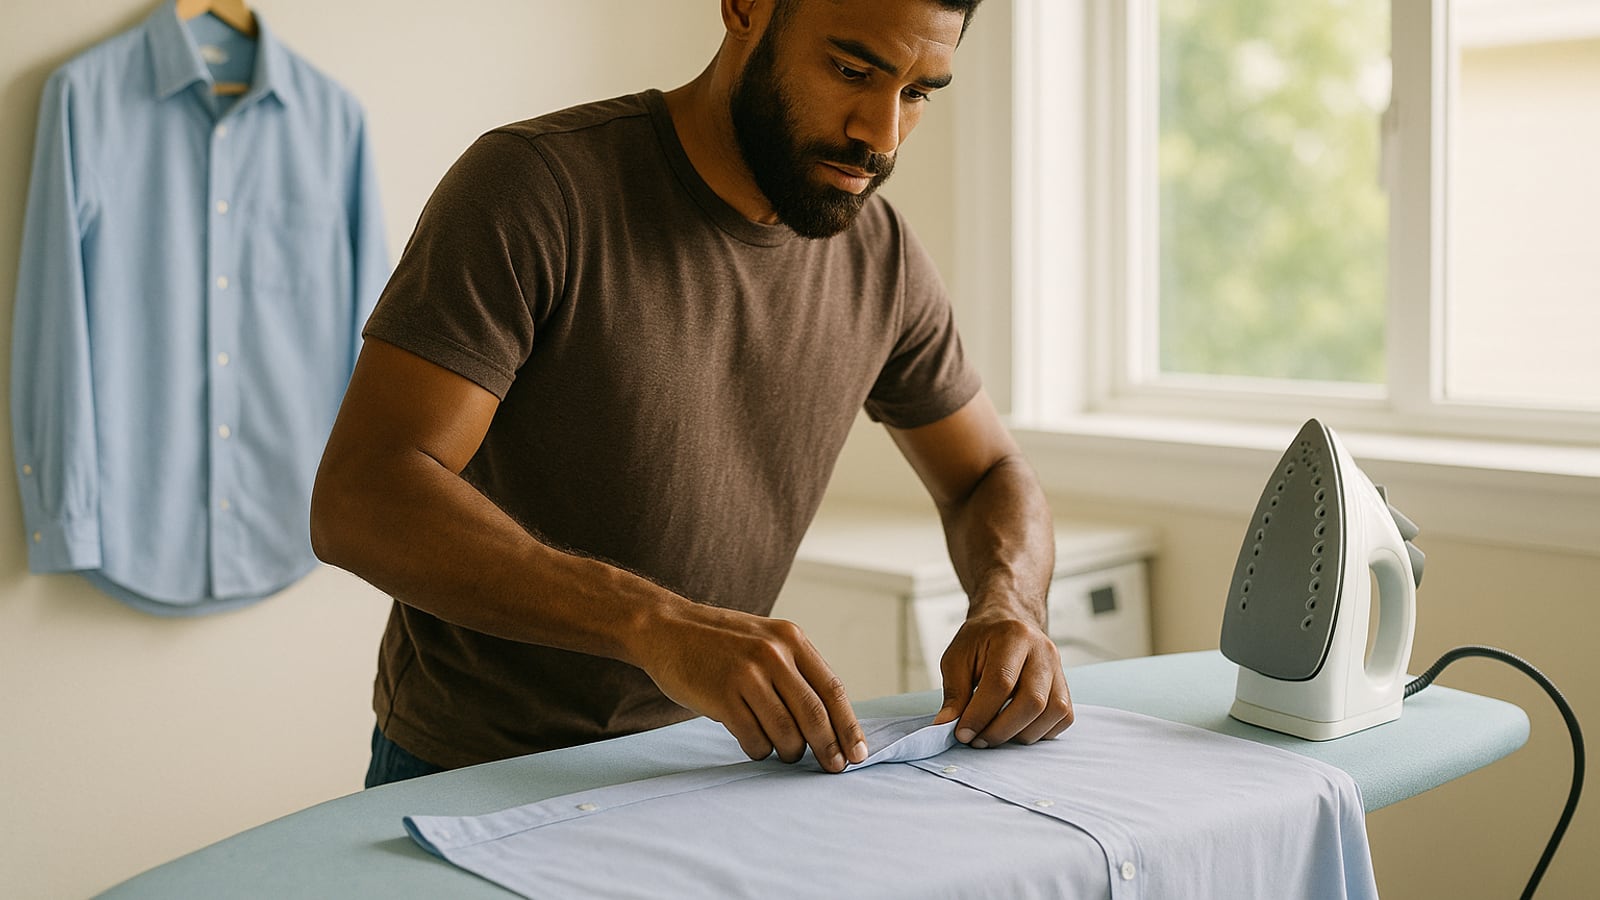
Set the board so the top edge sits at your hip bone, near enough. Any lower and you'll press with your shoulders, which is slow and hurts by the third shirt. Plug the iron in, fill the reservoir to the line, set it to the two-dot mark for cotton blends and three dots for pure cotton, then leave it alone for ninety seconds while you do the rest of your setup. A cold iron dragged across a shirt does nothing except move the creases around.
While it heats: unbutton the shirt completely. Every button, including the cuffs and the collar stand. Then unbutton the little sleeve placket button too, the one halfway up the forearm that everybody forgets. That button is the single biggest cause of a fold you have to go back and fix.
Four minutes is the target for a cotton work shirt once you know the order. The order is the whole trick. You work from the small, fiddly, structured parts towards the large flat ones, because large flat panels are easy to re-flatten and collars aren't.
Safety, quickly, because steam burns are worse than they look
Steam leaves the vents at the boiling point and it keeps going for a second after you lift the iron. Don't put your hand over the soleplate to check if it's hot. Hold the back of your hand fifteen centimetres away and feel for the heat coming off it, or touch the iron briefly to a spare corner of fabric.
Keep the cord behind you and off the floor. If it loops in front of the board, one snag pulls a hot iron down at ankle height, and that's how people end up in A&E with a burn on the top of the foot.
Stand the iron on its heel every single time you stop, even for two seconds. Not flat, not on the board cover. And when you finish, unplug it at the wall and leave it heel-down somewhere a child can't reach for half an hour. It stays hot long after the light goes out.
One more. Check the care label before you set the temperature. Polyester, viscose and anything with elastane melt at cotton heat and the mark doesn't come out. If the label's been cut off, start at one dot and work up, testing on the inside of the shirt tail where nobody looks.
The collar, forty seconds
Lay the collar flat with the underside facing up. Always the underside first. Press from the points inwards towards the center, short strokes, tip of the iron doing the work. Pushing from the middle outwards is what pushes those small diagonal puckers into the collar points.
Flip it, do the top side the same way. Don't press a crease into the fold line of the stand. Leave it soft and it'll sit properly round your neck instead of standing away from it.
Cuffs, thirty seconds
Open the cuff completely flat, inside face up. Iron around the buttons, not over them. Running the soleplate over a button leaves a dent in the fabric and can crack the button itself, which is a particular joy on a shirt where you have no spares.
Do the inside, flip, do the outside. Both cuffs before you move on.
The yoke, twenty seconds
That's the panel across the shoulders. Hang it over the narrow end of the board like the board is a shoulder, press one half, rotate, press the other. It takes seconds and it's the bit people see when you take your jacket off.
Sleeves, ninety seconds, and this is where it goes wrong
Lay the sleeve flat and pull the seam straight so the two edges line up. What you're doing here's choosing where the crease goes, because the moment the iron touches it, the crease exists.
You have a decision to make. A pressed sleeve crease is traditional, it holds all day, and it reads as slightly more formal. A rolled, crease-free sleeve looks softer and modern, and it's what you want under a tailored jacket or on an Oxford cloth button-down.
For a crease, line the underarm seam up with the outer fold and press right to the edge. For no crease, press only the middle third of the sleeve and use the pointed end of the board or a rolled towel to keep the edges off the plate.
The classic disaster is the double crease. You press it, notice the fold sits wrong, then press a second line two centimetres from the first. Now the shirt has a scar. Fixing it means re-wetting the whole sleeve and starting again, which costs you more time than doing it properly did. If you're not sure, go crease-free. Nobody has ever been criticised for a smooth sleeve.
Back panel, forty seconds
Drape the back over the board with the shirt's side seam running along the board's long edge. Press from the yoke down, then slide the shirt along and do the other half. Long strokes here. This is the easy bit.
If there's a box pleat under the yoke, press it flat and straight rather than trying to ignore it.
Fronts, sixty seconds, placket last
One front panel at a time, over the board with the buttons hanging off the edge. Use the tip of the iron to get between the buttons rather than steamrolling across them.
Save the button placket and the buttonhole strip for last. Press them from the inside where you can, so the stitching doesn't get flattened shiny on the outside. On dark navy and black cotton that shine is permanent, and it's the reason so many dark shirts look worn out down the front while the rest of the fabric is fine.
The bits that actually save you time
Iron damp. A shirt pulled from the line while still slightly cool and heavy presses in about half the time of a bone-dry one. If it's dry, a cheap plant mister and ten seconds of spraying does the same job. Steam from the iron alone isn't enough on heavy cotton.
Hard water will eventually block the vents and spit brown marks onto a white shirt. If you're in a hard water area, use the water sold for irons or cooled boiled water, and empty the tank when you're done rather than leaving it full to sit.
Hang it up the second you finish and button the top button plus one at chest height. Warm fabric folded over a chair goes straight back to creased. Give it five minutes on the hanger before you put it on.
And if you're genuinely late, there's an honest shortcut. Under a jacket, only the collar, the cuffs and the front placket are visible. That's ninety seconds of work. It isn't the right way to do it, but it beats arriving in a crumpled shirt, and you'll know the difference even if nobody else does.
The four minutes comes off the practice, not the technique. Do it in this order six or seven times and your hands stop needing your attention. Then it's just something you do while the coffee finishes.
Dean Shaw
Gear & Garage
Tests things until they break, then reports what broke first. Trucks, tools, watches, and the cheap version that costs more.

Watch
Worth an hour of your evening
More from Skills.
From channels we rate. Plays on YouTube.