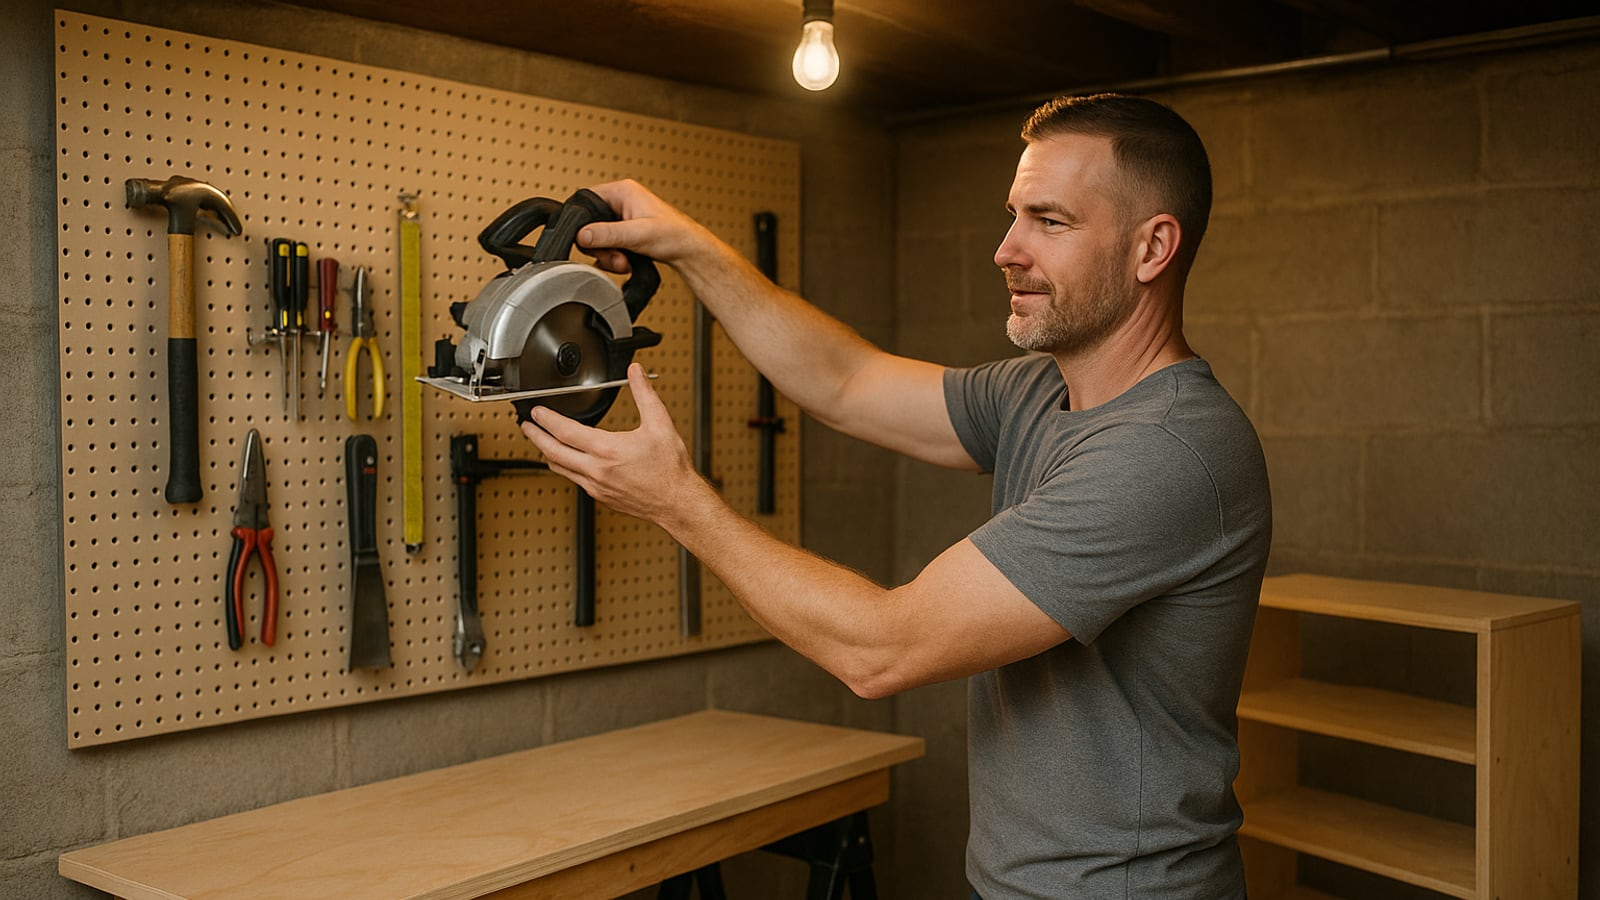
The first tool isn't a table saw. It's a corded circular saw, it costs somewhere around seventy bucks, and it will cut every board in your first year of woodworking. Buy it, buy four more things, and start making sawdust this weekend instead of reading another forum thread about jointer beds.
Most beginners get this backwards. They save for the big machine, the shop stays empty, and eighteen months later they own a $700 saw and have built nothing. Meanwhile the guy with a circular saw and a straightedge has a bench, a tool wall and a stool his wife actually uses.
Tool one: a corded circular saw and a real blade
Corded, not battery. A Skil or a Craftsman sidewinder in the $60 to $80 range has all the power you need and never dies mid-cut. Spend the money you saved on the blade.
The blade in the box is garbage. It's usually 18 or 24 teeth, meant for framing lumber, and it'll chew the face veneer off plywood like a beaver with a grudge. Buy a 40-tooth thin-kerf finish blade, around $20 to $25, and put it on before the first cut. That one swap is the difference between edges you sand and edges you hide.
Then make a straightedge guide. Clamp a factory-edge strip of plywood to your workpiece, run the saw's shoe against it, and you get cuts as straight as anything off a table saw. The trick everybody forgets: measure from the edge of the blade to the edge of the shoe, write that number on the saw in marker, and never do that math from memory again.
Tool two: a drill/driver
One 18V or 20V cordless drill with two batteries. Ryobi if the budget's tight, DeWalt or Makita if it isn't. A combo kit with an impact driver is nice, and it's not necessary yet.
What you do need is a set of brad-point bits and a countersink. Plywood edges split when you drive a screw into them dry, every single time, and a #8 countersink bit solves it for about twelve dollars.
Tool three: a random orbit sander
Five-inch, hook-and-loop pads, roughly $50 to $80. This is the tool that makes your work look like somebody who knew what they were doing built it.
Buy 80, 120 and 180 grit discs and use all three. Skipping from 80 straight to 180 leaves swirl marks you won't see until the finish goes on and the light hits it sideways. Ask me how I know. Vacuum the surface between grits, because one stray 80-grit particle under a 180 pad will draw a line across the whole panel.
Tool four: four clamps
Four 24-inch F-style clamps. Bessey or Jorgensen, around $20 to $30 each, and yes, that's the single biggest line item on this list.
Cheap $8 clamps flex when you crank them, which means they apply pressure in a direction you didn't ask for and your square box comes out as a parallelogram. You will never regret good clamps. You will also, within a year, decide four isn't enough. Everyone says that. Everyone's right.
Tool five: a 12-inch combination square
Not a speed square. A combination square with a machined head that locks tight, in the $25 to $40 range. It marks crosscut lines, sets your saw depth, checks a corner for square, and gauges a line parallel to an edge.
Check it before you trust it: mark a line off a straight board edge, flip the head over, mark again from the same spot. If the two lines don't sit on top of each other, the square's out, and every project you build with it will be out by the same amount.
That's the kit. Roughly $250 to $400 depending on brands, plus a bottle of Titebond II and a box of #8 screws.
Project one: a plywood tote
A carpenter's tote. Two sides, two ends, a bottom, a dowel handle. Half a sheet of 1/2-inch plywood and an afternoon.
It teaches the only thing that matters at the start, which is cutting square and assembling square. Glue and screws, no joinery. When the box comes out with a 1/8-inch gap at one corner, you'll learn that the gap came from the cut, not the assembly, and you'll slow down on the next one.
Buy the 2x4-foot handy panels for this if you drive a sedan. They cost more per square foot than a full sheet and they fit in a back seat, which is worth more than the savings. Sight down every panel before you buy it. Half the stock at the big box stores is bowed like a banana and nobody's going to stop you from taking the bad one.
Project two: a two-step stool
Four boards and a top, made from 1x10 pine or plywood scraps. Kids use it at the sink. You use it to reach the top shelf in the garage.
This one teaches load. A stool that's screwed together edge-to-edge with nothing else will loosen in six months of being dragged across a tile floor. Add a stretcher between the legs and glue every joint. The difference between a stool that lasts a decade and one that wobbles by Christmas is one 12-inch piece of scrap and about four minutes.
Project three: a picture frame
Four miters. That's the whole project, and it's humbling.
Here's the math that ruins people: a 45-degree cut that's off by half a degree becomes a visible gap, because there are eight cut faces in a frame and every error stacks. You can't eyeball this. Cut all four pieces, dry-fit them with a band clamp or a loop of string, and see where the light shows through before any glue comes out.
Then fix it by shaving, not recutting. A few passes with sandpaper on a flat block, one corner at a time.
Project four: a French cleat tool wall
Rip a 1x6 down the middle at 45 degrees with your circular saw and its blade tilted. Screw one half to the studs, angle up. The other half goes on the back of anything you want to hang.
Now every shelf, holder and rack you build for the shop just hooks on and slides sideways. You'll rearrange the wall six times in the first year. That's the point. It also gets your five tools off the bench, which is the moment the shop starts working instead of just existing.
Project five: a mudroom bench
Now build something the house sees. A 4-foot bench, 18 inches tall, with a shelf underneath for boots.
It's the first project that combines everything: long rips, square assembly, a glued-up top, real sanding, and a finish. Use pocket screws or half-laps for the frame, take the sanding through 180, and wipe on three coats of oil-based poly with a cloth rather than brushing it. Wiping is slower and it's almost impossible to leave a run.
Somebody will sit on it and ask where you bought it. Enjoy that.
The part nobody tells you
Your first version of every one of these will have a flaw only you can see, and you'll see it every time you walk past. Build the thing anyway. The offcut pile in the corner is the tuition, and it's a lot cheaper than the table saw you almost bought instead.
Dean Shaw
Gear & Garage
Tests things until they break, then reports what broke first. Trucks, tools, watches, and the cheap version that costs more.

Watch
Worth an hour of your evening
More from Woodworking.
From channels we rate. Plays on YouTube.
Read next