Every screw head goes on the underside. That single rule is what separates a sauna bench from a deck bench, and it's the one people skip. Stainless steel sitting in a 180-degree room will hold that heat against skin in a way wood never does. You'll only find out once.
So plan the whole build around hiding the hardware, and the rest of the project gets easy.
Buy the right boards, and leave the pressure-treated at the store
Western red cedar is the standard for good reason. It's light, it stays put when the humidity swings from bone dry to dripping and back twice a week, and its density is low enough that it never feels scorching under your hand. Alder, basswood and thermally modified aspen all work too. Poplar is a budget option people use for frames where nobody touches it.
What doesn't work: pine, spruce and Douglas fir. They carry pitch pockets that weep sticky resin at sauna temperatures, and that stuff doesn't come off a towel. Pressure-treated lumber is a flat no. You're not putting treated wood chemistry in a hot, wet box you breathe in.
Buy clear cedar if the budget allows. Knots are denser than the wood around them, they run hotter, and in a bench top they're the spots that eventually weep. Knotty cedar is fine for framing that lives underneath.
Get kiln-dried stock, not the wet green stuff stacked outside. Wet cedar shrinks after it's screwed down, and your 3/8-inch gaps become 5/8-inch gaps with cupped slats between them.
The numbers that make a bench comfortable
Assume a 7-foot ceiling. Upper bench top at 40 inches off the floor, foot bench at 20 inches. That gives you 44 inches of head room sitting upright on the top bench, which fits most adults without a hunch, and a 20-inch step up that your knees can handle at the end of a session.
Depth: 16 inches for the lower bench, 20 inches for the upper if you only sit, 23 to 24 inches if you want to lie down. Below 20 inches nobody lies down comfortably, and they'll try anyway.
One more number that matters more than any of these. The top of your upper bench should sit at or above the top of the heater stones. Heat stratifies hard in a small room. If your feet end up below the stones, your shoulders cook while your ankles stay cold, and the whole thing feels wrong without you knowing why.
Slats: rip them to 3 inches wide and 3/4 inch thick. Six of them with 3/8-inch gaps gives you a hair under 20 inches. Seven gives you 23-1/4. The gaps are for drainage and airflow, and 3/8 is the sweet spot. Wider and you feel the edges. Narrower and water sits.
Rip the slats, then walk away for three days
Take your 2x6 or 2x8 cedar, rip the slats a touch oversize, and sticker them in the shop with spacers between so air gets to all four faces. Wait three days. Cedar releases tension when you cut it, and a slat that comes off the saw dead straight can develop a lazy bow by Thursday. Better to find that out on the bench than in the sauna.
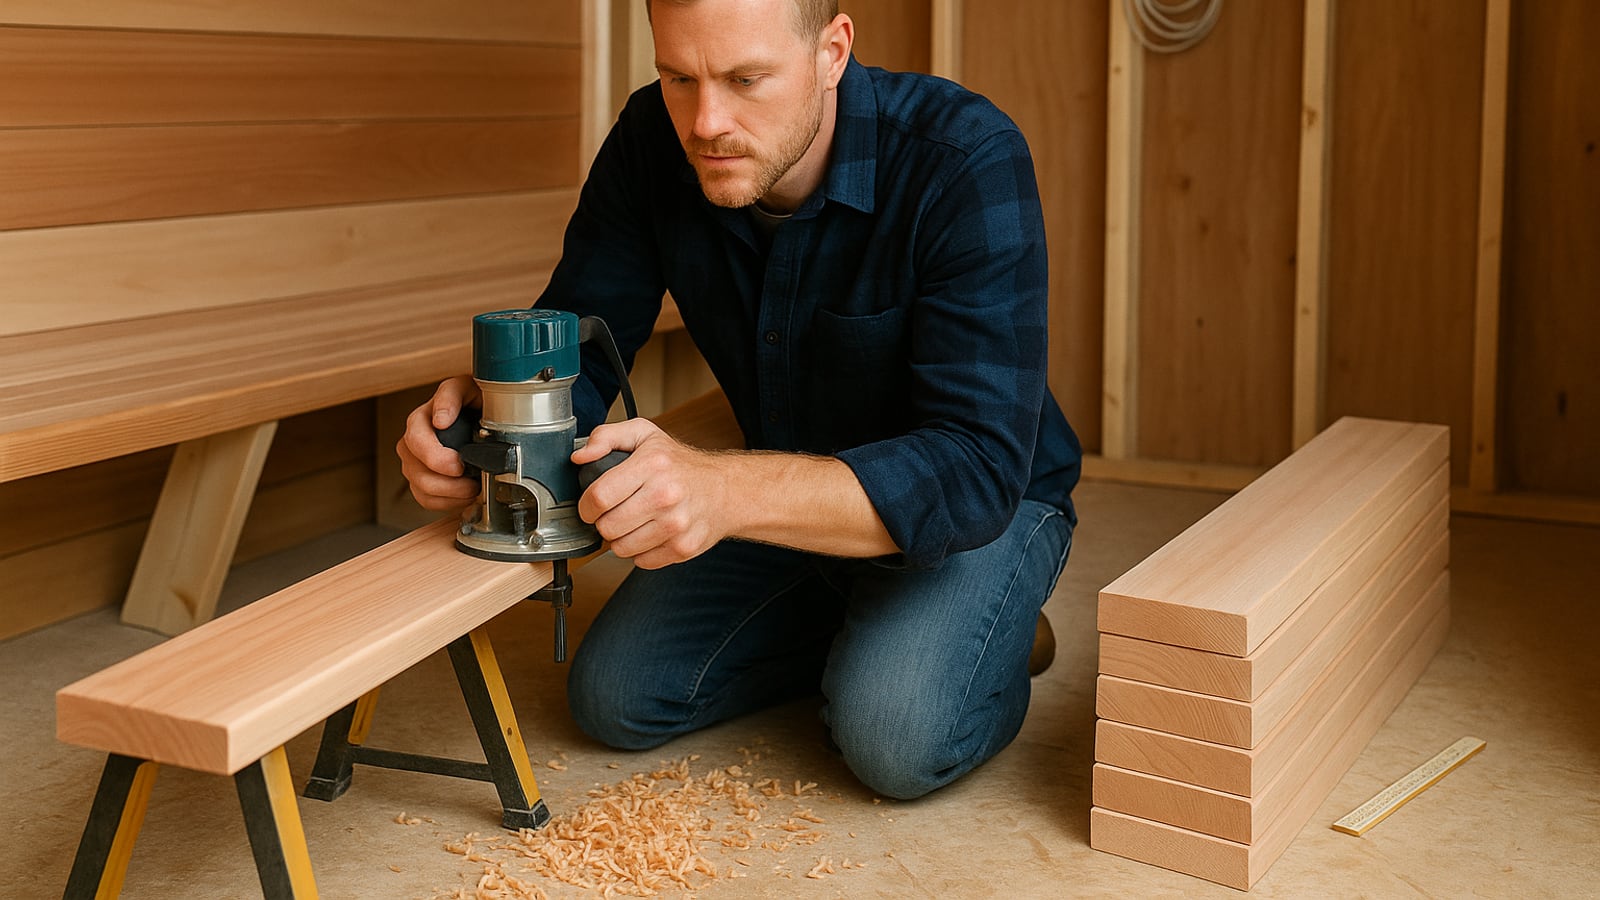
Then rip them to final width, and put a 1/4-inch roundover on every long edge, top and bottom. Every one. Sharp cedar arrises split into splinters the first time somebody drags a towel across them. The front nose of each bench, the edge your legs hang over, gets a bigger 3/8-inch roundover.
Wear a respirator for the routing and the sanding. Cedar dust is an irritant and it will find your sinuses by the second board.
Frame it so the floor stays clear
Build the support like a ladder lying flat. Front and back rails from 2x4 cedar on edge, cross members every 16 inches, joined with stainless screws through pilot holes. Cedar splits if you don't pre-drill. It splits anyway near the ends, so stay 1-1/2 inches back from every end.
Hang the back rail on the wall. A 2x4 ledger lagged into the studs with 3/8 by 3-1/2 inch stainless lags, two per stud, carries half the load and keeps a set of legs out of the wet zone. Support the front with legs at each end and one in the middle, so no unsupported span exceeds 36 inches. People stand on the upper bench to reach the ceiling light. Build for that, not for sitting.
Chamfer the bottom of each leg about 1/8 inch. It sounds fussy. It keeps the end grain from wicking standing water off the floor, and it's the difference between a leg that lasts fifteen years and one that goes punky at the bottom in four.
Fastening, and the one screw that matters
Lay the slats on the frame with 3/8-inch spacers between them. Scrap plywood cut to 3/8 works fine, or just rip a handful of sticks. Clamp the whole field lightly so nothing wanders.
Now flip it, or reach under, and drive #8 by 1-1/4 inch stainless screws up through the 1-1/2 inch cross members into the slats. A 1-1/4 inch screw penetrates a half inch into 3/4-inch stock. It won't poke through. Measure your own material before you trust that.
One screw per slat at each crossing, centered on the width. One, not two. Cedar in a sauna swells and shrinks across the grain constantly, and a slat pinned at two points across its width will cup or crack. One fastener lets it breathe, and the neighboring slats keep it from twisting.
Use 304 stainless at minimum. If you're on the coast or you plan to throw salt-scented water, 316. Zinc-plated deck screws will bleed black streaks down your cedar within a season.
Don't permanently fix the bench top to the frame. Screw cleats to the underside of the slat assembly so it drops between the frame rails and lifts straight out. Twice a year you'll want to carry the whole top outside, hose it, and let it dry in the sun. That's a two-minute job with cleats and a miserable one with forty screws.
The backrest is all in the taper
A vertical backrest is worse than none. You want roughly 8 to 10 degrees of lean.
Rip two tapered cleats from a 2x4: 3 inches wide at the top, tapering to 3/4 inch at the bottom, over a 16-inch length. Screw four slats to the cleats from behind, spaced 1/2 inch apart, with the bottom slat sitting about 6 inches above the bench top. That gap under the backrest is where your hips go, and it's also where a sponge goes when you clean.
To mount it, hold the assembled panel against the wall, find your studs, and drive stainless screws through the cleats into the framing using a 6-inch driver extension reaching through the gaps between the slats. That's the whole trick. Nobody ever sees a screw head, and you never had to blind-fasten anything.
Sand to 120, and then stop
No stain. No polyurethane. No Danish oil, no varnish, no spar. Anything film-forming will blister, peel and gas off in the heat, and anything oily gets sticky. Bare wood is the finish.
Sand to 120 grit and quit. Finer grits burnish cedar and make it slower to shed water. Vacuum the dust, wipe with a damp cloth, let it dry.
The one product worth owning is paraffin-based sauna oil, and it belongs on the wall paneling and the door handle, not on a surface you sit on.
What'll go wrong
Water sits where slats meet supports. That's the failure point, every time, and it's why the removable top earns its keep.
Cedar's smell fades after two or three years. A quick pass with 150-grit on a random orbit brings it right back, which is a better argument for bare wood than anything else I can give you.
And the first time you sit on the upper bench with your heels level with the stones and your shoulders against a backrest that's leaning eight degrees in the right direction, you'll understand why nobody who builds one of these ever goes back to a plank on two cinder blocks.
Dean Shaw
Gear & Garage
Tests things until they break, then reports what broke first. Trucks, tools, watches, and the cheap version that costs more.

Watch
Worth an hour of your evening
More from Woodworking.
From channels we rate. Plays on YouTube.
Read next