
Change Your Own Brake Pads Before Lunch on Saturday
Front pads on a normal car take about ninety minutes, two jack stands and one tool most guys don't own yet. What goes wrong, and how to avoid it.
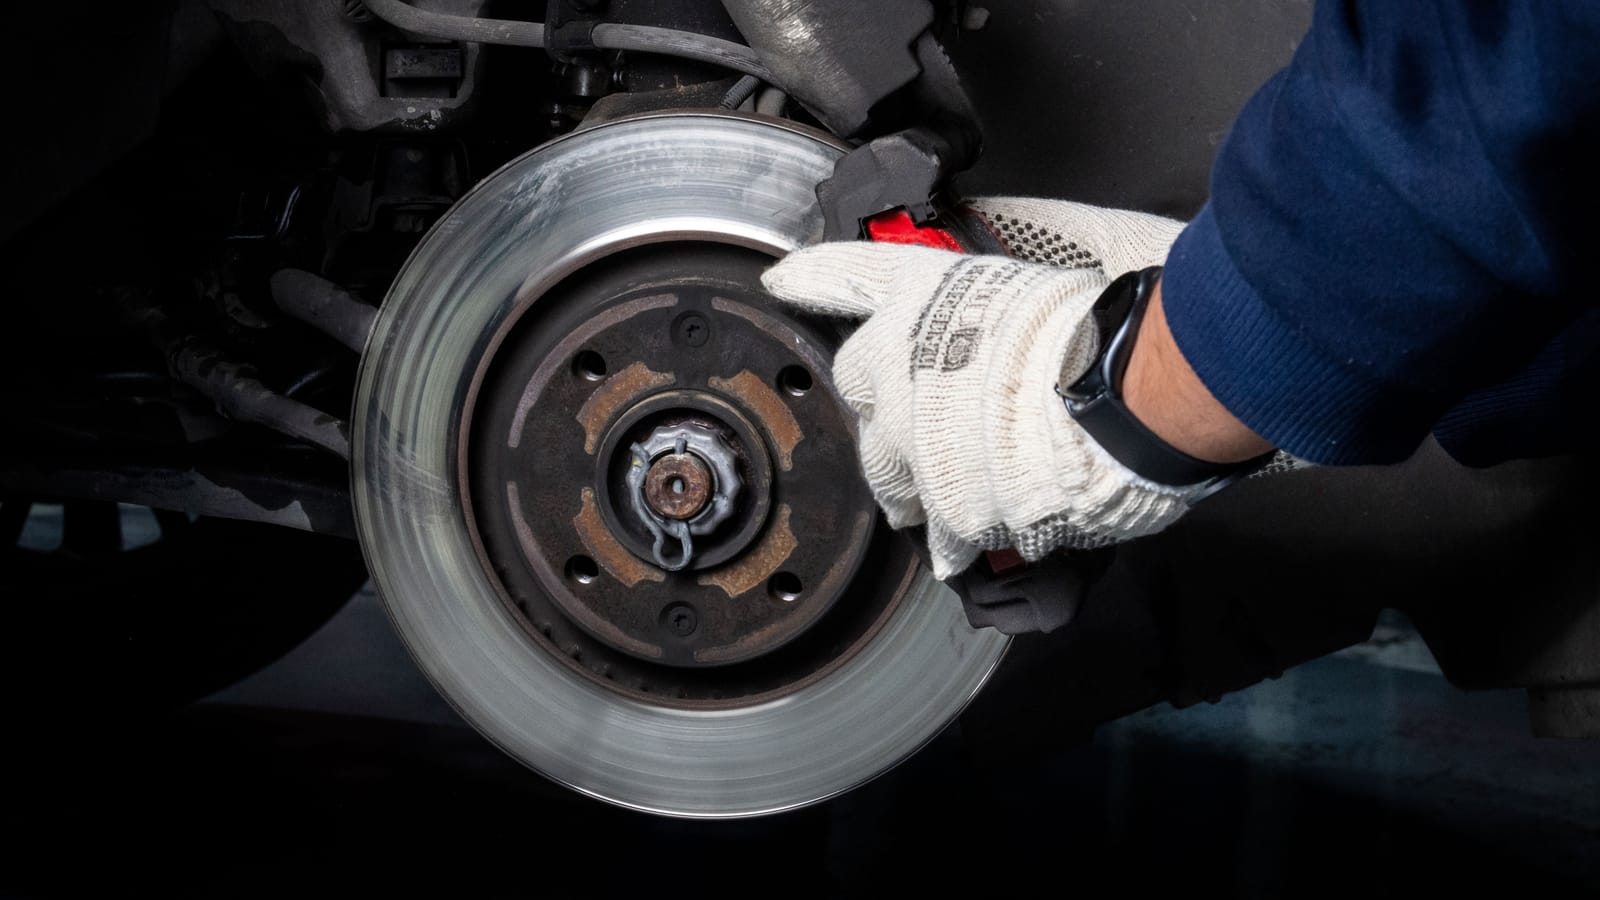
That squeal you've been hearing since Tuesday is a small bent tab of spring steel scraping the rotor on purpose. It's called a wear indicator, and it's the cheapest thing in the entire braking system. It exists to annoy you into action while the repair is still pads and not pads plus rotors plus a caliper.
Front brake pads on a common sedan, crossover or half-ton truck are a two-hour job the first time and a ninety-minute job every time after. You need no lift, no air tools and no special skill. You need a flat, hard surface, a torque wrench and the discipline to not skip the boring parts.
Check the thickness before you buy anything
Get low with a flashlight and look through the wheel spokes at the caliper. You'll see the edge of the pad pressed against the rotor. New pads are around 10 to 12 millimeters of friction material. At about 3 millimeters, roughly an eighth of an inch, it's time. If you can see the metal backing plate touching the rotor, you're past pads and into rotors.
While you're down there, drag a fingernail across the rotor face. A smooth surface with light grooving is fine. A deep ridge at the outer edge that catches your nail, or a blue-purple heat-scorched look, means the rotor comes off too.
Rotors have a minimum thickness stamped into the hat, the center section, usually something like "MIN TH 22.0mm." A cheap dial caliper tells you whether you're above it. Most people skip the measurement and just replace rotors with pads, because a pair of front rotors for an ordinary car costs less than one hour of shop labor and saves you doing the job twice.
What you actually need
- Two jack stands rated well above your vehicle's weight, plus the floor jack. The scissor jack in the trunk is for roadside tire changes. It's NOT a jack stand.
- A 1/2-inch drive torque wrench. This is the tool that separates a proper repair from a wheel that comes loose on the interstate. Buy it once.
- A breaker bar for the lug nuts and the caliper bracket bolts, which are often torqued past 80 foot-pounds and rusted on top of that.
- A C-clamp or a caliper piston compressor to push the piston back into its bore.
- Brake parts cleaner, a wire brush and a tube of silicone brake grease rated for caliper slides.
- Gloves. Brake dust is filthy and you'll be eating a sandwich in two hours.
Order the pads by your exact year, engine and trim, because a lot of models use two different front caliper sizes depending on package. Ceramic pads for a family car, semi-metallic if you tow.
Set up like you plan to come back inside
Park on concrete. Not gravel, not the slope of the driveway. Chock the rear wheels. Crack the lug nuts loose a quarter turn while all four tires are still on the ground, because a wheel spins when it's in the air and you'll be fighting yourself.
Jack the car at the manufacturer's lift point and set the stands under the pinch weld or the subframe, whichever the manual says. Then lower the car onto the stands and shove the car sideways at the fender. Hard. If it rocks off a stand now, you learn that while standing up instead of lying under it.
Do one side at a time. The assembled side is your reference photo when you forget which way the anti-rattle clip faces.
The job itself
Pull the wheel. Behind it's the caliper, held on by two bolts on the back side, and the caliper bracket, held on by two much larger bolts to the steering knuckle.
Remove the two caliper bolts and slide the caliper off. Don't let it hang by the rubber hose. That hose is a pressurized line with a service life, and stretching it's how a thirty-dollar job becomes a hundred-and-thirty-dollar one. Hang the caliper from the spring with a bungee or a length of coat hanger.
Old pads lift straight out of the bracket. Note the clips they sat on, then pop those out and wire-brush the bracket ears until they're bright metal. Pads that can't slide freely in the bracket drag, overheat and wear crooked. This ten-minute cleanup is the single most skipped step in driveway brake work.
Push the piston back with the C-clamp, using one of the old pads as a flat pressure plate so you don't gouge the piston face. Go slow. Watch the brake fluid reservoir under the hood while you do it, because you're pushing fluid backward up the line, and a reservoir that was topped off will overflow onto your paint. Siphon an inch out with a turkey baster first if it's near full. Buy a baster for this. Don't take the one from the kitchen.
New clips, thin smear of silicone brake grease on the clip contact points and the back of the pad's backing plate, nothing on the friction surface ever. Pull each caliper guide pin out, wipe it, regrease it, slide it back in. A pin that's seized is why one pad on your old set was worn to nothing and the other looked new.
Pads in, caliper back on, bolts to the manual's torque spec. Wheel on, lugs snugged in a star pattern by hand, then torqued in the same star pattern once the car's back on the ground. Most passenger cars land somewhere between 80 and 100 foot-pounds. Your manual has the number. Use it.
Before you drive it, pump the pedal
This is the step that scares people the first time, and it should. The piston is pushed all the way back, which means your first pedal press goes straight to the floor with no braking at all.
Sit in the seat with the engine off and pump the pedal ten or twelve times until it comes up firm and high. Then start the engine and check it again. Firm pedal, no leaks at the caliper, no warning lights. Roll down the driveway at walking speed and brake once to confirm the car stops.
Bed the pads in on a quiet road
New friction material needs to transfer an even layer onto the rotor face, and the way you do that's a series of moderate stops. Find an empty stretch, get up to about 35 miles an hour and brake firmly down to about 5 without coming to a complete halt. Do that eight or ten times with a little rolling in between, then drive for five minutes without touching the brakes to let everything cool.
Skip this and you get the pulsing pedal people blame on "warped rotors," which is usually uneven deposits instead.
When to stop and pay a shop
If the rear brakes on your car have an electronic parking brake, the caliper piston has to be retracted with a scan tool or a service-mode procedure. Some cars have a button sequence. Some don't. Forcing that piston with a C-clamp destroys the actuator.
If a caliper bracket bolt rounds off, or a guide pin is rusted solid in its bore, or you find fluid weeping past the piston dust boot, put the wheel back on and call somebody. Knowing the difference between a job and a fight is most of what mechanical competence is.
Everything else is just a Saturday. And the kid holding the flashlight learns that the family car doesn't fix itself, which is worth more than the labor you saved.
Dean Shaw
Gear & Garage
Reads the warranty, the parts list and the long-term owner reviews before anything else. Trucks, tools, watches, and the cheap version that costs more.

Watch
Worth an hour of your evening
More from Cars.
From channels we rate. Plays on YouTube.
Read next