The Drip Under Your Sink Isn't Where the Leak Is
A leaking sprayer hose can ruin a cabinet floor in months. Find the real source with a paper towel, fix it for under thirty bucks, and know when to call a plumber.
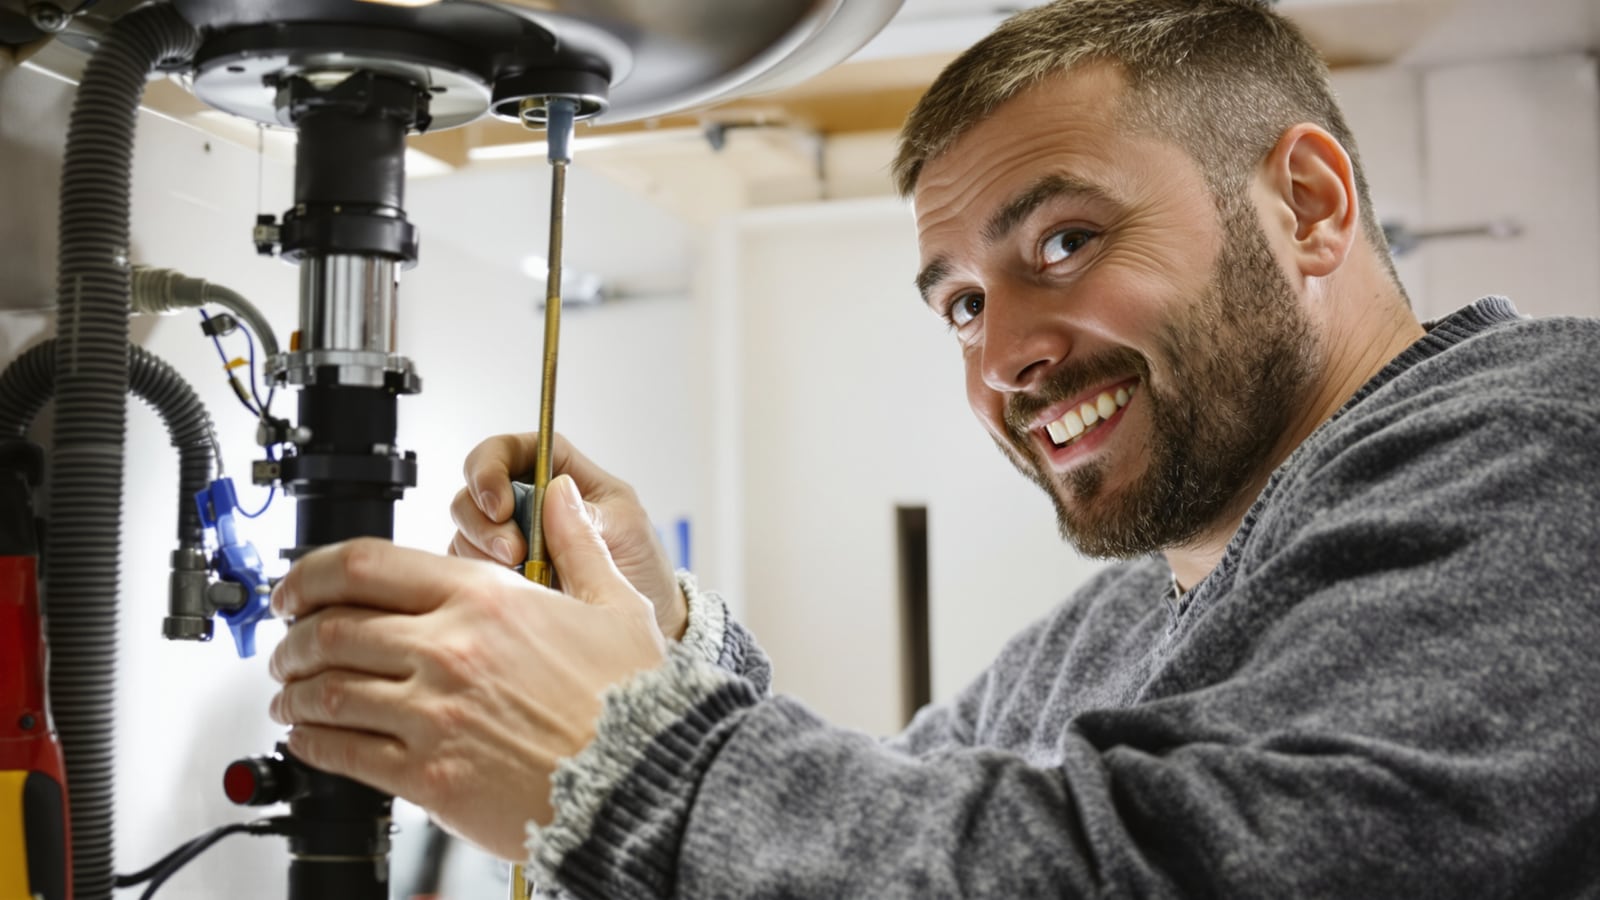
Quick answer: Shut off both angle stops under the sink, dry everything, then trace the water back uphill with a dry paper towel. Most sprayer leaks are a worn hose or a loose or tired connector, and the fix is a $15 to $30 hose and about 30 minutes. If a shutoff valve won't close or the faucet body itself is leaking, stop and call a licensed plumber.
Water runs downhill. Your leak doesn't.
The mistake is looking at the wettest spot and replacing whatever's above it. Water travels down the hose, along a fitting, down the supply line, and finally drips off the lowest point. That point is usually the counterweight on a pull-down hose or the bottom of a connector. It's rarely the source.
So diagnose before you buy anything.
Empty the cabinet. Put down a towel and dry every pipe, hose and fitting with a rag, including the underside of the sink and the faucet shank above. Get a flashlight or a headlamp. A $10 headlamp beats a phone held in your teeth.
Run the faucet on cold, then hot, and use the sprayer. Hold a dry paper towel or a strip of toilet paper against each joint, one at a time, working from the top down. The first spot that wets the paper is your leak. Paper shows a slow seep your eyes will miss.
Then ask one question. Does it leak only while the water is running, or all the time?
- Only while the faucet runs or the sprayer is in use: the sprayer hose, its connectors, or the faucet's internal parts.
- All the time, even with the faucet off: the supply lines or shutoff valves. Those are always under pressure. A new sprayer hose won't touch the problem.
Know which sprayer you have
Two types, and the repair differs.
Pull-down or pull-out: The spray head is part of the spout. The hose runs up through the faucet body and down into the cabinet, with a small weight clipped on to pull it back. These hoses are usually specific to the brand, so you'll need the model number. Look on the faucet's base, on the underside, or in the paperwork you probably threw out. Take a photo of the faucet and the parts under it.
Side sprayer: A separate head sits in the sink deck beside the faucet. Its hose runs down through a hole and threads onto a fitting under the faucet. Universal replacement hoses at a hardware store usually fit these. Bring the old one to match the threads.
A quick check on the head itself: if water sprays sideways or dribbles from the head's seam, the problem is probably a worn washer or a mineral-clogged screen. Unscrew the head, look at the rubber washer, and soak a clogged screen in white vinegar. That's a two-dollar fix.
What you'll need
- Adjustable wrench, $10 to $15
- Basin wrench, $15 to $25. It's the only tool that fits behind the faucet and it earns its spot in the drawer.
- Bucket, towels, a flashlight
- Replacement sprayer hose: about $15 to $30 for a universal side sprayer hose, often $20 to $40 for a brand-specific pull-down hose
- Replacement O-rings or washers if the connector is tired, a few dollars
- Plumber's tape, a couple dollars, for threaded metal connections only
Shut it off first
Water first. Look for the two small angle stops under the sink, one for hot and one for cold. Turn each clockwise until it stops. Don't force it. Open the faucet to bleed off the pressure and confirm the water is actually off before you loosen anything.
If an angle stop spins without stopping the flow, or it's crusted and won't turn, don't crank it. Stop and shut off the water at the main for the house, then see the section on the plumber below.
Look at what else is in that cabinet. If there's a garbage disposal with a plug-in cord, unplug it before your hands go near it. If the disposal or the dishwasher connections are the ones weeping, a new sprayer hose won't help. A leaking disposal flange is a different job, and the disposal piece covers what's under there.
Replacing a pull-down hose
- Put the bucket under the connections. There's always some water left in the hose.
- Find where the hose meets the supply line. It's either a plastic quick-connect with a collar or tab you press, or a threaded fitting. Disconnect it. Use the wrench on threaded ones, hand pressure on the collar for quick-connects.
- Unclip the counterweight. Note where it sat on the old hose and how far from the connection. You'll set the new one in the same spot.
- Detach the hose from the spray head, usually a threaded or snap connection at the end of the spout. Pull the old hose down through the faucet.
- Feed the new hose up through the spout, attach the spray head, then reconnect under the sink. Hand-tighten threaded fittings, then a quarter turn with the wrench. Plastic fittings crack when you overdo it.
- Reattach the weight where the old one sat. Too low and it drags on the pipes. Too high and the head won't retract.
Tape only goes on tapered metal threads, and only a few wraps. Don't use it on plastic quick-connects or on a rubber washer seat. Those seal on the washer or O-ring, not the threads.
Side sprayer? Same sequence without the weight. Unscrew the old hose at the faucet fitting under the deck and at the head, thread on the new one, and snug it up.
Test it like you don't trust it
Open the angle stops slowly. Fast opening sends a pressure jolt through everything you just touched. With paper towels pressed to each fitting, run the faucet and the sprayer for a full minute. Check the paper. Dry means good.
Then do the part most people skip. Leave a dry paper towel or a shallow dish under the connection and check it an hour later, then again in the morning. A fitting that's 95 percent sealed can drip once every few minutes. That's enough to ruin a cabinet floor in months, and you won't know until the wood goes soft.
A battery water alarm for under the sink runs about $10 to $20. It's cheap insurance for a cabinet that's already had one leak.
What to do with the cabinet floor
Press a screwdriver tip into the cabinet bottom. If it's firm, wipe it dry, let it air out overnight with the doors open, and you're fine. If it's spongy, swollen or has dark staining, the wood's been wet a long time. Cut out soft material and replace it, and dry the area thoroughly before closing it up. If there's a musty smell that doesn't leave after drying, you may have mold behind the cabinet. Deal with that before you cover it over.
Leave it better than you found it. Wipe the cabinet down, throw out the bottle of drain cleaner that's been leaking since 2019, and put the supplies back in the order that makes sense.
When it's a plumber's job
Call a licensed plumber if:
- A shutoff valve won't close or drips when it's closed.
- The supply lines are corroded, bulging or green at the fittings.
- Water comes from the base of the faucet or from a crack in the body.
- You've replaced the hose and still can't find the source.
- The water damage went through the cabinet floor or into the wall.
Plumbing codes and permit rules vary by city and state. In some places swapping out a shutoff valve or a supply line means a license or a permit. Check with your local building department before you cut into anything beyond the hose.
A hose swap is a good first plumbing job. Dry the cabinet, trace the leak, replace one part, and check it in the morning.
Wes Dunbar
Country & Skills
Grew up on an acreage and never quite left. Covers trucks, trades, land, and how to do the thing yourself.

Watch
Worth an hour of your evening
More from Can You Fix It.
From channels we rate. Plays on YouTube.
Read next