Build the bench first, then buy the tools it needs
A workshop doesn't start with a shopping cart. It starts with a clear patch of floor, a few safe habits, and one bench you build yourself.
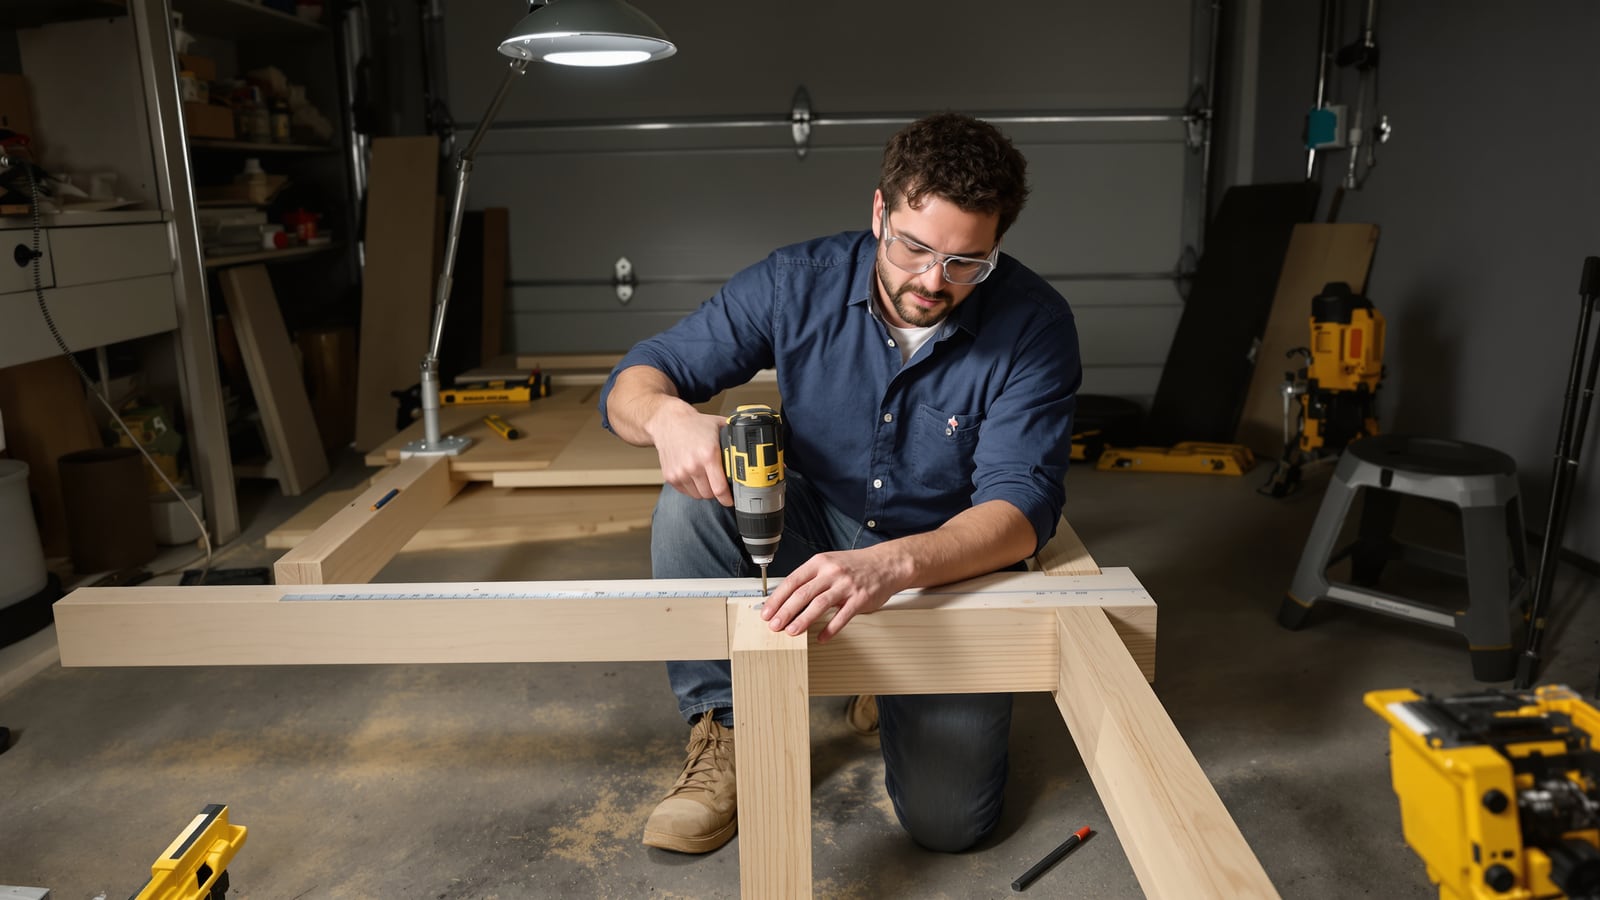
Quick answer: Clear a patch of floor about 6 by 8 feet. Put on safety glasses. Buy a dozen basic tools, build a workbench with them, and let each project after that tell you what to buy next.
What you'll be able to do
By the end of this guide you can:
- Choose and set up a safe, lit, powered workspace
- Buy a starter kit without buying a single tool you won't use this month
- Measure, mark, cut and fasten a straight, square joint
- Build a sturdy workbench, which is the best first project there is
- Close up shop every night so it's ready the next morning
1. Pick the space before the tools
Every beginner buys tools first and then discovers there's nowhere to put them. Do it backward.
You need a footprint of roughly 2 by 6 feet for the bench, plus about 3 feet of clear floor on the sides where you'll work. A one-car garage bay is plenty. So is the corner of a basement or a shed. An 8-foot board has to get from the truck to your saw, so check the path too.
Check four things before you move anything in:
- Light. One bare bulb isn't enough. Add a clamp lamp or a shop light over the bench.
- Power. You want a grounded outlet, and in a garage or basement it should be GFCI-protected. If it isn't, have an electrician look at it.
- Cords. Keep extension cords short and heavy-gauge. Don't chain them together, and don't run them across the floor where you'll be walking backward with a board.
- Fire. Mount an ABC-rated extinguisher by the door and make sure there's a working smoke detector nearby.
If kids are in the house, decide now where the tools live when you're not there. A cabinet with a lock isn't paranoia. It's a house rule that does the arguing for you.
2. Buy the safety gear first
Do this before you open a single tool box.
- Safety glasses marked ANSI Z87.1. Wear them every time something is cut, drilled, hit or sanded.
- Hearing protection for anything with a motor. Ears don't grow back.
- A dust mask, N95 or better, for sanding and sawing.
- A first aid kit on the wall, where you can reach it with one good hand.
Two habits go with the gear. Don't wear gloves around a spinning bit or blade, because they can pull your hand in with them. And tie back anything loose, whether that's a sleeve, a drawstring or a long beard.
3. Buy the starter kit, and stop there
You can build almost anything simple with these:
- 25-foot tape measure
- Combination square or speed square
- 16-ounce claw hammer
- Hand saw, either a standard crosscut or a pull saw
- Cordless drill/driver (18 or 20 volt) with a spare battery
- Drill bit set and driver bit set
- Two or four bar clamps, around 24 inches
- Utility knife
- Carpenter's pencil
- 24-inch level
- Sanding block
- A box of 3-inch construction screws
Skip the 300-piece mechanic's set, the table saw, the router and the "complete workshop" bundle. You don't know yet what you'll build, and a tool you bought on a hunch tends to become a shelf ornament.
Spend where it matters. A cheap tape measure is fine. A cheap square isn't, because everything you build hangs off it. Test yours by drawing a line along a straight board edge, flipping the square over and drawing a second line. If the two lines don't match, take it back.
The spare drill battery is the other one worth the money. Nothing kills a Saturday like a dead battery at 10 a.m.
4. Build the bench
A bench is the right first project because it's forgiving, you'll use it daily, and mistakes show up in a piece that only has to be sturdy, not pretty.
The target is about 6 feet long, 24 inches deep and 34 inches high, built from 2x4s with a 3/4-inch plywood top. Taller folks can add an inch or two. Stand with your arms hanging and the top should land near your wrist.
Follow this order:
- Cut your legs all to the same length. Clamp them together and mark one line across all four so they match.
- Mark with the square, not by eye. Draw an X on the waste side of the line. Cut so the pencil line stays on the board.
- Build two end frames first. Each is two legs and two short cross pieces.
- Pre-drill every screw hole, slightly narrower than the screw. It stops splitting and keeps the board where you put it.
- Join the end frames with long rails at the top and about 8 inches off the floor.
- Check for square. Measure corner to opposite corner across the frame. When both diagonals match, it's square. If they don't, nudge it and measure again before you tighten anything.
- Screw the plywood top down.
Expect to be annoyed at least once. The first cut will wander, and a screw will strip. That's the course tuition, and the bench is cheap enough to absorb it.
5. Let each project buy one tool
Once the bench is done, set one rule. You may buy a tool only when the project in front of you can't be finished without it.
A shelf for the shop might need a circular saw, and that's your first power saw. A small toolbox might make you want a block plane. A raised vegetable bed is a good third project, since it's mostly straight cuts and screws, and it gets you outside.
A workshop also pays you back in the house. Half the jobs on a good home maintenance list get easier once you own a drill, a level and a square. And when the weather turns, the same bench helps with winterizing the house and the truck.
6. Close up shop every time
Ten minutes. Sweep the floor. Put every tool back where it lives. Wipe the bench.
One rule is non-negotiable. Rags soaked in oil-based stain or linseed oil can heat up and catch fire on their own. Spread them flat outdoors to dry, or drop them in a metal can of water.
If you borrow a tool, return it cleaner and sharper than you got it, with a little something for the trouble. Do the same for the space. Leave it better than you found it, and the next Saturday starts that way too.
Printable checklist
- [ ] Space cleared: 6 by 8 feet, 3 feet of walking room
- [ ] Light over the bench
- [ ] GFCI outlet, short heavy-gauge cord
- [ ] ABC fire extinguisher by the door
- [ ] Smoke detector working
- [ ] Safety glasses (Z87.1), ear protection, dust mask
- [ ] First aid kit on the wall
- [ ] Tools locked away from kids
- [ ] Twelve starter tools bought, nothing more
- [ ] Square tested with the flip-line check
- [ ] Bench built and diagonals checked
- [ ] Oily rags plan: lay flat outside or metal can of water
- [ ] Ten-minute cleanup done before the lights go off
Self-check
Answer these without scrolling up.
- Why do you buy safety glasses before the drill? (Because the first time you use the drill is the first time you can get hurt.)
- How do you know a frame is square? (The two diagonals measure the same.)
- Which side of the pencil line does the saw cut go on? (The waste side, leaving the line on the board.)
- What's the rule for buying your next tool? (You buy it only when the project in front of you needs it.)
- What do you do with a rag soaked in oil-based stain? (Lay it flat outdoors to dry, or put it in a metal can of water.)
Four out of five, and you're ready to build. Fewer, and read the section again. A bench you build with your own hands is the easiest argument for the second one.
Wes Dunbar
Country & Skills
Grew up on an acreage and never quite left. Covers trucks, trades, land, and how to do the thing yourself.

Watch
Worth an hour of your evening
More from Guides & Checklists.
From channels we rate. Plays on YouTube.
Read next