A Cutting Board Is the Right First Woodworking Project
You don't need a garage, a table saw or a thousand dollars. You need a few hardwood boards, glue, two clamps and a free weekend.
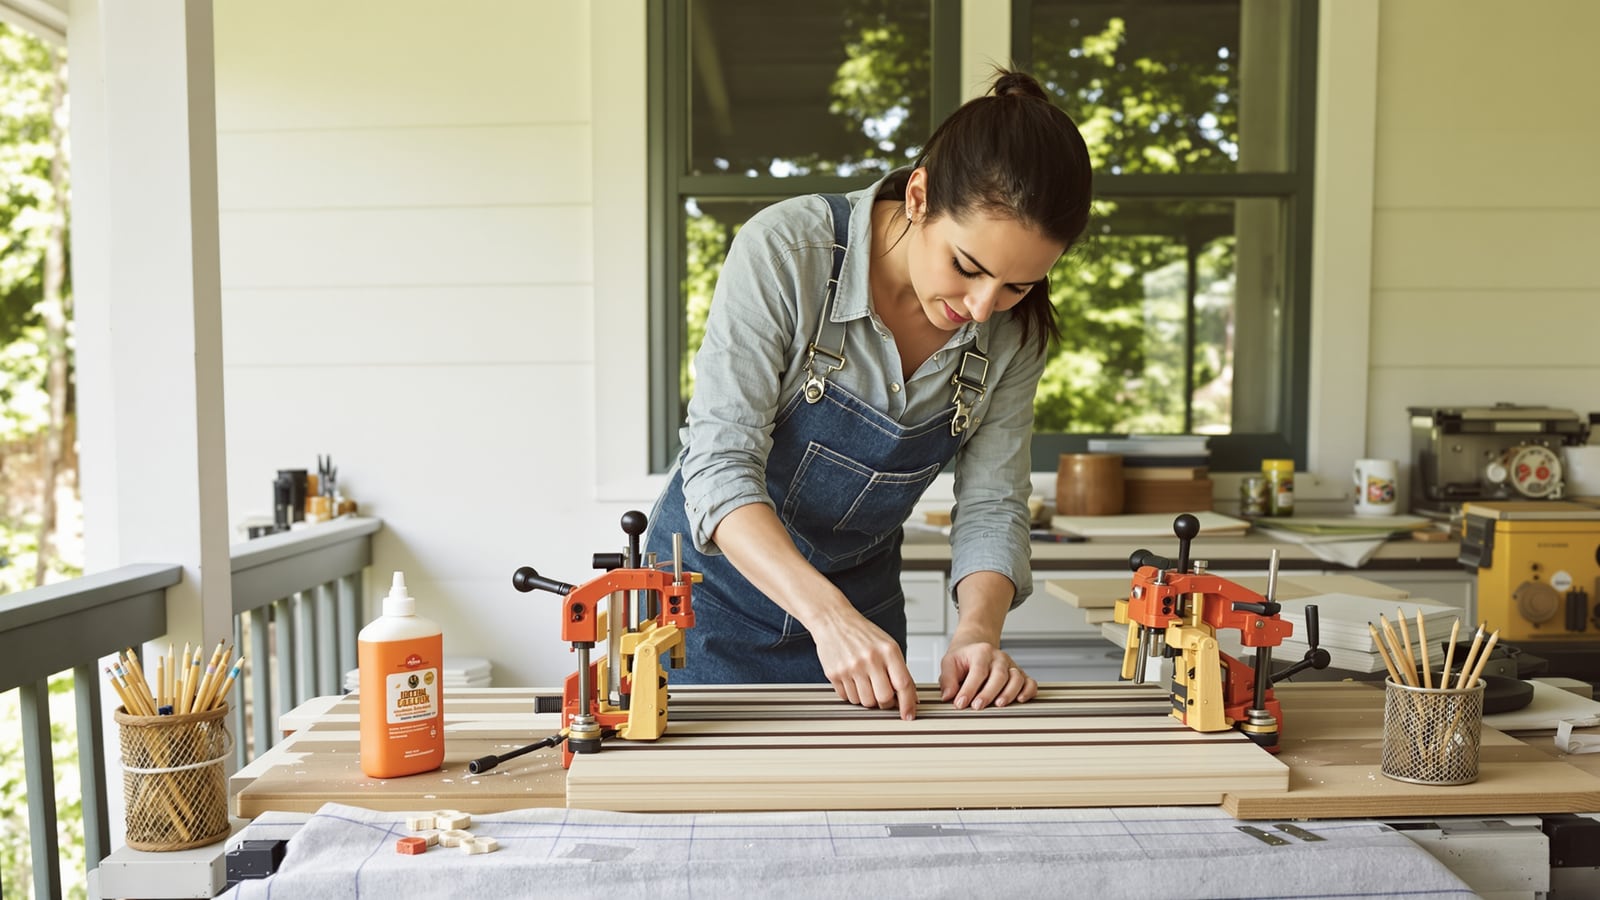
Quick answer: Buy two or three straight hardwood boards (maple is the safe pick), glue them edge to edge with Titebond III, clamp overnight, sand through four grits, and soak it in food-grade mineral oil. Plan on roughly $60 to $150 depending on whether you own clamps. Most of that gear is a one-time purchase.
Why this project and not a bookshelf
Every beginner wants to build a table. Every beginner ends up with a wobbly one and a quiet grudge against lumber.
A cutting board is small, flat and forgiving. It has one joint type, one glue, and a finish you can pour out of a bottle. You can finish it in a weekend and use it that same night. It also teaches you the three things every later project depends on: how to pick a board, how to clamp a glue joint, and how to sand without gouging.
And it's the best gift in the hobby. A board for your wife, your mom, a newlywed couple or the neighbor who watched your dog will get used for twenty years. A store-bought card gets used for about a minute.
What it costs, honestly
These are ballpark figures. Prices drift, so check the shelf.
- Hardwood: About $30 to $60 for enough hard maple, cherry or walnut for one board. A hardwood dealer will usually beat the big-box store on quality. Ask for boards already surfaced on all four sides. The term is "S4S."
- Glue: Titebond III, around $10 for a bottle that will outlast several boards. It's waterproof, and the maker rates it for indirect food contact.
- Clamps: Two or three 24-inch bar clamps, around $20 to $30 each. Irwin Quick-Grips are the common starter choice. This is the one real expense. Borrow before you buy.
- Saw: A Japanese pull saw runs about $25 to $40. A circular saw you already own works too.
- Sanding: A sanding block and sheets of 80, 120, 180 and 220 grit, about $15 total. A random orbit sander is nice and not needed.
- Finish: Food-grade mineral oil for under $10. Add a small block of beeswax if you want a nicer surface. If you've read about your first beehive, you already know where good beeswax comes from.
Add safety glasses and a dust mask. Sawdust in your eyes is a lesson you don't need to learn firsthand.
The first three things to do this week
1. Go buy the wood in person. Don't order online. You need to sight down each board like a rifle barrel and check that it's straight. Look for flat boards with no cup or twist. Plan for a finished board about 12 by 18 inches. Three boards of about 4 inches wide, cut to 18 inches long, will do it. Ask if the yard will cut them to length. Many will, and it saves you the saw work.
2. Dry-fit before you touch glue. Lay the boards side by side on a flat surface. Rotate them until the grain looks good and the edges meet without gaps. Hold them up to a window. If you can see daylight in the seam, the edges aren't straight. Fix that now with a hand plane or a sanding block clamped to the bench. Mark the order with a pencil triangle across all the boards so you can reassemble them without thinking.
3. Glue and clamp. Spread a thin, even layer of Titebond III on the touching edges. Press the boards together and snug the clamps. Alternate them above and below the board so the panel doesn't bow. Tighten until you see a thin bead of glue squeeze out along the seam. Don't crank them like you're mad at them. Wipe the squeeze-out with a damp rag, not your sleeve. Then leave it alone for 24 hours.
Your "workshop" can be a kitchen floor with a bath towel on it. Hand sawing is quiet enough for an apartment. Sanding makes dust but not much noise.
Finishing: where patience pays
Once the glue cures, scrape off any dried bead. Then sand.
Start with 80 grit and work until the seams are flush and the surface feels flat. Move to 120, then 180, then 220. Don't skip steps. Each grit removes the scratches from the one before. If you skip, those scratches show up the moment the oil goes on, and they'll stay there for years.
Ease the edges and corners with a few passes of sandpaper so they don't chip. Wipe the board with a damp cloth to raise the grain, let it dry, and give it one more pass with 220.
Then oil. Pour on mineral oil until the surface won't take any more, let it sit for a few hours, and wipe off the excess. Do it again the next day. Plan on a fresh coat once a month for the first few months. Dry wood looks gray and cracks. Oiled wood looks like it cost more than it did.
Don't use olive or vegetable oil. They can go rancid.
The mistakes everyone makes
- Choosing the wrong wood. Skip pine and other soft woods. They dent and scar. Skip red oak, too. Its open pores trap moisture and food. Hard maple, cherry and walnut are all good.
- Skipping the dry fit. A gap you notice with glue on your hands is a gap you'll live with.
- Using too few clamps. Two is the minimum. Three is better.
- Rushing the glue. The bottle says you can take the clamps off in under an hour. Don't. Overnight is better.
- Quitting at 80 grit. The board will look done and feel rough. Take it through 220.
- Treating the board like a dish. Never put it in the dishwasher or leave it soaking in the sink. Wash it by hand, dry it standing on its edge, and oil it when it looks thirsty.
Find the people who do this
A cutting board will get you hooked on the next problem, and the next problem is easier with someone to ask. Here's where to look:
- A local woodworkers' guild. Search your city or county name plus "woodworking guild." Most meet monthly, and nearly all welcome beginners who show up with questions.
- Woodcraft and Rockler stores. Both run beginner classes and demos. Even if you buy nothing, the staff will talk to you about your project.
- A makerspace or community college. They have the big tools, a shop to use them in, and instructors who'll make sure you keep all ten fingers.
- The public library. Some now lend out tools. Ask at the desk.
When you borrow clamps, return them cleaner than you got them, with a bottle of something good for the guy who lent them. When you use a shared shop, sweep the floor before you leave, whether it was dirty when you walked in or not. That's how you get invited back.
If the cutting board bug bites, the next steps are close at hand. Another small-hands hobby with the same satisfaction is leatherworking. If you want to build something bigger on a similar budget, a model railroad on a sheet of plywood is your next stop.
Make the first board ugly if you have to. Then make a second one.
Dean Shaw
Gear & Garage
Reads the warranty, the parts list and the long-term owner reviews before anything else. Trucks, tools, watches, and the cheap version that costs more.

Watch
Worth an hour of your evening
More from Hobbies.
From channels we rate. Plays on YouTube.
Read next