Build cornhole boards that survive the fifth summer
Most backyard sets warp, split or mildew by year two. The fix is sealing the parts nobody looks at and storing them like you mean it.
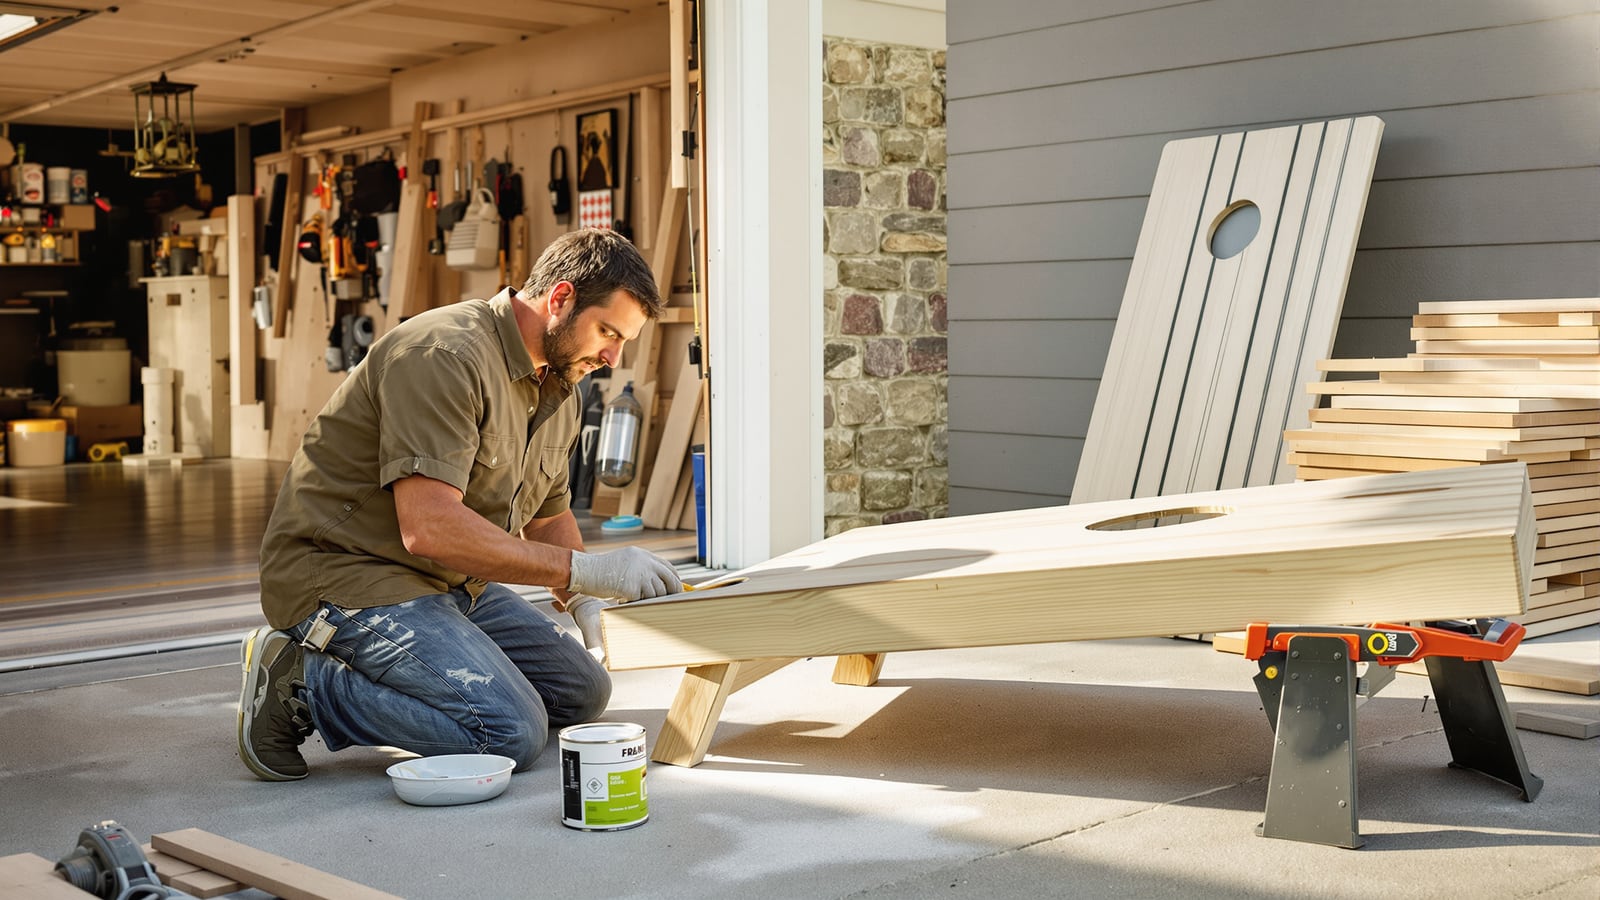
Quick answer: Use 3/4-inch exterior-rated plywood, 2x4 frames, waterproof glue and coated or stainless screws. Seal every surface, including the underside and the inside of the hole. Fill your bags with resin, not feed corn. Store the whole set out of the rain.
A store-bought cornhole set looks great for about one summer. Then the plywood edge drinks a thunderstorm, the top bubbles near the hole, and the boards start rocking like a bad table at a diner.
Homemade sets fail the same way, and almost never because of the carpentry. They fail because the builder sealed the part people see and ignored the rest. Water doesn't care which side is the pretty one.
Build for the fifth summer and you'll spend one weekend instead of five.
Buy the right plywood, then buy it once
One 4x8 sheet of 3/4-inch plywood makes two decks at 24 by 48 inches, which is regulation size. One sheet, one set, almost no waste.
Get exterior-rated plywood with one sanded face. Skip the cheapest sheathing grade, which has voids in the middle layers that show up as soft spots and ragged cut edges. Pick the sheet up and sight down it before you pay. If it bows in the store, it'll bow in your yard.
For the frames, you need straight 2x4s. Buy them from the middle of the stack, not the top, and check each one by looking down its length like you're aiming a rifle. A frame built from a twisted 2x4 never sits flat, and no amount of clamping fixes it permanently.
Everything that holds the boards together should be made for outdoors:
- Exterior wood glue (look for one labeled waterproof)
- Coated deck screws or stainless screws
- A carriage bolt, washer and wing nut or lock nut for each leg
Plain drywall screws rust and leave black streaks. Don't use them.
Build the frame to resist twisting
Each frame is a rectangle: two 48-inch rails and two 21-inch end pieces set between them, which makes the outside 24 by 48. Add one center brace, also 21 inches. A deck that size flexes when it takes a bag at speed. The brace stops that.
Glue every joint, then screw it. Pre-drill the ends so the 2x4s don't split. Glue gives you the strength and screws hold things while it cures, so be generous with both and wipe off the squeeze-out before it dries.
Lay the deck on top and glue and screw it down too. Check for square by measuring corner to corner both ways. If the two numbers match, you're square. If they're off by a quarter inch, fix it now, while the glue's still wet.
Cut the hole, then protect it like a weak point
The hole is 6 inches across, centered side to side, with its center 9 inches down from the top edge. Mark it with a string and a pencil, drill a starter hole inside the line, and cut with a jigsaw. Take your time. A wobbly cut shows forever.
Sand the inside edge smooth and round it slightly. Then seal it with the same care as the top. That raw plywood edge is exposed grain, and it wicks moisture first. It's where most boards die.
Seal everything, in this order
- Sand the top to 120 grit, then 220. Ease every corner.
- Prime or paint if you want color. Exterior latex works. Stencil your last name or a team logo if you like. Bags slide on paint, so keep it thin.
- Seal the underside, the frame and every edge with the same exterior clear coat you'll put on top. Yes, the part facing the dirt.
- Coat the top at least three times with exterior polyurethane, sanding lightly with 220 between coats.
The top should be slick enough for a bag to slide but not glassy. Some people finish with a light coat of paste wax. Others skip it. Either way, wipe off dust before each coat, because dust becomes bumps.
The annoying part is the drying time between coats, since it's slow. Pick a dry weekend and plan to finish it Sunday evening. Rushing a coat on a humid day gives you a cloudy finish.
Legs that fold and don't wobble
Cut four legs from 2x4 and round the top end so they can swing. Bolt each one through the frame with a washer on both sides and a lock nut. Test with a scrap first. The back edge of the board should sit 12 inches off the ground when the legs are open, so cut one leg, check it, and then cut the other three to match.
A couple of tips from the school of getting it wrong once:
- Wing nuts loosen. Lock nuts don't.
- Rub the folding leg edge with a little wax so it swings without sticking.
- Check the board on a flat surface. If it rocks, trim the longer leg a hair, not the shorter.
Bags: skip the feed corn
Regulation bags are 6 by 6 inches and weigh 15 to 16 ounces. Stitched duck cloth is fine. What matters is the filling.
Real corn looks right and acts wrong. It absorbs damp, clumps, goes musty, and invites mice. Fill bags with plastic resin pellets instead. They don't rot, they don't smell and they keep their weight. Sew or buy double-stitched bags, and use two colors, four bags each.
If you're making your own, you can use duck canvas and a sewing machine. If you're buying, check the stitching at the corners before anything else.
Set up the court and keep it alive
Place the boards 27 feet apart, measured from the front edge of one to the front edge of the other. Put them on firm, level ground. Lawn is fine. The grass takes a beating, so shift the setup a few feet every few weeks.
Scoring is easy. A bag in the hole is 3 points. A bag on the board is 1. Bags that touch the ground don't count. Cancel out the two teams' scores each round and play to 21. Teach it to a nine-year-old in under a minute and she'll beat you by August.
Now the part that keeps the set alive. Don't leave it in the yard overnight. Rain, sprinklers, and morning dew on a south-facing deck all add up. Keep the boards in the garage, shed, or under a deck. Stand them on their sides with a spacer so air moves around them.
Stack them flat, and you trap moisture and get a banana shape by spring.
Wipe the tops with a dry towel before you store them. Twice a year, hit the surface with a light sanding and a fresh coat of clear. That ten-minute job adds years.
When it makes sense to skip the build
If you've never owned a jigsaw and don't plan to, buying a decent set is a perfectly sensible choice. The same rules apply. Check the plywood edges and the hole for sealing before you pay, and be ready to coat the underside yourself the day it arrives.
If you do want a build project with a payoff, the case for a hobby that leaves sawdust on the floor is worth a read. And a finished set is a good excuse for starting the weekly game yourself, because nobody else will. It's also an easy way to spend an afternoon with your dad, which a three-hour game makes simple.
One last rule of the backyard. If you borrow a neighbor's set, bring it back dry, wiped down, and with the bags counted. Maybe leave a cold drink on the porch.
Then go build your own.
Marcus Vale
Editor-in-Chief
Twenty years in magazines, most of it deciding what to cut. Writes about work, discipline and the decisions that compound.

Watch
Worth an hour of your evening
More from Play.
From channels we rate. Plays on YouTube.
Read next