Caulk is the wrong fix for most basement cracks
A tube of caulk won't hold back a spring thaw. Read the crack first, match the product to it, and fix the water outside the wall.
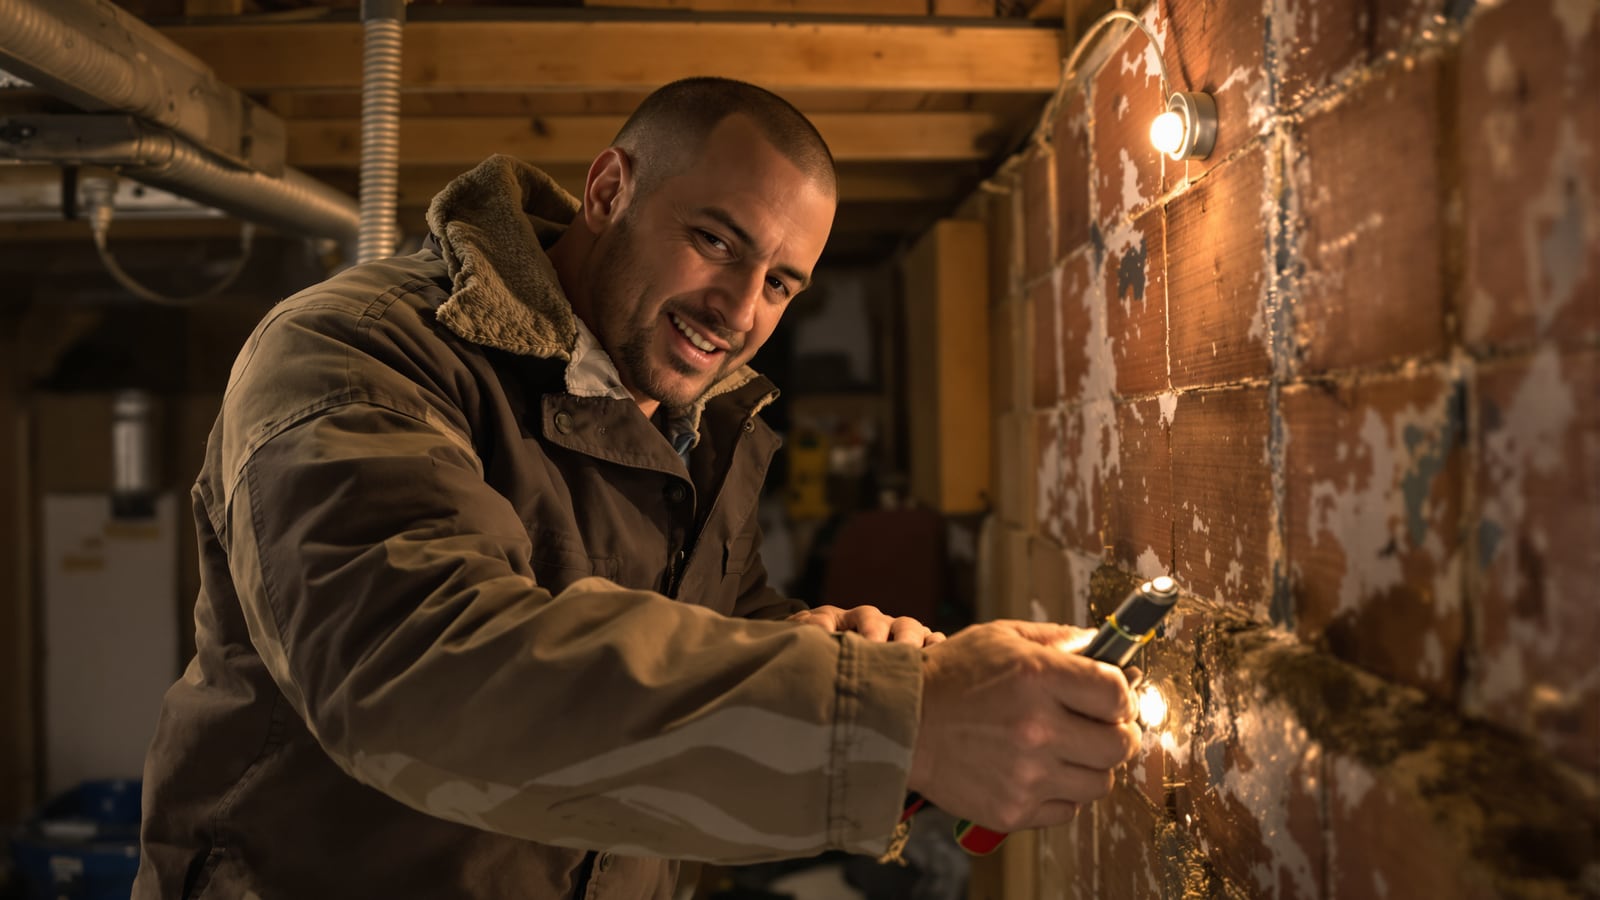
Quick answer: Hairline cracks that don't move can be sealed with a masonry-rated polyurethane sealant. Seeping or wet cracks need hydraulic cement or an injection kit. Anything wide, horizontal or stair-stepped needs a structural pro before you touch a tube.
Most guys grab the caulk gun, smear a bead down the crack, and call it done. By April, the bead has peeled and the crack is weeping again.
That's not bad luck. It's a mismatch. A basement crack is a symptom, and the sealant has to fit what the crack is doing.
Read the crack before you buy anything
Take a flashlight and a pencil. Go along every wall and look at three things.
Direction. Vertical or slightly diagonal cracks, often near the middle of a wall or near a window corner, are usually shrinkage or minor settling. Those are the repairable ones.
Width. Hairline is fine. Wider than about a quarter inch is a rough line where you stop and call somebody.
Offset. Run your fingertip across the crack. If one side sits proud of the other, the wall is moving, and no sealant fixes that.
Stop here and call a structural engineer or a foundation contractor if you see any of these:
- A horizontal crack, especially at mid-height on a block or poured wall
- A stair-step crack following the mortar joints in block
- A wall that bows inward, or a crack that's visibly wider at one end
- A crack wider than a quarter inch, or with one side offset
Horizontal cracking and bowing often mean soil pressure outside is pushing the wall in. Caulk on that's a bandage on a broken arm. Get an assessment first, then a quote. Knowing when to stop and how to get a quote you can trust covers how to do that without getting steamrolled.
Mark it and watch it
If the crack looks minor, put a pencil tick at each end and write the date on the wall. Check it in a month. If the crack has grown past the ticks, it's moving. If it hasn't, it's probably stable.
Some people buy a cheap crack monitor from a hardware store. Same idea, better precision. Either way, you want to know whether the crack is alive before you seal it.
Figure out where the water comes from
Tape a square of plastic wrap tight against the dry wall near the crack, sealed on all four edges. Leave it for a day or two. Moisture on the wall side means water is coming through. Moisture on the room side means it's condensation from humid air, and sealing the crack won't help. You need a dehumidifier.
For a stubborn spot, run a hose along the outside of the foundation at that location for fifteen minutes while a helper watches inside. It's crude, and it works.
Pick the product for the job
This is the part the tube label doesn't tell you.
- Hairline, dry, not moving: A polyurethane sealant rated for masonry. It stays flexible, so it follows small seasonal shifts. Cheap acrylic caulk doesn't. Read the label for "masonry" and "concrete," not just "waterproof."
- Damp or seeping, not moving: Hydraulic cement. It sets even with water present. You press it in by hand in a prepared groove, and it hardens fast. Mix small batches because you'll have about minutes, not an afternoon.
- Full-depth crack, leaking steadily: An injection kit. Epoxy bonds the crack and restores some strength. Polyurethane foam stays flexible and expands to fill the void. Epoxy suits stable cracks. Foam suits cracks that may still move a little. Read the kit instructions twice, because the sequence matters.
- Deeper than about a quarter inch at the surface: Pack in foam backer rod first so the sealant bridges the gap and doesn't just sink into it.
The honest trade-off: all of these work from the inside, and water pressure is still building behind the wall. For a hairline crack, that's fine. For a crack that gushes in every thaw, the real fix is outside, and the interior seal is a stopgap.
Prep is eighty percent of it
A perfect sealant on a dirty crack fails. Here's the order that works.
- Wire-brush the crack and an inch on each side. Knock off flaking paint, efflorescence (the white powdery crust) and loose crumbs.
- For sealant, open the crack into a shallow V with a cold chisel and a hammer so the product has depth to grip. Wear safety glasses.
- Vacuum out the dust. Then wipe it.
- Let it dry fully, unless you're using hydraulic cement, which wants a damp surface.
- Check the temperature range on the label. Most products have a minimum, and cold concrete in a late-winter basement can fall short of it.
- Apply, tool the bead flat with a gloved finger or a plastic spoon, and leave it alone for the full cure time on the package.
Don't grind concrete without a proper respirator. The dust is fine, hard to see, and not something you want in your lungs. Open a window if you're using polyurethane, because the fumes build in a closed basement.
The seal is only half the job
Water follows the easy route. If the soil outside the wall is saturated every thaw, it will eventually find any gap you've missed.
So walk the outside of the house.
Grade. The ground should fall away from the foundation, a rule of thumb being about six inches over the first ten feet. If it slopes toward the wall, add compacted fill and fix it.
Downspouts. Extend them so they dump water several feet from the house, six if you can. A downspout that ends at the foundation is basically a pipe aimed at your basement.
Gutters. Clear them. Clogged gutters overflow right where you don't want water.
Window wells. Clear debris, and make sure the drain at the bottom works.
The home maintenance calendar that prevents the big repairs puts these checks on a schedule so you do them before the thaw, not after.
When to hire it out
Call a pro for any crack that fails the checks above. Call one if you've sealed a crack and it leaks again within a season. And call one if you've got standing water anywhere near outlets, a panel or appliances. Stay out of that water and have the power shut off by a licensed electrician first.
Before you buy a house, it's worth knowing what a standard inspection skips. What your home inspector won't check, and what you should lists the basement questions to ask.
Finish like you mean it
Wipe down the tools and wash out the shop vac. Put the cap on the sealant with a nail in the nozzle so the next guy, or you next fall, finds it usable. Then leave that pencil date on the wall. In April, you'll know exactly what held.
Wes Dunbar
Country & Skills
Grew up on an acreage and never quite left. Covers trucks, trades, land, and how to do the thing yourself.

Watch
Worth an hour of your evening
More from Home.
From channels we rate. Plays on YouTube.
Read next