Sharpen a handsaw at the bench and keep every tooth
A marker, a three-corner file and a steady count will bring a dull handsaw back. Rush it and you'll make the saw worse than it was.
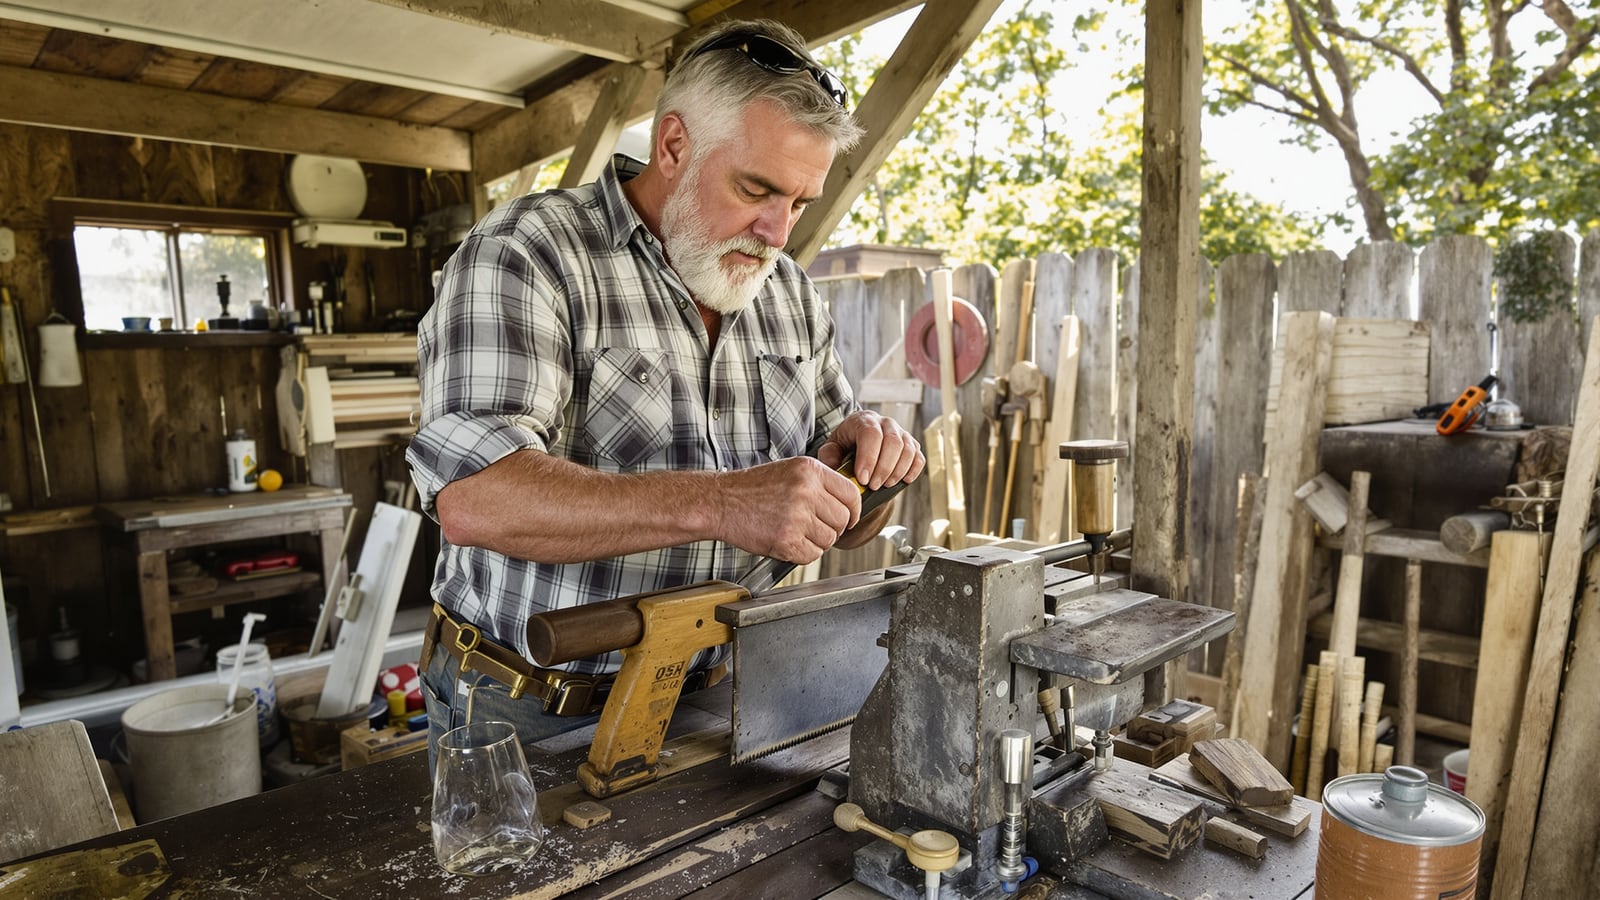
Quick answer: Clamp the blade, flatten the tooth tips with a file, color them with a marker, then file each gullet with the same number of light strokes until the marker is gone. Even work beats aggressive work every time.
Check the saw before you touch it
Run a file lightly across a few teeth. If it bites and leaves bright metal, you're in business. If it skates and squeals like chalk on a board, stop. Those are hardened teeth, the blue or black tips on most big-box saws sold in the last few decades. They stay sharp a long time, then they're done. A regular file just dulls against them.
Older saws are different, and they're the ones worth saving. A rusty flea-market handsaw with a good steel plate and a solid handle will outcut a new cheap one once you've sharpened it. Practice on one of those. Pick a saw with big teeth, around 7 to 10 per inch, because they're easier to see and forgive more.
Now figure out which kind of saw you've got:
- Rip saw: cuts along the grain. Teeth are chisels, filed straight across at square.
- Crosscut saw: cuts across the grain. Teeth are knives, filed at an angle so they sever the fibers.
Look at the existing teeth under good light. The old angles are your pattern. Your job is to restore them, not redesign them.
Gather what you need
- A triangular saw file in the right size, with a handle on it
- A flat mill file for flattening the tips
- A permanent marker
- A way to hold the blade rigid: a saw vise, or two straight boards clamped in a bench vise with the saw sandwiched between
- A bright light, off to one side so the teeth throw shadows
File size matters. As a rough guide, a 6-inch slim taper suits about 7 to 9 teeth per inch, a 5-inch handles 10 to 11, and a 4-inch covers the finer saws. The maker's chart on the package beats my rule of thumb, so check it. A file that's too big rounds out the gullets. One that's too small does it slowly and wanders.
Safety, and it's short
Put a handle on the file. A bare tang will go through your palm the day it catches. Keep your free hand behind the teeth, never in front of them, and never run a thumb along an edge to "test" it. Lay the saw down with the teeth away from you when you're done filing, not hanging off the bench edge.
A slipped file gives you a nick, not a disaster. If it's worse than a nick, this piece on the ten minutes before help arrives is worth knowing cold.
Clamp it right
Seat the blade so the teeth stand about a quarter inch above the jaws. Any higher and the plate flexes and chatters under the file, and the chatter ruins the cut. Any lower and the file bangs the vise.
Work with the blade at a comfortable height, about elbow level. You want to stand square to the work and let your whole forearm push, not just your wrist.
Joint the teeth
Teeth wear unevenly, and a tall one does all the cutting while its neighbors coast. Fix that first.
Lay the flat file on its side along the tops of the teeth. A small wooden block under the file helps keep it square. Take one or two light passes, end to end. You're looking for a tiny bright flat on the top of every tooth.
If some teeth show no flat after a pass or two, they're low. Keep going until they do, but no further. You're shaving the tallest teeth down to match the shortest, and every pass is metal you won't get back.
Mark the tops
Run the marker along the tooth tips so every little flat is colored.
This is the whole trick. When you file the gullets, you're sharpening each tooth until the marker disappears from its tip. No more guessing, no more over-filing one tooth and under-filing the next. When the black is gone from the point, that tooth is done.
File the teeth
Set the file in the first gullet. Push it forward, cutting on the push stroke only. Lift slightly on the return so you don't dull the edge dragging backward. Use the file's full length. Pressure should be light, enough that you feel it bite and no more.
For a rip saw, hold the file level and square across the blade, with just a few degrees of forward lean to match the existing teeth. File every gullet straight through, one after another, with the same number of strokes each. Three to five is typical. The count matters more than the number.
For a crosscut saw, angle the file off square, roughly 20 degrees, matching what's already there. Each gullet you file bevels the front of one tooth and the back of the next. So you skip every other gullet:
- File every other gullet from this side, counting your strokes.
- Flip the saw end for end in the vise.
- File the gullets you skipped, with the same count and the same angle.
Watch the marker. Stop when the black is gone from the tips and the points are sharp. Resist one more stroke. Extra strokes make the teeth shorter and the gullets deeper, and soon the saw clogs.
Count out loud if you have to. A rhythm that's off by a stroke or two on some teeth is how a saw ends up pulling to one side.
What to do about set
Set is the slight outward bend of every other tooth, which gives the blade clearance so it doesn't bind in the cut. If your saw cuts freely and tracks straight, leave it alone. If it binds partway through a board, it needs more set, and you'll want a proper saw set tool. Bend only the top third of each tooth, and never fuss with it before you've made a test cut. It's easy to overdo and hard to undo.
Test it on scrap
Cut a piece of pine. A well-sharpened saw starts without skating, pulls itself into the wood with little pressure from you, and leaves a clean kerf that doesn't wander. You should be guiding it, not shoving it.
If it drifts left or right, you've got one side with more bevel or more set than the other. If it chatters and grabs, the teeth are uneven or the gullets are too deep. Joint lightly, re-mark, and refile. It's not a failure. Everybody does it a second time on their first saw.
Finish and put it away
Lay a fine stone flat against each side of the blade and give one light pass to knock off the burr. Wipe the plate with a rag and a drop of light oil, or rub in paste wax, so it doesn't rust. Hang it up or slip on a tooth guard. A saw tossed in a toolbox with the wrenches loses its edge in a week.
One more thing. If you borrowed that saw, give it back sharper than you got it, handle wiped down and plate waxed. A neighbor who gets his saw back better than he lent it will lend you the next one without a thought. And if you're lending your own, the same care applies to the jobs you take on yourself. Know your limits, then do the work properly inside them.
A sharp saw makes you slower to rush and faster to finish. Thirty quiet minutes with a file will pay you back on the first board.
Wes Dunbar
Country & Skills
Grew up on an acreage and never quite left. Covers trucks, trades, land, and how to do the thing yourself.

Watch
Watch how it's done
Picked for this article.
From channels we rate. Plays on YouTube.
Paul Sellers
Sharpening a Crosscut Handsaw | Paul Sellers
Lie-Nielsen Toolworks
Saws, Part 2: Sharpening a Crosscut Saw & Setting the Teeth (with Tom Lie-Nielsen)
Read next