
Headlights, Wipers and the Cabin Filter in One Afternoon
Three jobs a shop charges real money for, all doable in your driveway with a 10mm socket, a pair of gloves and about an hour.
The cabin air filter in most cars sits behind the glovebox, held in by a plastic door with two tabs, and swapping it takes about eight minutes the first time you do it. The filter itself runs somewhere around fifteen to thirty dollars at any parts counter. A dealer will happily add it to your service ticket at three or four times that, because they're billing shop time at a hundred-plus an hour and nobody argues.
That's the whole pitch for learning these three jobs. They're not hard. They're just annoying enough that most people pay someone, and the markup on annoying is enormous.
Do them in this order: filter, wipers, headlights. The difficulty climbs as you go, and by the time you're reaching into the engine bay you'll have your hands warmed up.
Start with the glovebox, because it's the easy win
Open the glovebox. Empty it onto the passenger seat. Now look at the sides.
On most cars there's a stop on each side, sometimes a rubber bumper, sometimes a tab you squeeze inward, that keeps the door from dropping all the way down. Pinch both sides and the glovebox swings past its normal stop. On a lot of Hondas and Toyotas you'll also find a little damper arm on the right side, a thin plastic piston, and you pop that off its ball socket first with a fingernail. Don't yank it. It snaps.
Behind the glovebox you'll see a rectangular plastic cover, maybe eight inches wide, with two tabs. Squeeze, pull, and the old filter slides out.
It will be disgusting. Pine needles, a maple seed or two, a gray mat of road dust that used to be white. If you've been running the AC through a summer with the recirculate button off, the whole thing smells like a basement. That's the smell you've been blaming on the floor mats.
Slide the new one in with the arrow pointing the right way. There's an arrow printed on the cardboard frame showing airflow direction, and on most cars that means the arrow points down, toward the blower motor under the dash. Put it in backwards and the filter still works, mostly, but it'll load up faster and you'll have done the job wrong for no reason. Take five seconds and check.
Snap the cover back, reattach the damper arm, lift the glovebox until the stops catch. Done. Do it once a year, or every 15,000 miles, and more often if you drive dirt roads or park under trees.
One honest caveat: a handful of cars put the filter somewhere idiotic. Some older Subarus and a few European sedans hide it under the cowl at the base of the windshield, which means wiper arms and plastic trim come off first. Look up your specific year and model before you commit your Saturday.
Wipers, and the mistake that cracks windshields
Two things people get wrong with wiper blades. The first is buying two of the same length.
Your driver's side and passenger side blades are usually different sizes, sometimes by four inches. A 26-inch driver and a 17-inch passenger is a common pairing. The parts store lookup will tell you, or you can measure the old ones with a tape. Buy the right pair and write the sizes on a sticky note in the glovebox so you never look it up again.
The second mistake is the expensive one. When you pull the blade off the arm, that arm is under spring tension, and there's nothing between the bare metal hook and your windshield. It comes down like a hammer. Lay a folded towel on the glass before you start, and don't let go of the arm.
The blade itself usually comes off by pressing a tab on the underside of the connector and sliding the blade down the hook. Beam blades, the one-piece curved kind without the exposed metal skeleton, clip on the same way and handle snow better because there's no frame to pack with ice. They cost more. Whether the extra fifteen dollars is worth it depends on where you live. In Tucson, no. In Buffalo, absolutely.
Before the new ones go on, wipe the windshield down with rubbing alcohol on a clean rag. Road film builds a slick layer that makes brand-new blades chatter, and then you blame the blades.
If your car has a rear wiper, replace that too. Nobody ever does. Then it snows in November and you find out the hard way that the rear blade is eleven years old and shaped like a banana.
Headlights, gloves on
Pop the hood and find the back of the headlight housing. You're looking for a round plastic cap or a rubber boot, and behind it, a bulb held in by a twist-lock collar or a wire clip.
First, know what bulb you're buying. H11 is common for low beams, 9005 for high beams, 9003 or H4 for combined units on older cars, H7 on a lot of European stuff. The number is stamped on the base of the old bulb. If you can't read it, the parts store lookup is reliable.
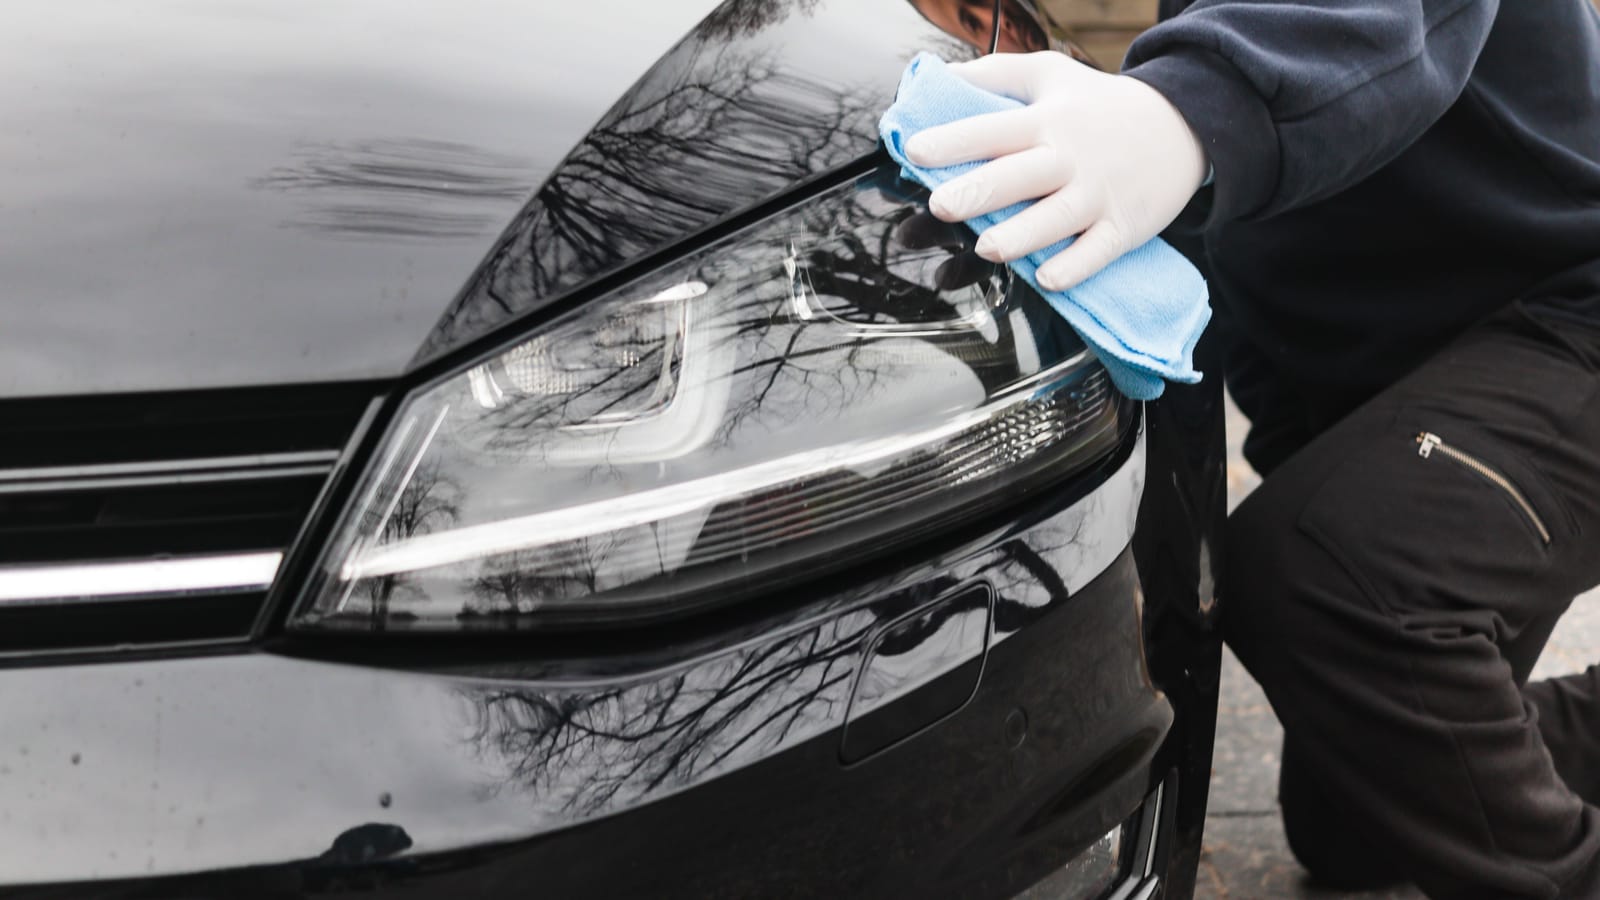
Wear nitrile gloves, and never touch the glass of a halogen bulb with bare skin. The oil from your fingers creates a hot spot on the quartz envelope and the bulb dies early. This isn't an old wives' tale. Handle it by the plastic base only. If you do touch it, wipe it down with alcohol before installing.
Disconnect the wiring plug first, then release the bulb. Twist-lock collars turn counterclockwise about a quarter turn. Wire clips pivot on a hinge and need to be pushed in and up before they swing clear, and they're designed by people who apparently have hands the size of a child's.
Buy bulbs in pairs and replace both sides at once. They're the same age and the second one will fail within a few months of the first, usually on a rainy Tuesday when you don't have time.
Now the part that saves you real grief. On some cars, you get to the bulb through an access panel in the wheel well liner, which means turning the wheel to full lock and pulling three plastic push-clips with a trim tool. Doable. On others, mostly certain Fords, Hondas and Chryslers, the factory procedure involves removing the front bumper cover. If your car is one of those, know that going in and decide whether you want the afternoon.
Skip the LED "upgrade," and know when to stop
You'll see LED bulbs sold as drop-in replacements for halogen housings. They're bright. They're also aimed wrong by design, because a reflector housing is engineered around the exact position and shape of a halogen filament, and an LED emitter doesn't sit in the same place. The result is scatter: less usable light on the road and a lot more glare in the face of the guy coming the other way. Several states will fail you on inspection for it. Buy a quality halogen in the correct spec instead.
Some jobs you hand off. Factory HID systems run high voltage through a ballast and a bulb that costs real money, and a sealed LED module usually means replacing the entire headlight assembly. That's a different project with a different budget.
But the filter, the blades and a burned-out low beam? That's an hour, a 10mm socket, and maybe sixty dollars in parts.
Your kid can hold the flashlight. That's how this gets passed down.
Dean Shaw
Gear & Garage
Reads the warranty, the parts list and the long-term owner reviews before anything else. Trucks, tools, watches, and the cheap version that costs more.

Watch
Worth an hour of your evening
More from Cars.
From channels we rate. Plays on YouTube.
Read next