

Your Shower Arm Is Dripping Into the Wall. Stop It Today
A six-dollar leak at the shower arm can soak the framing for months before anything shows. Find it, fix it, and don't hide it under caulk.
Quick answer: If water runs down the arm and disappears behind the round flange at the wall, the threaded joint inside is leaking. Often the fix is a new arm and fresh plumber's tape, about fifteen dollars and twenty minutes. If the fitting inside the wall is cracked, the wall has to be opened, and that's a job for a licensed plumber.
Start with the part nobody wants to hear. The leak you can see is rarely the leak that's doing the damage. A shower arm only holds pressure when the shower is running, so the leak shows up for ten minutes a day, behind a flange, where the water runs down the pipe and into the stud bay. You won't see a puddle. You'll see a brown ceiling stain in the room below six months later.
Why the water goes into the wall
The arm is a short pipe that threads into a fitting inside the wall, usually a brass or plastic drop-ear elbow screwed to a wood block. The round flange (the escutcheon) is a trim ring that hides the hole. It isn't a seal.
Three things fail, in rough order of how often:
- The tape is gone. Old plumber's tape dries out, or it was never wrapped right. Water weeps out of the threads and follows the pipe inward.
- The arm was overtightened or loosened. Someone swapped a showerhead and torqued the whole arm with a wrench. The joint shifted and never sealed again.
- The fitting is cracked or corroded. Plastic elbows split from overtightening. Old metal ones corrode at the threads. This is the expensive one.
Diagnose before you touch a wrench
Dry the arm, the flange and the wall around it with a towel. Run the shower for five minutes with a dry paper towel tucked around the flange, and watch.
Water beading at the showerhead swivel or collar means the leak is outside the wall. A new washer or tape on the head threads solves it, and you can stop reading here.
Water appearing at the flange while the head joint stays dry points inside the wall. Now check for damage that's already happened:
- Press the wall around the flange. Soft or crumbly drywall means it's been wet a while.
- Look for bubbled paint, stained grout, or tile that's loose or hollow when you tap it.
- Check the ceiling and walls on the other side of the shower, including the room next door.
- Buy a pin-type moisture meter for twenty to forty dollars if you want a number instead of a hunch. Wet readings that stay high a day after the last shower mean the cavity isn't drying.
One more test. If the leak happens only when the shower runs, it's downstream of the valve, which is where the arm lives. If water keeps showing up with the shower off, you've got a supply line or valve problem, and that's a plumber.
Shut it off, then pull the arm
Close the shower valve. Most showers have no separate shutoff, so if you want zero risk, turn off the main water supply and open a faucet on the lowest floor to drain the lines. If the ceiling below is stained or sagging, kill the breaker for that room before you touch anything. Water and wiring sit closer together than you think, and don't stand under a ceiling that's bowing.
You'll need:
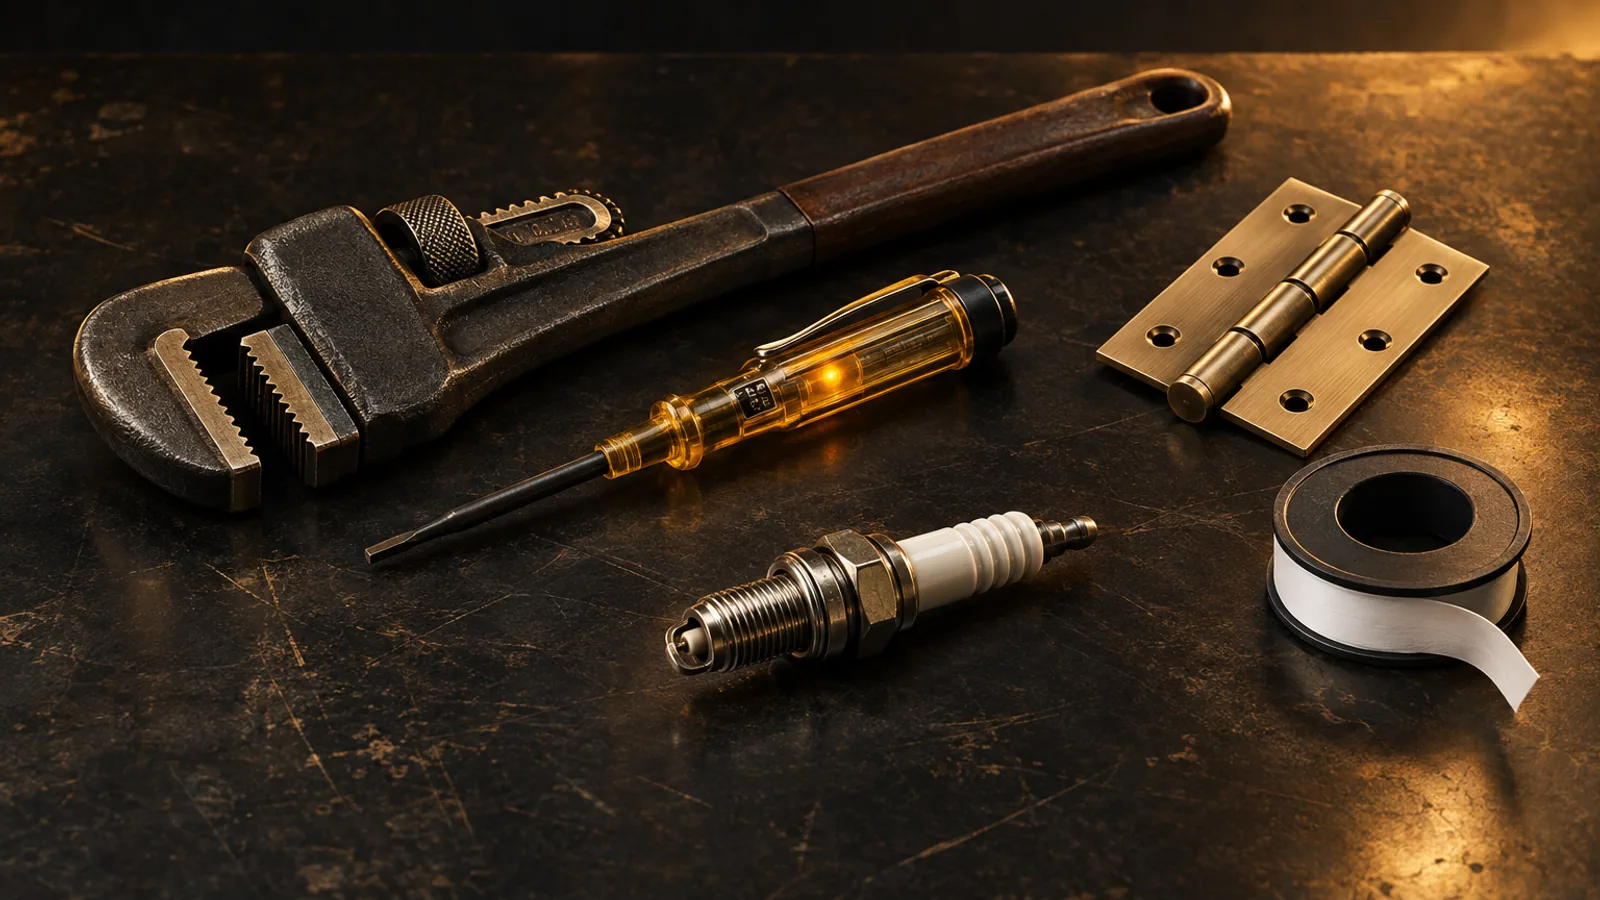
- Pipe wrench or large channel locks, ten inches, about twenty to thirty dollars
- A rag to wrap the chrome so the jaws don't chew it
- Plumber's (PTFE) tape, two to four dollars a roll
- A replacement arm, ten to twenty-five dollars, and a flange if yours is cracked
Wrap the rag around the arm, grip, and turn counterclockwise with steady pressure. Go slow. If the fitting inside the wall creaks or twists, stop. A drop-ear elbow that's loose on its block can break the joint behind it, and now you've made a bigger job.
Look inside with a flashlight
With the arm out, shine a light into the fitting. You want clean, sharp threads and no cracks.
Green crust, chipped plastic, or a fitting that wiggles means it needs replacing. That means opening the wall from the back or cutting tile, and in a copper system, soldering with a torch inside a wood-framed cavity. Hand that to a licensed plumber. Plan on a few hundred dollars, more if tile has to come off. Codes vary by area, and many places require a permit or a licensed plumber for any pipe change inside a wall, so check with your local building department before you cut anything.
If the threads look good, you're in luck.
Fit the new arm
Wrap the new arm's threads with tape, three to four turns, clockwise as you look at the open end so the tape tightens as you screw in. Thread it in by hand until it stops. Then add a quarter to a half turn with the wrench. That's all.
Overtightening is how most of these leaks start. The threads seal because of the tape, not because you cranked on the pipe.
Slip on the flange. Turn the water back on, and run the shower for ten minutes with a dry paper towel around the base. Check the ceiling below. Check again the next morning.
The caulk mistake
Don't caulk the flange to stop the leak. People do it every week. It hides the drip and traps the water in the cavity, so the framing stays wet and the problem grows where you can't see it.
Once the joint has stayed dry for a couple of days, a thin bead of silicone along the top of the flange keeps spray out. That's a finishing touch, not the repair.
If the wall's already wet
Wet drywall that stays wet starts growing mold within a couple of days, so don't close it back up. Cut out the soft section, let the cavity dry with a fan, and check the framing. A little discoloration on the studs is common. Black spread across a large area, or rot in the wood, is a job for a pro and sometimes a remediation company.
Once everything's dry, patch it. Patching Drywall Without Making It Worse walks through that part. Tile and cement board behind a tub or shower surround are different from standard drywall, so match the material that was there.
Leave it better than you found it
Wipe down the tub, pick up the stray tape and scraps, and if you borrowed a wrench from a neighbor, return it cleaned and with a light coat of oil on the jaws.
And tell your wife what you found before she finds the ceiling stain. It goes better that way.
Wes Dunbar
Country & Skills
Grew up on an acreage and never quite left. Covers trucks, trades, land, and how to do the thing yourself.

Watch
Worth an hour of your evening
More from Can You Fix It.
From channels we rate. Plays on YouTube.
Read next