
Quick answer: Keep the butter cold and in big, flat pieces. Add enough ice water that the dough holds when you squeeze it. Then stop touching it. Most tough crusts start as dough that was too dry and got kneaded until it held together.
It's 8 a.m. on Thanksgiving. The dough is cracking at the edges as you roll it, so you do what feels sensible. You ball it up, knead it smooth and start again. That's the moment the crust turns tough. It wasn't the recipe or your oven. It was the rescue.
Pie dough has a reputation for being fussy. It isn't. It's just unforgiving of one specific mistake, and almost everybody makes it out of caution.
The ratio, by weight if you can
For a double crust in a 9-inch pie plate:
- 2 1/2 cups (12 1/2 ounces) all-purpose flour
- 1 teaspoon table salt
- 1 tablespoon sugar (optional, nice for fruit pies)
- 1 cup (2 sticks) cold unsalted butter
- 6 to 10 tablespoons ice water
Weigh the flour if you own a scale. A cup scooped straight from the bag packs in noticeably more flour than a cup spooned in and leveled. Extra flour means dough that needs more water than the recipe says, and that's where the trouble starts.
Butter or shortening? Shortening is easier because it stays solid at a warmer temperature, so it forgives warm hands and a hot kitchen. Lard makes beautiful flakes. Butter tastes the best by a mile. Half butter and half shortening is the old compromise, and it's a perfectly respectable one. I use all butter and keep everything cold. The flavor is worth the extra care.
Cut the butter big and flat
Cube the butter into half-inch pieces and put them in the freezer for 15 minutes while you measure everything else.
Toss the cubes in the flour, salt and sugar. Then press each piece flat between your thumb and fingers, snapping them into thin sheets. A pastry blender works too. Stop while you can still see a mix of sizes: some like peas, some like flattened almonds.
Those flat sheets are the flakes. In the oven, the water in the butter turns to steam and pushes the dough apart into layers. If you rub the butter in until the mix looks like sand, you'll get a crust that's tender but crumbly, like shortbread. That's fine for a tart. It isn't flaky.
If the butter starts feeling soft or greasy, put the whole bowl in the freezer for ten minutes. That costs you nothing.
The water is where people get it wrong
Two things make crust tough: water and work. Water lets gluten form, and working the dough builds that gluten into stretchy strands. A little gluten holds the crust together. Too much makes it chewy, and it'll shrink in the pan.
Recipes warn you about adding too much water, so cautious bakers add too little. The dough won't come together. It cracks on the counter. So they knead it. Kneading builds far more gluten than an extra tablespoon of water ever would.
So be generous, within reason:
- Drizzle 6 tablespoons of ice water over the bowl, without the ice cubes.
- Toss it with a fork or a flexible spatula. Lift and fluff. Don't stir.
- Grab a handful and squeeze. If it holds together in a clump, you're there. If it falls apart into crumbs, add another tablespoon and toss again.
- Keep going one tablespoon at a time. It's done when it holds together when squeezed, it feels cool and slightly tacky, and a few dry bits are still loose at the bottom of the bowl.
If you overshoot and it turns pasty and sticky, dust it with a little flour and move on. A slightly wet dough rolls out easily and bakes up fine. A dry dough that you fought with won't.
You might have heard of the vodka trick, which Cook's Illustrated made famous: swap part of the water for cold vodka. Alcohol doesn't build gluten the way water does, so you can add more liquid without as much toughness. It works. But plain ice water works too once you stop being stingy with it.
Fold it once, then leave it alone
Tip the shaggy mess onto the counter. It'll look wrong. Press it into a rough rectangle with your hands. Fold it in thirds like a letter, give it a quarter turn, press it out a little and fold it again.
That's all the handling it gets. The folds stack the butter into more layers and pull the dry bits in without any kneading.
Cut the dough in half. Press each half into a disc about an inch thick, wrap it tightly in plastic and refrigerate it.
The rest isn't optional
Give it at least an hour. Two days in the fridge is better, and three months in the freezer is fine. While it rests, the water spreads evenly through the flour, the gluten relaxes and the butter firms back up.
If you skip the rest, the dough fights the rolling pin and shrinks in the oven. If you rest it overnight, Thursday morning gets much easier. Making dough ahead is the same thinking as cooking components instead of meals. Do the fiddly part on a quiet evening and the busy day goes smoothly.
Rolling, and what to do when it fights back
Straight from the fridge, the dough is too hard and will crack. Let it sit on the counter for five to ten minutes, until it gives a little when you press it.
Flour the counter and the pin lightly. Roll from the center outward, then give the dough a quarter turn. Keep turning it, which tells you right away if it's starting to stick. You're aiming for a 12-inch circle about 1/8 inch thick.
What goes wrong, and the fix:
- Edges crack: Pinch them closed. It's normal and it means nothing.
- It tears: Patch it with a scrap from the edge and a dab of water. Nobody will ever see it.
- It sticks: Slide a bench scraper underneath, dust with flour and keep going.
- It goes soft and greasy: Slide it onto a sheet pan and refrigerate it for ten minutes. Warm dough is the real enemy here, not you.
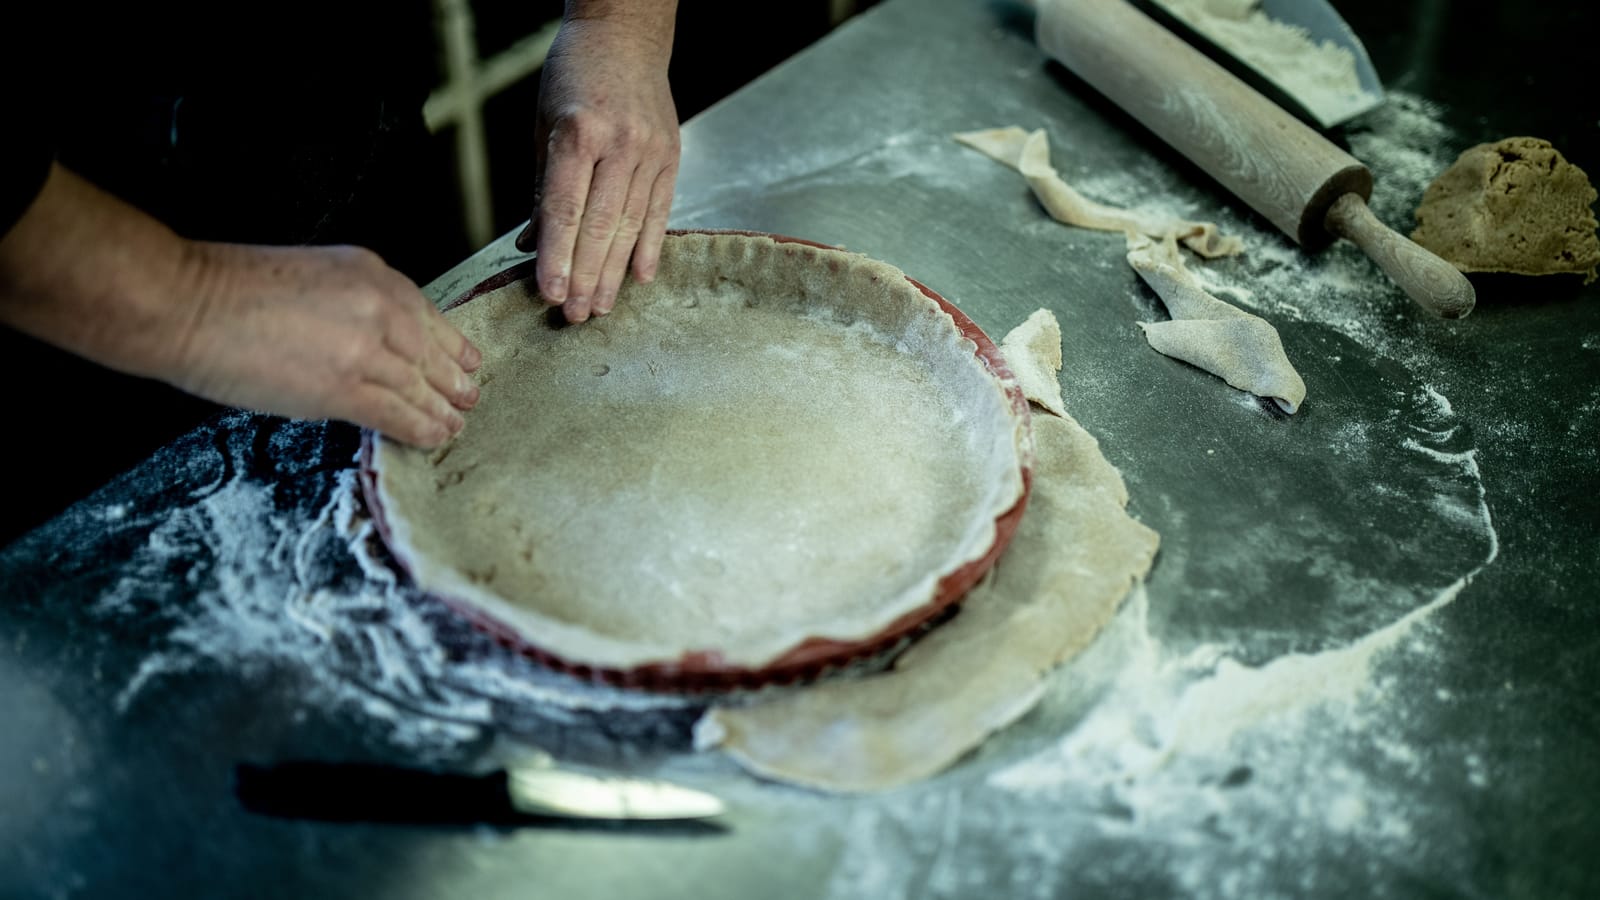
To move it, roll it loosely around the pin and unroll it over the plate. Then lift the edges and let the dough settle into the corners. Don't stretch it to fit. Stretched dough remembers, and it'll pull back down the sides in the oven. Trim it to a half-inch overhang, tuck the edge under and crimp. Chill the shaped crust for 30 minutes before it goes in the oven.
Bake it darker than you think
More pies are underbaked than burned. A pale crust tastes like raw flour, and a pale bottom is a soggy one.
For a fruit pie, put a sheet pan on the lowest rack and preheat it with the oven. Bake the pie on it at 425°F for 20 minutes. Then lower the oven to 375°F and keep going until the filling bubbles thickly through the vents, usually another 40 to 50 minutes. If the edges brown too fast, cover them with a ring of foil.
For pumpkin, custard or anything wet, blind-bake the crust first. Line it with parchment and fill it to the top with pie weights, dried beans or plain sugar. Bake at 400°F for about 20 minutes, until the edges look set and dry. Then lift out the weights and bake another 5 to 10 minutes, until the bottom looks dry and lightly colored.
A glass plate earns its place here because you can lift the pie and look at the bottom. You want golden brown, not blond.
What I'd buy, and what I'd skip
Buy: a kitchen scale, a Pyrex 9-inch glass pie plate, a metal bench scraper and ordinary all-purpose flour. You don't need pastry flour.
Skip: ceramic pie weights, because a bag of dried beans does the same job for years. Skip the store-bought crust shield, since foil works. A marble rolling pin is optional too. A plain tapered wooden pin is easier to control. A wine bottle works in a pinch.
Make a double batch the first time. Wrap two discs and freeze them. Then the next time someone invites you to dinner, you won't be stopping for a bag of rolls on the way. You'll have a pie. It'll be done in time to cool, and you'll know exactly why it came out flaky.
Nina Castellan
BRO for Her
Runs the women-facing desk. Same standard, same tools, written for a different reader — not a softer one.

Watch
Watch how it's done
Picked for this article.
From channels we rate. Plays on YouTube.
Epicurious
How to Make Perfect Pie Crusts for Thanksgiving | Epicurious 101
Williams Sonoma
The Surprising Secret to a Super-Flaky Piecrust
Read next