Insulate the basement walls first, or tear them out later
Drywall hides every mistake behind it for years. Do the wall right, in the right order, before the first sheet goes up.
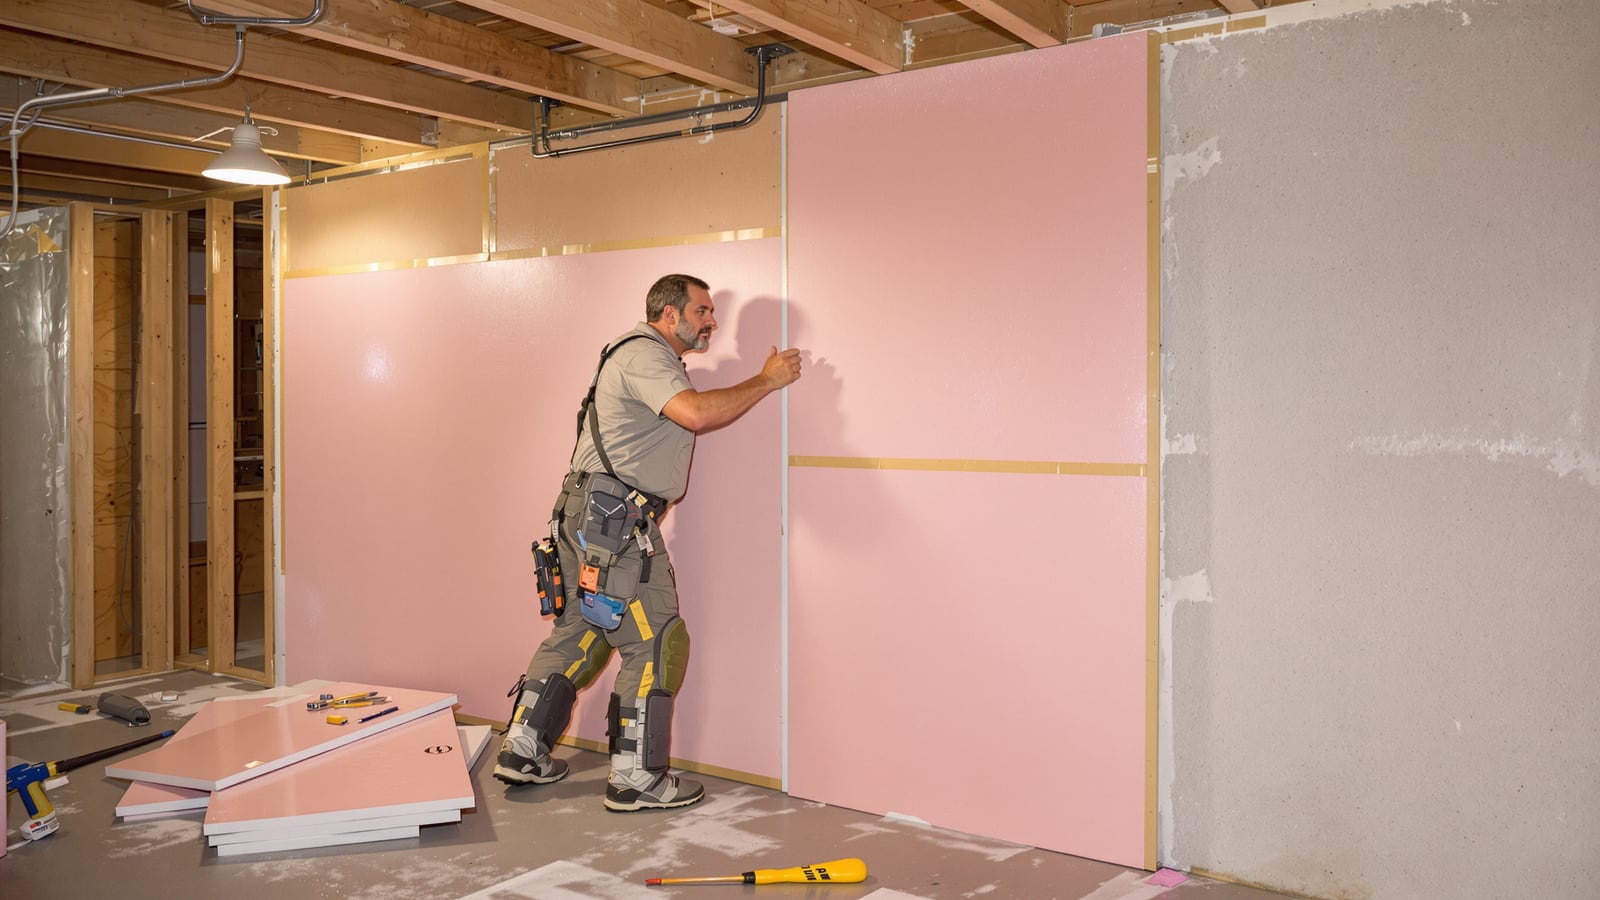
Quick answer: Fix any water problem first. Then glue rigid foam board straight to the concrete and tape the seams. Frame a wall in front of it and finish that. Don't stuff fiberglass batts against bare concrete and hang drywall over them.
That last move is the default in a lot of basements, and it's the one people end up paying to rip out.
Why the order matters
A basement wall is a slab of cool, damp-prone concrete with soil on the other side. Concrete is porous, and moisture moves through it slowly even when the wall looks bone dry.
Put a fiberglass batt against that wall, and it sits in contact with the cold surface. Warm indoor air drifts into the cavity, hits the cold concrete, and condenses. The batt holds the water like a sponge. Nobody sees it, because there's drywall on top.
A few years later you get a musty smell, a soft baseboard, or a dark spot on the paint. By then the whole wall is the problem.
Foam board doesn't soak anything up. Glued tight to the concrete, it keeps your warm indoor air away from the cold surface, so there's nothing to condense on.
Step one: find out what the wall is already doing
Don't insulate a wall that's leaking. Foam over an active leak just hides it until it breaks out somewhere worse.
Walk the basement after a hard rain. Look for damp patches, white crusty deposits on the concrete, water at the floor edge, or a smell you can't place. Then do the plastic test.
Tape a two-foot square of clear plastic tightly to the wall on all four sides. Leave it 48 hours.
- Moisture on the wall side of the plastic: water is coming through the concrete.
- Moisture on the room side: that's humidity in the basement air, which a dehumidifier handles.
If water is coming through, go outside first. Gutters and downspouts should discharge several feet from the house. The soil should slope away from the foundation. Those two fixes cost little and solve more wet basements than people expect. If that doesn't do it, you're into exterior drainage or a sump system, and that's a contractor's call.
My own rule: no framing goes up until the wall has stayed dry through a wet season.
Step two: seal before you cover
Fill hairline cracks and the joint where the floor meets the wall. Hydraulic cement works for this. Wire-brush any flaking paint or mineral buildup first so the patch actually bonds.
Look up at the rim joist, the wood band sitting on top of the foundation. It's usually the leakiest spot in the house. Cold air comes straight through the gaps between the wood and the concrete.
Cut rigid foam to fit each cavity between the joists. Seal the edges with canned spray foam or caulk. Don't use fiberglass here. Air blows right through it and it does nothing about the leaks.
Step three: the foam
Rigid foam comes in a few types. Extruded polystyrene (XPS) is the usual pick for basements. Expanded polystyrene (EPS) is a fair, cheaper alternative. Polyiso has a higher R-value per inch but loses performance when it's cold, which is a poor trait against a cold wall.
How thick? It depends on your climate zone, and building codes differ. Call your local building department and ask what they require for finished basement walls. In colder regions the requirement is higher. Two inches of XPS runs around R-10. Don't guess. Ask.
The install:
- Cut the sheets to fit with a utility knife. Score, then snap.
- Apply foam-board adhesive in beads or dabs on the back. Press the board to the concrete and hold it until it grabs.
- Butt the edges tight. Tape every seam with the manufacturer's tape, and seal the top and bottom edges with canned foam.
- Stagger the joints if you use two layers.
Taping isn't busywork. The seams are where air and moisture sneak around the foam.
Step four: frame in front of it
Build a 2x4 stud wall a little off the foam, or tight against it, depending on your design. Use pressure-treated lumber for the bottom plate where it touches the slab, and put a sill gasket or a strip of foam under it. Lumber and concrete shouldn't touch bare.
Here's the part the video tutorials skip. This is when you run your wiring. Outlets, switch boxes, a ceiling circuit for new lights. Electrical work in a finished basement usually needs a permit and an inspection, and a licensed electrician is the right person for anything beyond swapping a fixture. Rough-in is cheap and easy before drywall. Afterward it's a demolition project.
If you want extra insulation in the stud bays, mineral wool batts are a solid choice because water doesn't ruin them the way it ruins fiberglass. With the foam against the concrete, the cavity stays warm and dry.
The drywall has a job too
Foam is combustible. Code generally wants it covered by a thermal barrier, usually half-inch drywall, so don't leave foam board exposed on a wall and call it done. Check your local rules before you finish.
Use mold-resistant drywall if you like. Keep the bottom edge a half inch off the slab so a spill or a flood doesn't wick up the wall.
Where to stop and call someone
Call a professional for:
- Horizontal cracks or a wall that's bowing inward. That's structural. A foundation or structural engineer should look at it before anything else.
- Water that keeps coming back. You need drainage work, not a sealant.
- Mold across more than a patch. Have a qualified remediator assess it.
- Radon. Test before you finish the space. Test kits are cheap, and if the number comes back high, mitigation is a licensed job. Fixing it after the walls are up is a mess.
- Panel work or new circuits. See above.
If you're hiring, knowing when to stop and how to get a quote you can trust will keep you from paying twice. And before you sign anything on a house you're buying, read what your home inspector won't check. The basement is on the list.
Keep the wall honest afterward
Run a dehumidifier in summer. Hold the humidity in the basement around 50 percent, and buy a cheap hygrometer so you're not guessing. Add basement checks to your home maintenance calendar: gutters in spring and fall, a walk-through after heavy storms.
Finishing a basement is a weekend project that feels like progress the moment the drywall goes up. That's the trap. The wall looks done. What's behind it's either dry and tight or a slow-moving problem with a nice paint job on it.
You'll only get to make that decision once. Make it before the drywall.
Wes Dunbar
Country & Skills
Grew up on an acreage and never quite left. Covers trucks, trades, land, and how to do the thing yourself.

Watch
Worth an hour of your evening
More from Home.
From channels we rate. Plays on YouTube.
Read next