Changing a tire at the roadside without getting hurt
The order matters more than the muscle. Loosen before you lift, and know the one place you should never do this at all.
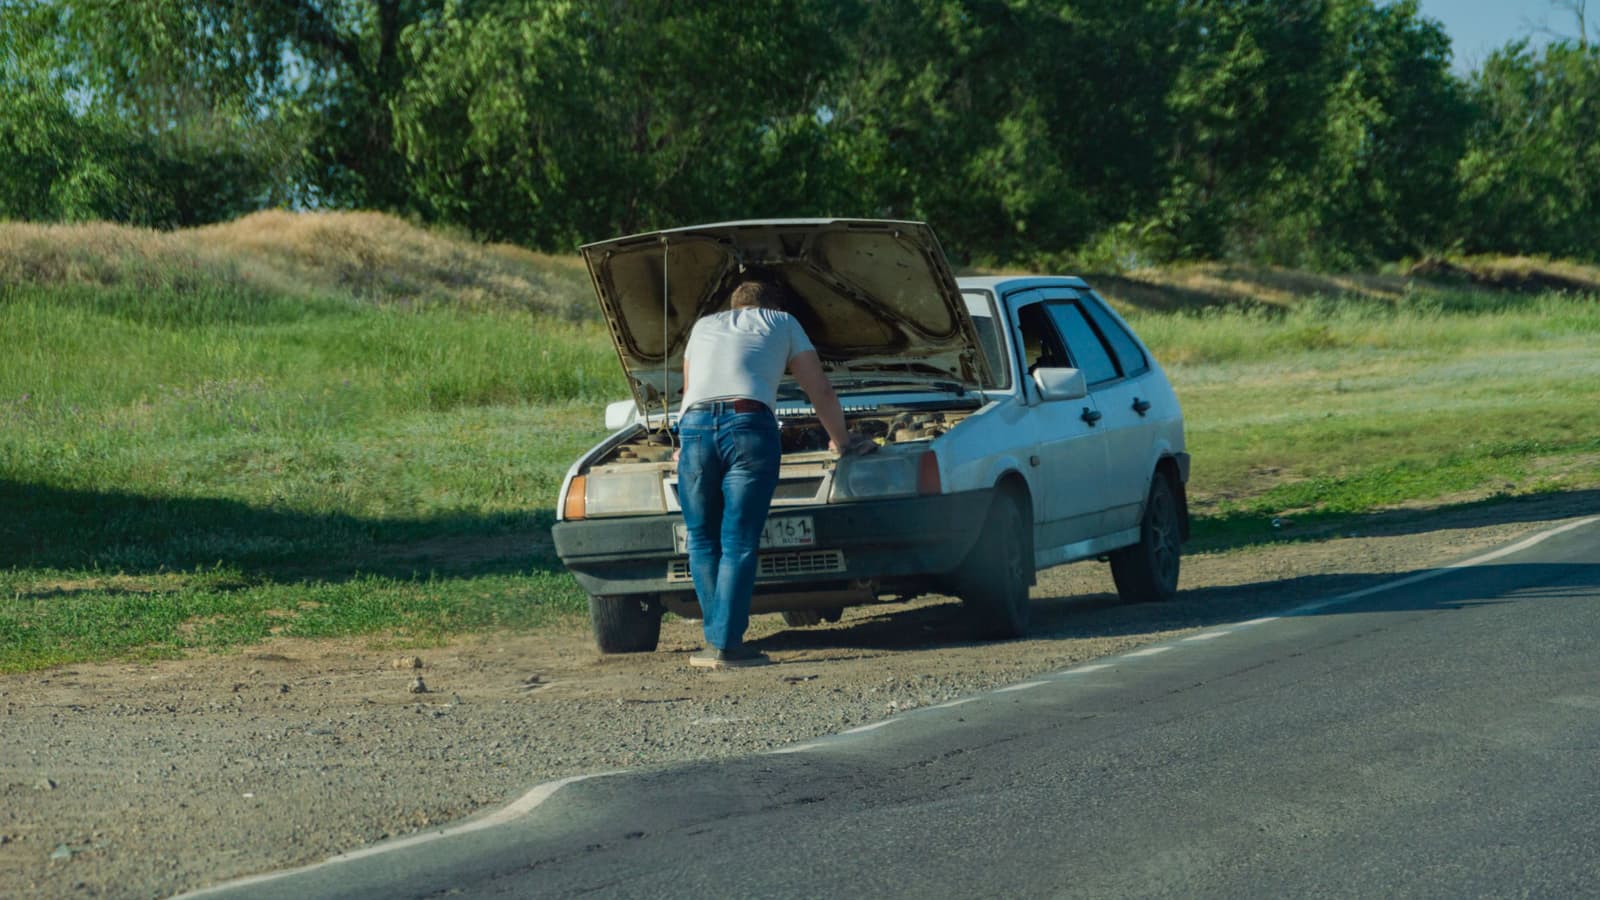
If it happens on a motorway, you don't change it. That's the first rule and it's the one people get wrong. Pull as far left on the hard shoulder as you can, turn the wheels to the left, put the hazards on, get everybody out of the left-hand doors and over the barrier, then ring for recovery. Cars have been hit on hard shoulders by drivers who simply weren't looking. Your spare wheel isn't worth that. Same goes for a smart motorway with no hard shoulder — if you can limp to an emergency refuge area at low speed, do it, and still call for help rather than kneeling on the tarmac.
Everywhere else, changing a tire is a fifteen-minute job that goes badly for about four predictable reasons. Let's deal with those in the order you'll meet them.
Choose the spot before you stop
A puncture rarely blows out the way films suggest. Usually you feel the steering go vague, or you hear a rhythmic slapping that speeds up with the car. You have time.
Look for somewhere flat, firm and straight. A gateway, a lay-by, a supermarket car park half a mile on. Driving a mile on a flat at 20 mph will probably ruin the tire, which was already ruined, and might scuff the alloy. Driving a mile to avoid working on a blind bend is a good trade every single time.
Avoid three things: a slope, a soft verge, and the outside of a bend. Grass looks fine until the jack sinks four inches and the car comes down at an angle.
Handbrake on. In gear if it's a manual, Park if it's an automatic. Engine off, hazards on, everyone out and standing well back from the road, not sitting in the car.
Check you actually have the kit, first
Open the boot floor and look before you start undoing anything.
- The spare. Full-size, space saver, or nothing at all. Plenty of newer cars carry a sealant canister and a small compressor instead.
- The jack and the brace. Usually clipped in a foam tray beside the wheel or under the boot carpet.
- The locking wheel nut key. This is the one that ruins evenings. It's a little socket, often in the glovebox, sometimes in the boot tray, sometimes in the previous owner's kitchen drawer. Without it, one nut on each wheel won't move and you're calling for recovery regardless.
- A warning triangle, if you carry one. On an ordinary road, put it at least 45 meters behind you on the same side. Never use one on a motorway.
If you've got a hi-vis vest, this is what it's for. If you've got a head torch, the same. Holding a phone torch in your teeth while pulling on a brace is a miserable way to spend a Tuesday.
While you're in there, check the spare has air in it. Spares deflate slowly over years and nobody ever looks.
Loosen the nuts before you lift the car
This is the step order that everything else hangs on. The wheel needs to be on the ground taking the car's weight, otherwise it just spins when you push.
Pop off the plastic trim or the nut caps if your car has them — there's usually a little hook or a puller in the tool kit, and if there isn't, your fingernails will do while you swear quietly.
Fit the brace squarely on the first nut. Anticlockwise to loosen. If it won't move, stand on the end of the brace with the bar horizontal and bounce your weight gently. Don't jump. If it still won't shift, that nut was done up by an impact gun by someone who didn't check the setting, and you're not beating it with a scissor jack handle. Call for help.
Loosen every nut about a half turn. That's all. Don't take any off yet.
Jack points aren't "somewhere under the sill"
Find the proper jacking point. On most cars it's a reinforced rib or a notch in the sill, a few inches behind the front wheel arch or in front of the rear one. Some have a small arrow or triangle stamped in the plastic to show you. The handbook has a diagram and it takes thirty seconds to check.
Put the jack anywhere else and you'll fold the sill. It's an expensive noise.
Raise it slowly. Watch the jack stay vertical as it takes the weight — if it starts to lean, wind it back down and reposition. Lift until the tire is clear of the ground by roughly an inch. No higher. Every extra centimetre is more wobble.
If you can, chock the wheel diagonally opposite with a brick or a wedge of wood. Not essential on flat ground with the handbrake on, worth it on anything with a camber.
Never put any part of yourself under the car. Not an arm, not your head. A jack lifts. It doesn't hold.
The wheel that won't come off
Now take the nuts all the way off and put them in your pocket or in the upturned hubcap. Not on the ground, not on the verge, where one will roll into a drain.
Pull the wheel straight towards you. If it's welded to the hub with corrosion — normal on alloys that have been on a few years — don't lever it with a screwdriver. Wind the jack down until the tire just kisses the ground, then push the top of the tire with the flat of your foot, side to side. It'll crack free. Wind it back up and lift it off.
Lift with your knees. A 17-inch alloy with a tire on it's heavier than it looks, and you're doing it in an awkward crouch.
Putting the spare on properly
Line up the holes and push it onto the hub. If your car has studs rather than bolts, that's easier. If it has bolts, you're holding the weight of the wheel with one hand and starting a bolt with the other, which is why a lot of people rest the wheel on their toe cap.
Start every nut by hand, a few turns each, before you touch the brace. Cross-threading one is a workshop job.
Nip them up with the brace in a star pattern — opposite to opposite, never round the circle — until they're snug and the wheel is sitting flush.
Lower the car. Take the jack out. Now torque the nuts properly, still in the star pattern, leaning on the brace with steady weight rather than jerking it. The correct figure is in your handbook, and it's typically somewhere between 90 and 140 Nm for a family car. If you own a torque wrench, this is its moment. If you don't, firm pressure from an average-sized adult on a standard brace gets you close enough to drive on.
Before you pull away
Stow the flat, the jack and the brace properly. A loose wheel in the boot is a projectile in a crash.
If you've fitted a space saver, read the sticker on it. Most cap you at 50 mph and a limited distance, and many want a far higher pressure than your normal tires. Assume the stability control and the braking balance are both compromised, because they are.
Then get to a tire place. And re-check the nuts after about 50 miles — they can settle.
One more thing. Do this once, on your own driveway, on a dry Saturday afternoon when nothing's wrong. Find the locking key. Find the jack point. Feel how hard the nuts are to shift. It takes twenty minutes and it turns a roadside emergency into an inconvenience you've already rehearsed.
Wes Dunbar
Country & Skills
Grew up on an acreage and never quite left. Covers trucks, trades, land, and how to do the thing yourself.

Watch
Watch how it's done
Picked for this article.
From channels we rate. Plays on YouTube.
YourMechanic
How To Change A Tire with Scotty Kilmer
RYOBI TOOLS USA
How to Change a Tire In Less Than 15 Minutes
Read next