Fix a torn belt with a saddle stitch that won't unravel
A belt almost always fails at the stitching, not the leather. Redo it with a saddle stitch and the repair will outlast the rest of the belt.
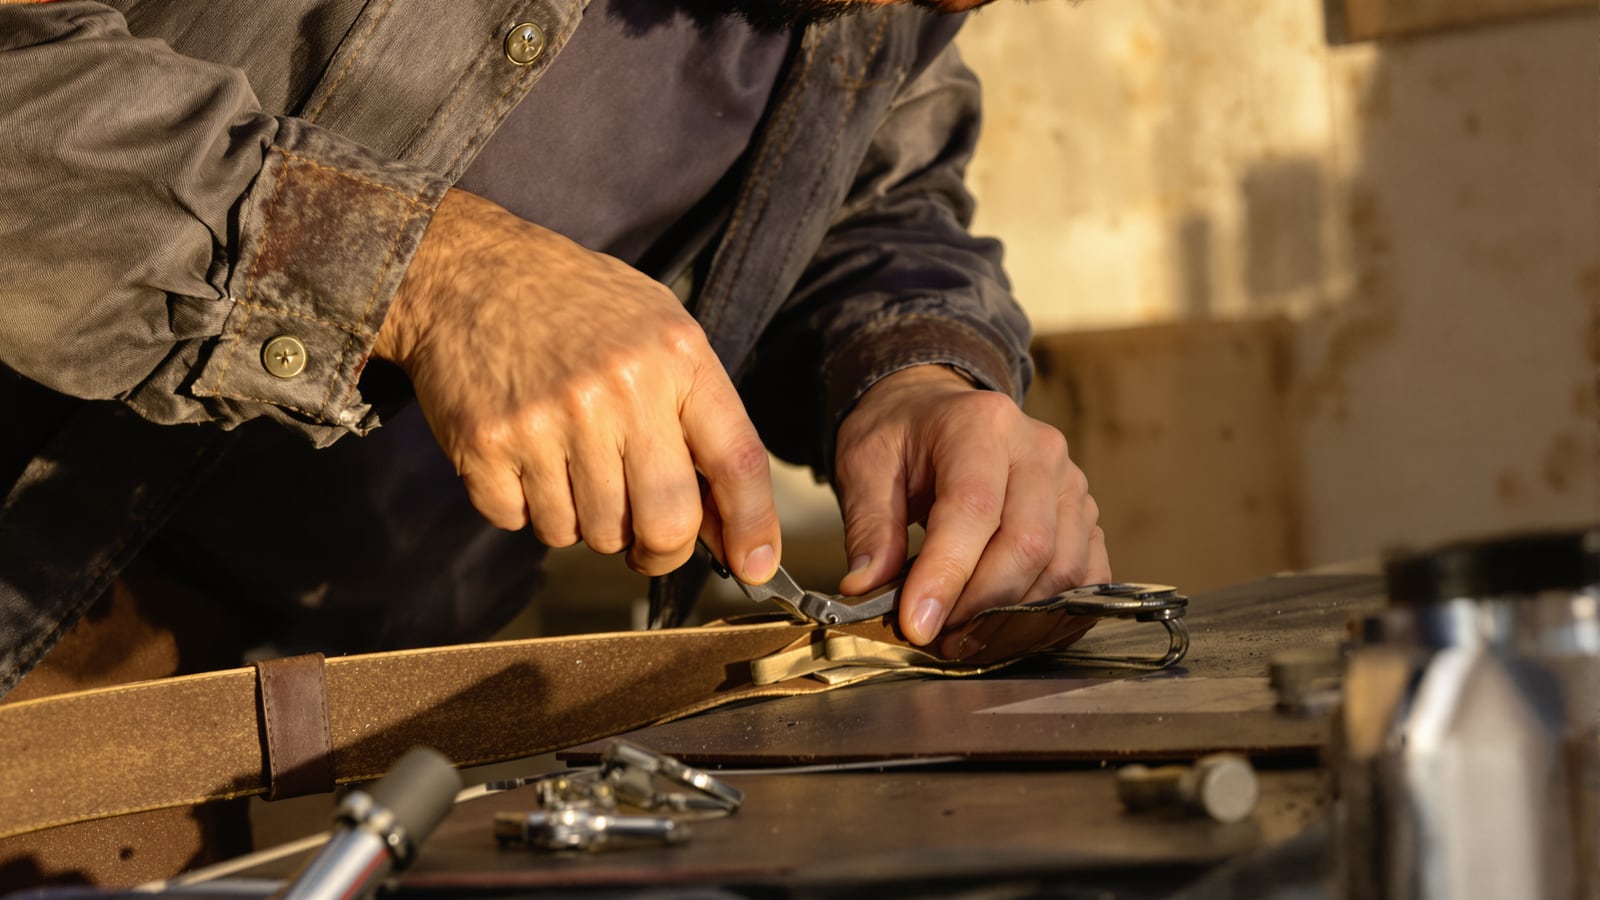
Quick answer: Pull the dead thread, re-glue the fold, punch fresh holes, and stitch with two needles on one length of waxed thread. That's a saddle stitch. Cut one stitch and the rest still hold. Budget an hour for your first belt.
What actually broke
Look at the belt before you touch a tool. Most of the time the leather is fine and the thread gave out where the strap folds around the buckle bar. The same goes for the keeper loop and for the end of a dog leash or camera strap.
Machine stitching is the usual culprit. It's a lockstitch, so when one stitch breaks, the whole line can run out like a pulled sweater. A saddle stitch passes the thread through every hole twice, once from each side, so the seam holds even after a break.
Now check the leather itself. Bend the belt near the damage.
- Surface is dry and crazed, but the leather still bends: repairable. Condition it afterward.
- Cracked through across the width, or it feels like cardboard: don't stitch it. Thread can't hold in leather that's already failing. Buy a new belt.
- Holes torn out at the edge: repairable, but your new stitch line has to go in fresh leather. More on that below.
Gear
You need very little.
- Waxed polyester or waxed linen thread, about 0.6 to 0.8 mm. Thinner snaps. Thicker looks clumsy on a belt.
- Two blunt harness needles. They're made for leather, and the blunt tip keeps them from splitting the thread on the second pass.
- A stitching awl, or a diamond-shaped stitching chisel with a small mallet. Don't try a regular sewing needle. It'll bend or cost you a fingertip.
- Contact cement or a leather glue, plus a few binder clips.
- A sharp utility knife or seam ripper, a ruler, a pencil, and a scrap of wood or a cutting mat.
- A leather palm or thimble. You'll want it by stitch twelve.
Borrowing an awl from your dad or your uncle? Hone the point before you hand it back, and wipe it down. That's how it's done.
Safety before you start
Leather work is quiet, but the tools are sharp and you're pushing hard on them.
- Put the work on a board, never in your lap or against your palm. An awl that slips goes where your hand is.
- Cut away from your fingers. Always. Pull the seam ripper or blade toward open space.
- A blunt needle still goes through a thumb. Wear the palm and push the needle with the pad of it, not the tip of a bare finger.
- If you melt the thread end with a lighter at the finish, do it over bare ground or a metal tray, away from the leather and the cement. Contact cement fumes and flame don't mix, so work in open air and let the glue dry first.
Step by step: a torn buckle end
1. Remove the old thread. Slide the knife tip under each stitch and cut it, then pull the pieces out. Go slowly. You're trying to keep the old holes clean, not widen them.
2. Clean and open the fold. Peel the folded end back if the glue has let go. Scrape off dried glue and grit with the back of the knife. Glue won't grab dirt.
3. Re-glue and clamp. Thin coat on both faces, wait until it's tacky, then press the fold closed around the buckle bar. Clip it with binder clips and leave it ten minutes. The glue's only job is to hold the layers still while you stitch. The thread does the real work.
4. Mark your line. Draw a pencil line about 1/8 inch from the edge of the leather. Space your stitches about 1/8 inch apart too. That's roughly six to eight per inch, which suits a belt. Wider spacing perforates the leather like a postage stamp. Tighter spacing weakens it.
If the original holes are intact, skip the marking and reuse them. They're already evenly spaced, and your new thread will follow the old path.
If the holes have torn out, run the new line a hair inside the old one, toward solid leather. Leave at least 1/8 inch of untouched leather between the old holes and the new ones. Closer than that and it'll tear along the old line.
5. Punch the holes. With a chisel, set it on the line and tap it through, one tooth overlapping the last hole to keep the spacing even. With an awl, hold it straight and push through to the board. Keep the angle consistent on every hole. Crooked holes make crooked stitches.
6. Cut and thread. Cut a length of thread about four times the length of the seam, plus a few inches. A 1.5-inch buckle fold needs less than a foot. Thread a needle on each end, pulling about three inches through the eye. Then pass the needle point back through the thread itself, a little way down from the end, and pull snug. That locks the needle in place.
7. Stitch. Start at one end of the seam. Push the first needle through the first hole and pull until the thread is centered, with equal lengths on each side. Now push the left needle through the second hole, and the right needle through that same hole from the other side, crossing under it. Pull both snug. Repeat down the line.
Pull each stitch to the same tension. Not tight enough to pucker the leather. Not loose enough to leave slack. By the fourth or fifth stitch your hands will find it.
8. Lock the end. At the last hole, backstitch two or three holes the way you came. Trim the thread close. If you used polyester, touch the cut end with a lighter flame for a second to melt it flat. On linen, a dab of glue does the same job.
9. Finish. Tap along the stitches with a mallet, or roll over them with the back of a spoon, to seat the thread into the leather. Then work a little conditioner into the leather to keep it supple.
What goes wrong
The needle snags the thread on the second pass. That's why you use blunt needles and stitch slowly the first time.
The stitch line wanders. Go back to your pencil line, or use a stitching groove if you have one.
The thread breaks mid-seam. You pulled too hard or the thread's too thin. Pick up the saddle stitch where it broke, overlap two holes, and keep going.
The glue sets crooked. It happens. Peel it apart immediately, before it cures, and reclamp.
When the strap carries a load
A belt holds up pants. A dog leash, a rifle sling or a camera strap can hold a lot more, and failure costs more. On anything load-bearing, stitch two parallel lines instead of one, keep both away from the edge, and test it by hanging weight from it before you trust it. If the leather around the repair looks tired, replace the strap. A bad sling is a bad day on a hillside.
For anything involving a knot rather than stitching, learn six knots and the order to learn them in first. And if you're getting a taste for fixing things yourself, read the wiring jobs worth doing yourself and the ones that aren't before you go further.
Your first belt will look a little rough. Your second won't. And when the third one comes back from your son or your neighbor with the buckle hanging, you'll already know what to do.
Wes Dunbar
Country & Skills
Grew up on an acreage and never quite left. Covers trucks, trades, land, and how to do the thing yourself.

Watch
Worth an hour of your evening
More from Skills.
From channels we rate. Plays on YouTube.
Read next