Hang a ceiling fan that doesn't wobble, hum or fall
The whole job hangs on a part you can't see from the floor, and most failed fan installs fail right there.
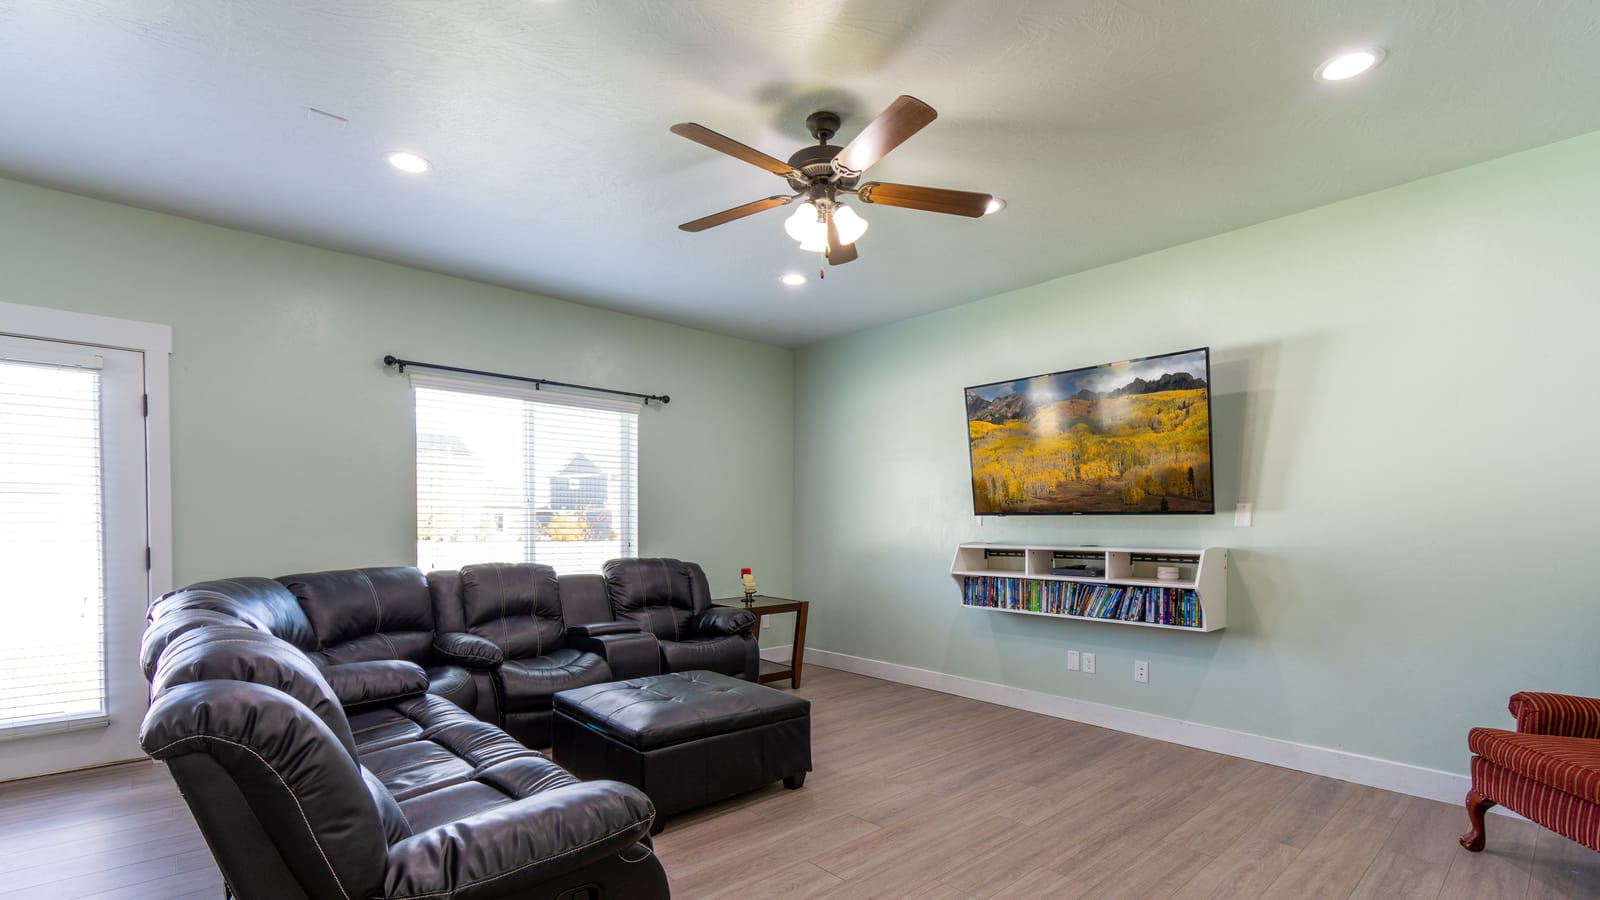
The fan isn't the hard part. The box in the ceiling is.
A standard light fixture box is built to hold a 5-pound glass dome that never moves. A 52-inch fan weighs somewhere north of 15 pounds and spends the next decade shaking itself. Those are different jobs. Code says a box has to be listed for fan support to hold one at all, and that listing tops out at 35 pounds. Heavier than that and the fan needs its own support, independent of the box. So before you buy anything, go look at what's up there.
I've pulled down a fan that was hanging off a thin round pancake box screwed to drywall with two coarse-thread screws. It had been spinning for six years. It was going to lose.
What you're looking for
Kill the power first (that section's coming, do it before you touch anything), drop the old fixture's canopy, and read the box. A fan-rated box is stamped, usually right on the inside face: "FOR FAN SUPPORT" or "ACCEPTABLE FOR FAN SUPPORT" with a weight. Metal, thick, anchored to a joist or to a brace bar that spans between two joists. If the box is plastic with no marking, or it's a shallow pancake tin, it's a light box and it's coming out.
Replacing it's easier than it sounds. An old-work ceiling fan brace — the expanding bar with the spikes on the ends, sold as a Saf-T-Brace or similar — goes in through the existing hole. You feed it up, lay it across the drywall between the joists, and twist the bar until the spiked feet bite into the joists on both sides. Then the saddle slides along the bar to wherever the hole is, and the new box bolts to it. No attic access needed. Twenty minutes, about the price of two pizzas.
If you've got attic access and the joist is right there, a box screwed straight into solid framing is better still.
Tools, laid out before you climb
- Non-contact voltage tester (the pen kind, and it needs to have batteries in it that work)
- 4-in-1 screwdriver and a nut driver
- Wire strippers and lineman's pliers
- Cordless drill with a magnetic bit holder
- Wire nuts sized for what you're joining, plus a roll of electrical tape
- A stepladder tall enough that your belt buckle is below the top cap
- A headlamp
- A second person
That last one isn't optional equipment. Holding a motor assembly over your head with one hand while you strip wire with the other is how people fall off ladders. Most fans ship with a hook or a slot in the bracket so the motor can hang while you wire it. Find it in the instructions before you need it.
Kill the power and prove it dead
Flip the wall switch off. Then go to the panel and turn off the breaker feeding that room. Then come back and test.
Testing means holding the pen against each conductor in the box, including the white ones, and getting nothing. Test the pen on a known-live outlet first so you know it isn't just dead. The wall switch alone isn't good enough — plenty of older houses are switched on the neutral, which leaves the hot conductor live at the fixture with the switch off. That's the exact circumstance that bites people who've done this a dozen times.
Put a piece of tape over the breaker handle. If somebody in the house helpfully flips it back on while you're wrist-deep in the ceiling, that's a bad afternoon.
Down with the old, up with the bracket
Support the old fixture before you unscrew the last nut. Cap the wires as you disconnect them and note what was connected to what. Take a photo with your phone. You won't remember.
Now the new bracket. It bolts to the box with the machine screws that came with the fan, not with drywall screws you found in a coffee can. Snug, then a quarter turn more. If the bracket rocks at all, the box is loose and you're back to the previous section.
Downrod length is where people guess wrong. Blades need to sit at least 7 feet off the floor, and they want roughly 10 inches of air between the blades and the ceiling to actually move any. On an 8-foot ceiling, use the flush-mount hugger option. Nine feet takes about a 6-inch rod, 10 feet takes 12 inches, 12 feet takes 24. Keep the blade tips at least 18 inches from any wall.
When the downrod goes in, don't skip the cross pin and the cotter key. The set screws are backup. The pin is what actually stops the fan from unscrewing itself off the ball.
Wiring, in the boring order
Hang the motor on the bracket hook. Then join, in this order:
- Bare or green to the green screw on the bracket and the fan's ground lead. Ground first, always.
- White to white.
- Black to black for the motor.
- Blue to black if you've got a single switch loop and want the light on the same switch. If there are two hots in the box (usually black and red) and two switches on the wall, red typically takes the blue light lead.
Strip about three-quarters of an inch, twist clockwise with the pliers until the copper looks like rope, then spin the wire nut down hard. Tug every connection. A joint that pulls apart in your hand at chest height will definitely pull apart above your head.
Then comes the part the instructions gloss over: stuffing the remote receiver into the canopy. It's a tight, plastic, knuckle-scraping fight. Fold the wire nuts flat against the box, not bunched in the middle, and put the receiver in last with its antenna hanging down outside the canopy.
Blades, then the wobble
Attach the blades with all the screws, tightened evenly, before you power up. Mismatched or over-torqued blade screws are the number one cause of wobble, and wobble is what eventually loosens everything else.
Power on. Run it on high for a few minutes. If it wobbles, first check that every blade tip is the same distance from the ceiling — hold a yardstick up against the ceiling and rotate the blades past it by hand. One blade sitting a quarter inch off gets fixed by gently bending the blade iron. If they're all even and it still wobbles, use the balance kit in the box. The little clip goes on the trailing edge of one blade at a time until you find the bad one, then the adhesive weight goes on top of that blade at the same distance out.
A hum on low speed usually means the fan is on a dimmer. Fan motors don't like standard dimmers. Put in a proper fan control or a plain switch.
When to stop and call somebody
Some of these are judgment calls. Some aren't.
Call an electrician if you find aluminum branch wiring (dull silver conductors, common in mid-'60s to mid-'70s houses), knob-and-tube, or cloth insulation that crumbles when you move it. Call if there's no ground conductor at all. Call if anything in the box is scorched, melted, or smells like burnt plastic. Call if you want the fan somewhere there's no box today, because that's a new circuit run and a permit conversation. Call if the fan weighs more than 35 pounds and you can't get above the ceiling to build real support for it. Call if the switch box has no neutral and you want a smart control.
And call if you open the ceiling, look at it, and something about it just doesn't read right. That instinct is usually correct, and it costs one service call to find out.
A fan you installed yourself is a good thing to look up at. A fan that came down on the dining table during Thanksgiving is a story you never stop hearing about.
Wes Dunbar
Country & Skills
Grew up on an acreage and never quite left. Covers trucks, trades, land, and how to do the thing yourself.

Watch
Watch how it's done
Picked for this article.
From channels we rate. Plays on YouTube.
Any Hour Services - Electric, Plumbing, Heating & Air
How To Install A Ceiling Fan Rated Box
HandyDadTV
Ceiling Fan Support Boxes Explained
Read next