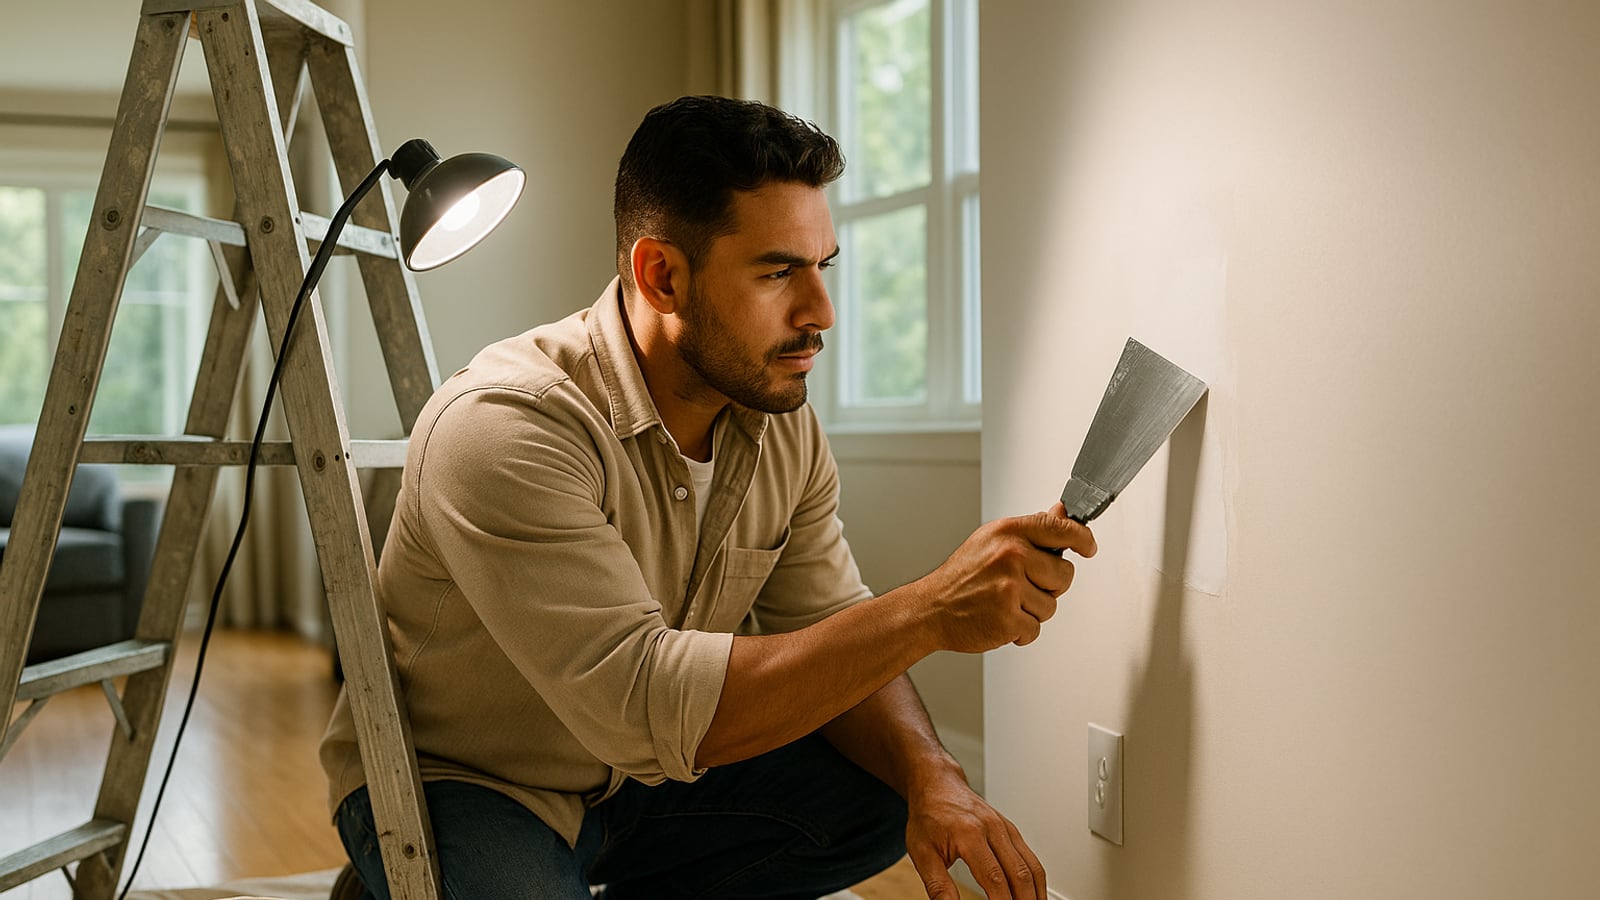
The patch isn't what gives you away. The light is.
Walk into any room at four in the afternoon with the sun raking sideways across the wall, and every repair anyone has ever done shows up like a bruise. Not because the hole was filled badly. Because the compound was built too thick over too small an area, and the eye reads the shadow.
So the whole job is really one idea: make the repair flat, make it wide, and make the paint behave the same across the patch as it does across the rest of the wall. Everything below serves that.
Before you cut anything
Kill the power to any circuit near where you're working, at the breaker, and test the outlet to be sure it's dead. Wires get stapled to studs a few inches back from the face of the drywall, and a utility knife finds them faster than you'd think. Water lines and gas lines run in walls too. If you're opening anything bigger than your fist, cut shallow, cut slow, and feel your way.
Wear an N95 while sanding. Drywall dust is fine enough to hang in the air for hours and it will follow you into the rest of the house.
Two age-related cautions worth taking seriously. Joint compound and textured ceilings from before the late 1970s can contain asbestos. Paint from before 1978 can contain lead. In either case, sanding is the worst thing you can do. If the house is old and the job is big, get the material tested before you make dust — and if it comes back positive, that's a licensed abatement contractor's job, not yours.
Close the door. Lay a drop cloth. Dust travels.
Sort the damage into three sizes
Anything under about half an inch. Nail holes, screw holes, picture hangers, small dents. No backing needed.
Half an inch to roughly six inches. Doorknob strikes, a fist, a dropped tool. Too big to just fill, too small to justify framing.
Bigger than six inches, or anything with crumbling edges. This gets a proper backed patch cut square.
Be honest about which one you have. Most failed repairs are a medium hole treated like a small one — a mound of compound spanning air, which cracks the first time the house moves.
Small holes
Push the compound in, don't smear it on. A stiff putty knife, firm pressure, one pass to fill and one pass to scrape flush.
For nail holes, dent the paper slightly inward with the handle of the knife first. That gives the filler somewhere to key into and stops the tiny raised ring you get from filling proud.
Use lightweight spackle here if you like — it sands easily and doesn't shrink much. Two thin coats beat one thick one. Always.
The California patch
For that awkward middle range, this is the one to learn. It beats a stick-on mesh patch every time, because there's no metal or mesh sitting above the wall plane forcing you to build compound over it.
Cut a square of new drywall about two inches wider and taller than the hole. On the back, score the paper an inch in from each edge, snap off the gypsum core along those lines, and peel it away — leaving a plug of gypsum in the middle with a one-inch flange of bare paper all around.
Square up the hole in the wall so the plug drops in. Butter the back of the paper flange and the wall around the hole with joint compound. Press the plug in, then squeegee the flange down flat with your knife, pulling excess out from under it.
That paper flange is your tape. It's already the same thickness as the tape you'd have used anyway, and it's bedded, not added.
Big holes
Cut the damage out to a clean rectangle. Wherever practical, cut back to the center of the studs on either side so you've got something solid to screw into — studs are usually sixteen inches apart on center, sometimes twenty-four.
If you can't reach a stud, make your own backing. Cut two lengths of scrap wood or plywood a few inches longer than the opening, slide them in vertically behind the drywall, and screw through the existing wall into each end. Now you have something to fasten the patch to.
Cut your patch to fit with a slight gap, no more than about an eighth of an inch, and match the thickness. Most walls are half-inch. Ceilings are often five-eighths. Screw it off, driving each screw just below the surface so it dimples the paper without tearing it. A torn face paper holds nothing.
Tape all four seams. Paper tape bedded in compound is stronger than mesh and lies flatter. Spread a thin bed, lay the tape, then pull your knife down it at an angle to squeeze out the excess. If you leave compound under the tape you'll get a bubble, and a bubble becomes a crack.
The part everyone rushes
Three coats, and each one wider than the last.
First coat with a six-inch knife, just covering the tape or the flange. Let it dry fully — premixed compound takes longer than you want it to, and a fan helps.
Second coat with a ten-inch knife, extending three or four inches past the first on each side.
Third coat with a twelve-inch knife, thin as you can lay it, extending past again. By the end, a six-inch hole should have compound spread across something closer to eighteen or twenty inches. That sounds excessive. It's the whole trick. A wide, shallow rise is invisible. A narrow, steep one throws a shadow.
Knock down any ridges with the edge of your knife between coats. Every ridge you leave is a ridge you have to sand.
Sanding without wrecking it
Use a damp sanding sponge rather than dry paper wherever you can. Far less dust, and it's much harder to cut through into the face paper.
Sand the edges of the repair hardest and the center barely at all. You're trying to dissolve the boundary, not level the middle.
Then turn off the room light, hold a work light flat against the wall, and look across the surface. Every flaw shows. Fix what you see now, because you'll see it again after painting.
If you scuff the paper and it goes fuzzy, seal it with a coat of primer before you skim again. Wet compound on raw torn paper swells and never sits flat.
Texture and paint
If the wall is smooth, you're nearly done. If it's orange peel or knockdown, you need to match it, and spray cans of texture exist for exactly this. Practise on cardboard first — get the pattern and the droplet size right before you point it at the wall. For knockdown, let it sit a few minutes then flatten it lightly with a wide knife.
Prime the patch. Not optional. Bare joint compound drinks paint at a completely different rate from the surrounding wall, and skipping primer gives you a dull halo that shows through two topcoats. This is called flashing, and it's the single most common reason a perfectly good patch still looks like a patch.
Then paint corner to corner. Not just the repair, not just a square around it. Wall to wall, edge to edge, in the same sheen. Even paint from the original can is a slightly different color after a few years on the wall.
Stand back the next afternoon when the sun comes across it sideways.
If you have to look twice to remember where the hole was, you did it right.
Wes Dunbar
Country & Skills
Grew up on an acreage and never quite left. Covers trucks, trades, land, and how to do the thing yourself.

Watch
Worth an hour of your evening
More from Skills.
From channels we rate. Plays on YouTube.
Read next