Sew on a button and mend a seam so they stay fixed
Eighteen inches of thread, a needle and a toothpick. Ten minutes of work that outlasts whatever the factory did the first time.
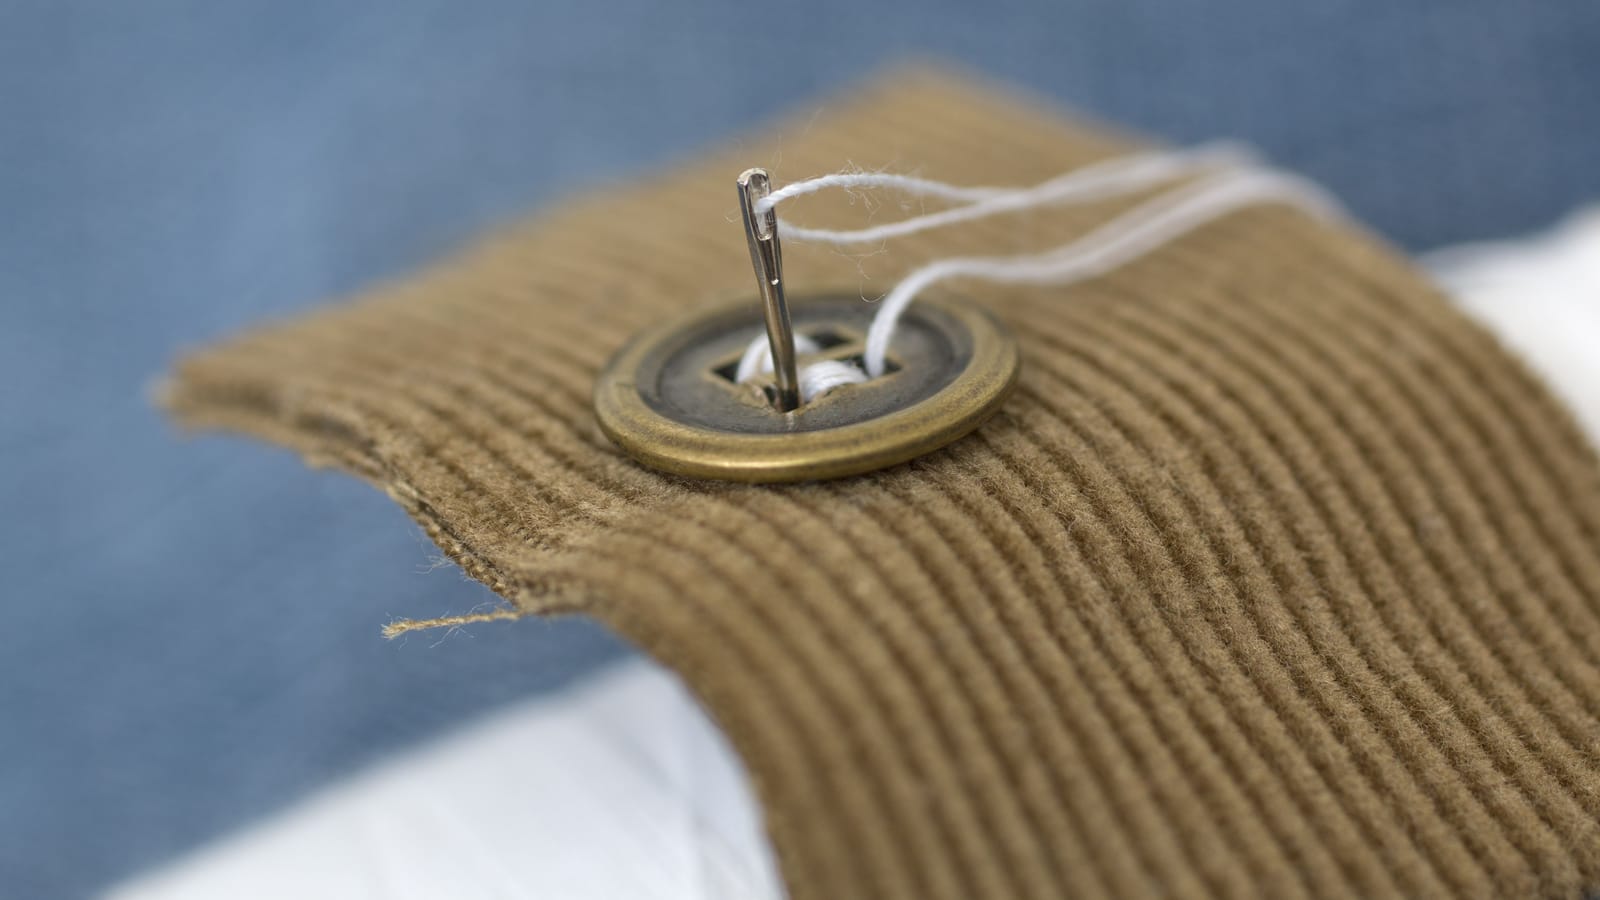
Cut eighteen inches of thread. Not thirty, not an arm's length, eighteen. Long thread tangles on itself, knots six inches from the needle, and turns a five-minute job into a wrestling match you lose. Short thread means you re-thread once. Fine. Re-threading takes nine seconds.
That's the whole secret to sewing, more or less: the people who are good at it are just doing a small number of boring things correctly.
What you actually need
A packet of hand-sewing needles in mixed sizes. For shirts and most clothes you want a "sharp" around size 7 or 8, which is a medium needle with a small eye. Denim and canvas want something stouter.
All-purpose polyester thread in black, white, navy and a mid-gray covers about ninety percent of a man's closet. Polyester over cotton, because cotton thread snaps and polyester stretches a little before it gives.
Small scissors that cut cleanly at the tip. Nail clippers work in a hotel room.
A thimble, if you're going through a coat. You can shove a needle through six layers of wool with your bare thumb exactly once before you decide the thimble was a good idea.
Optional but genuinely useful: a stub of beeswax. Drag the thread across it twice and it stops fraying and stops knotting. Candle wax works.
Thread the needle without a ten-minute argument
Cut the thread at a sharp angle with scissors, not by biting it. A bitten end is a frayed end, and a frayed end won't go through a size 8 eye.
Hold the needle against something white or light-colored so you can actually see the hole. Most people can't thread a needle over a dark kitchen counter and assume their eyes are going. Your eyes are fine. The background is bad.
Now decide: single thread or double. Shirt buttons, single thread is plenty if you do enough passes. Coat buttons, jacket buttons, anything that takes a yank — double it. Pull the two ends even and knot them together.
The knot: wrap the tail twice around your index finger, roll the loops off with your thumb so they twist into themselves, then pull the twist down tight with your middle finger. Takes practice. Or just tie three overhand knots on top of each other and get on with your life.
Put the button back where it was
Before you sew anything, find the spot. The old thread leaves a faint shadow, four little holes and a slightly worn patch. That's your target.
If the shadow's gone, button the garment and push a pin through the center of the buttonhole into the fabric underneath. That mark is where the center of the button goes.
Check the inside of the shirt tail or the lower inside seam before you panic about a lost button. Dress shirts often come with a spare stitched right there, and it matches.
Start from the top side of the fabric, not underneath. Bring the needle up where the button will sit, make two tiny stitches in an X, and the knot never shows because the button covers it. Knots on the underside of a shirt front rub against your chest all day and eventually pull through.
Build the shank, which is the part everybody skips
A button sewn flat against the shirt will pop off again, and it'll pull the fabric into a pucker every time you fasten it. The button needs to float a little above the cloth, with a small column of thread holding it up. That column is the shank, and it's the difference between a repair and an excuse.
Lay a toothpick, a matchstick or a straight pin across the top of the button, between the two pairs of holes. Sew right over it.
Four-hole button: go up through hole one, down through hole two, up through three, down through four. Six passes per pair on a shirt. Eight to ten on a coat. Look at the other buttons on the garment and copy their pattern — parallel bars, an X, whatever the rest are doing. A lone X in a row of bars looks like a repair. Matching looks like nothing happened.
Pull the toothpick out. Lift the button up so the slack gathers underneath, bring the needle up through the fabric but not through the button, and wrap the thread tightly around that slack column five or six times. Now you've got a real shank.
Lock it off
Push the needle back down through the fabric to the wrong side. Make a small stitch, and before you pull it tight, pass the needle through the loop. Do that twice. That's a knot that doesn't slip.
Trim to a quarter inch. Don't cut flush — flush knots work themselves loose in the wash.
Tug the button hard with two fingers. If it moves, you didn't do enough passes. Better to find out now than in a parking garage.
A burst seam isn't a tear
Two different problems, two different fixes, and mixing them up is why home repairs look homemade.
A burst seam means the thread failed and the fabric is intact. You'll see two clean edges with the old stitch holes still in them. Easy fix, invisible when done.
A tear means the fabric itself ripped. No stitching will bring that back on its own. You need backing — a fusible interfacing patch ironed on the inside, then stitching through it — or you take it to a tailor if it's a garment worth money.
For the burst seam: turn the garment inside out. Pin the two edges together along the original fold line, with the pins running perpendicular so you can pull them as you go. Match any stripe or check now, because you can't fix it later.
The backstitch, in slow motion
Start half an inch before the hole, in the intact stitching. Knot on the inside.
Bring the needle up. Go back about an eighth of an inch and push down. Come up an eighth of an inch ahead of where you first came up. Every stitch reaches backward to touch the one before it, so the line is solid with no gaps. That's why it holds and a running stitch doesn't.
Keep the stitches small and even. Small is strong. Follow the original crease so the seam allowance stays the same width — wander in by a quarter inch and the garment gets tighter in that spot.
Finish half an inch past the hole, into good stitching again, and lock off with two loop knots.
Press it with an iron when you're done. Pressing is what makes a hand-sewn seam look machine-sewn.
Where hand-sewing loses
Knits. T-shirts, polos, anything stretchy. A tight backstitch has no give, so the fabric stretches, the thread doesn't, and it snaps. If you must hand-sew a knit, leave a hair of slack in every stitch, or run a narrow zigzag on a machine, or accept that this is a shop repair.
Crotch seams and armholes take real load. Double the thread, halve the stitch length, and run a second row a sixteenth of an inch beside the first.
For hems, use a catch stitch and pick up one thread of the outer fabric per stitch. One. If you can see it from the front, you grabbed too much.
Needle safety, briefly
Point it away from you. Never hold pins or needles in your mouth, and never stand a needle in the arm of the couch where somebody's going to sit. Count the pins you put in and count them back out.
Dead needles go in a jar with a lid or taped to a scrap of cardboard, then in the trash. Not loose in the can where somebody empties it by hand.
Sew a coat button properly once and that coat will wear out before the button comes off again. Which, depending on the coat, is the point.
Wes Dunbar
Country & Skills
Grew up on an acreage and never quite left. Covers trucks, trades, land, and how to do the thing yourself.

Watch
Watch how it's done
Picked for this article.
From channels we rate. Plays on YouTube.
surefitdesigns
How to hand sew a Button with Thread Shank - a Couture Tip
Professor Pincushion
How to Sew On a Shank Button - Detailed Explanation
Read next