Build a bench around your clamps, not the other way around
A flat 6-foot bench, two sawhorses and a dozen clamps will outwork a $1,000 shop. Here's the plan, the costs and what to skip.
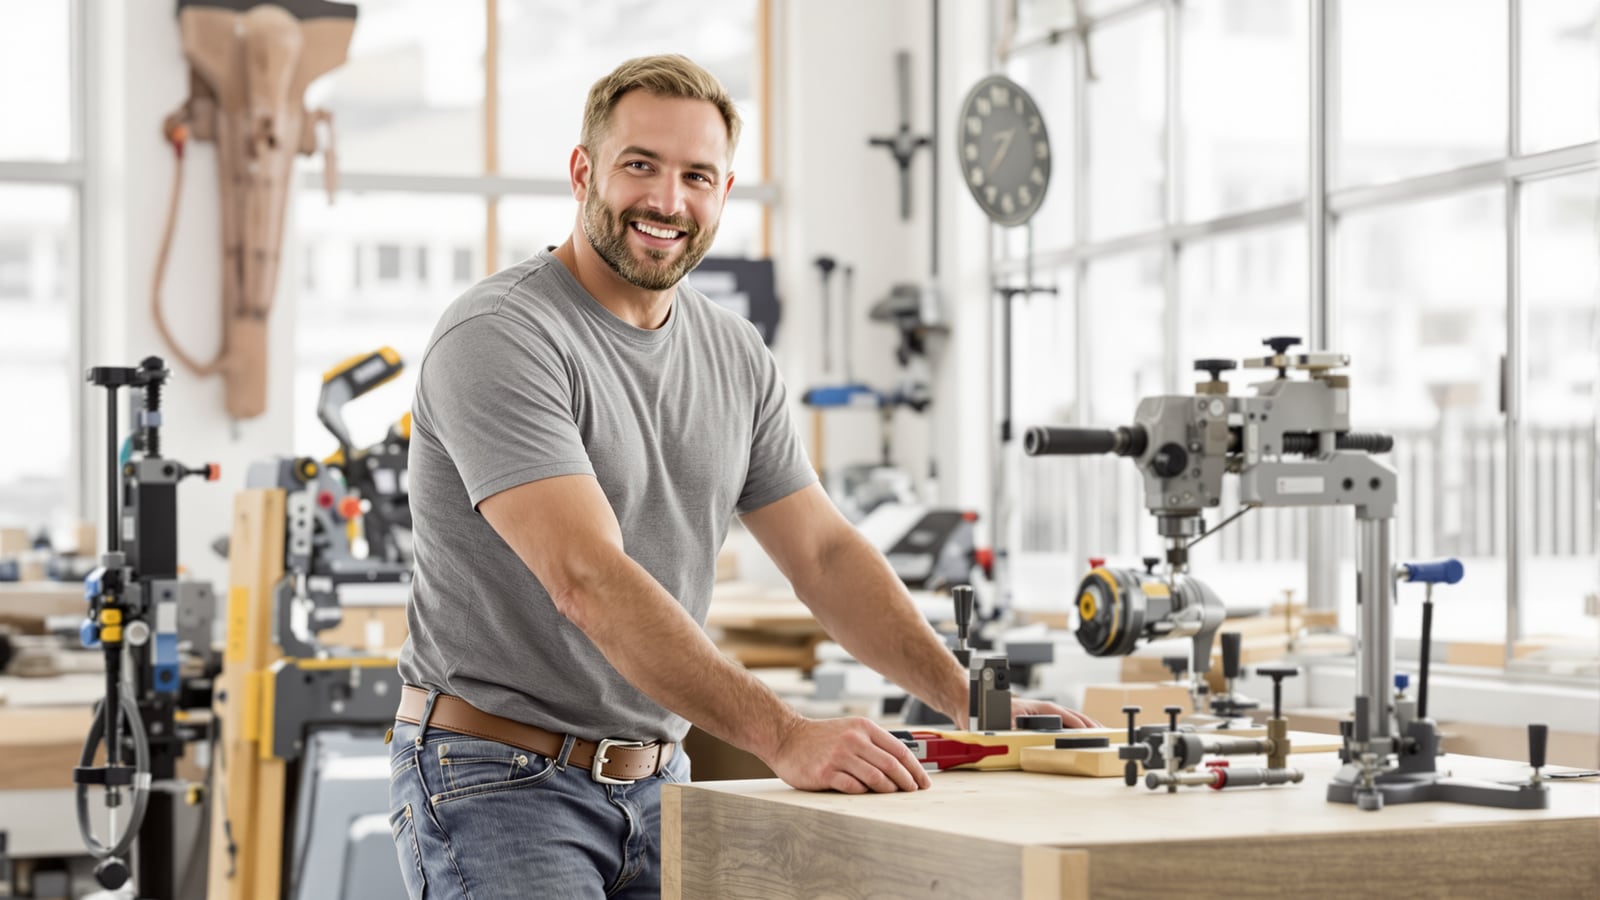
Quick answer: Build a 6-foot bench from six 2x4s and one sheet of 3/4-inch plywood for roughly $100 to $175, depending on where you live. Add two sawhorses and start with eight to ten clamps. Skip the vise and the fancy bench dogs until the plain bench has taught you what you actually need.
The mistake everyone makes
Most guys buy a bench like they buy a truck: for the look of it. A thick butcher-block top, a vise the size of a toaster, a price tag north of $400 before they've built anything.
Then they find out the bench isn't the hard part. Holding the work is. A board that slides while you cut it ruins the cut. A glue-up that shifts ruins the joint. A bench is a big, flat, steady thing that gives your clamps something to push against. Design it for that and the rest sorts itself out.
The bench: materials and cost
This is a 72-by-24-inch top at about 35 inches high. Pick the height by standing relaxed with your arms down. The top should land near your wrist crease. Too low and your back pays. Too high and you can't put weight over a plane or a handsaw.
Shopping list
- Six 8-foot 2x4s. You'll reject one at the store. Sight down each board like a rifle barrel and leave the twisted ones. About $4 to $7 each.
- One 4x8 sheet of 3/4-inch plywood, $45 to $90 depending on grade and the lumber market. Sanded pine or birch ply is fine. Don't pay for cabinet grade.
- A box of 3-inch structural or deck screws, about $15 to $25.
- A bottle of wood glue, $6 to $10.
- 1-1/4-inch screws for the top, if you don't already have some.
Cuts
- Four legs at 33-1/2 inches.
- Four long rails at 62 inches.
- Four short rails at 18 inches.
- Three plywood strips, 24 inches wide and 72 inches long. Two make a double-layer top. One is the lower shelf.
Four of your boards give you the legs and long rails, since a 62 and a 33-1/2 fit on one 8-footer. The fifth makes the short rails. The sixth is your spare.
Ask the lumberyard or home center to rip the plywood into 24-inch strips. Most will make a few cuts for free or close to it, and it saves you wrestling a full sheet into your garage. Don't have a saw yet? Our piece on the three saws a home shop needs covers what to buy first.
Assembly
Build two end frames first. Each is two legs and two 18-inch rails, one near the top and one about 8 inches off the floor. Glue the joint, then drive two 3-inch screws through each end. Drill pilot holes. Pine splits.
Stand the end frames up and connect them with the four long rails, top and bottom. Check for square by measuring the diagonals corner to corner. If the two numbers match, you're square. If they don't, tap the long way and recheck before the glue sets.
Drop the lower shelf plywood onto its rails and screw it down. It adds stiffness and a place to park a toolbox, and that weight keeps the bench from walking when you saw.
For the top, glue and screw the first layer down, then glue the second layer on top of it, staggering the screws so they don't collide. Put something heavy on it while the glue cures. The result is a 1-1/2-inch top that overhangs the frame by about an inch and a half on every side. That overhang isn't an accident. It's where your clamps bite.
Safety. Wear eye protection for every cut and every drilled hole. Wear hearing protection on the saw. Get a second person for lifting the plywood. A sheet is awkward and heavier than it looks, and this is a good job for a teenage son or daughter who wants to learn something. Keep cords out of the cut line.
Sawhorses: build two, skip the folding ones
Folding steel or plastic horses run about $40 to $100 a pair. They store flat, and that's all they've got going for them. Most wobble when you lean into a cut, and the cheap ones have thin, slippery tops.
Build two from 2x4s instead. Each is a 2x4 top beam about 30 inches long, four angled legs and a cross brace, for maybe $15 to $25 in lumber. Make them 24 inches high for sawing and sanding with the work on top, or about 35 inches to match your bench so they work as outfeed support. A pair at 35 inches doubles as a second bench surface when you're breaking down plywood.
The cheapest cut-down trick: screw a sacrificial 2x4 on top of each beam. You'll saw into it eventually. Replace it, not the horse.
Clamps: what to buy and in what order
Clamps are where money goes to disappear, so buy them in the order your projects demand.
Start with these:
- Four 12-inch one-handed bar clamps. Irwin Quick-Grip is the name most people know, and they run roughly $10 to $25 each. They're the tool you'll grab 90 percent of the time.
- Four 24-inch bar clamps of the same type.
- Two 4-inch F-style clamps for small stuff.
- A handful of spring clamps for light holding, a few dollars each.
What the cheap clamp gets right: a $5 to $10 bar clamp from a discount house brand like Harbor Freight's Pittsburgh line will hold a board flat for a cut or a screw. For that job you need numbers, not quality. Buy more of them.
What it gets wrong: the bar flexes, the jaw bows and the pad slips. Clamp a glue-up with it and you'll watch the joint creep open under pressure. If you're gluing tabletops, doors or panels, you want parallel-jaw clamps. Bessey's K Body line is the standard, and they cost roughly $40 to $100 each depending on length.
For long reach, buy pipe. Pipe clamp fixtures, two per clamp, are about $15 to $25 a set, and a length of 3/4-inch black pipe from the plumbing aisle costs $10 to $20. That gets you a 4-foot clamp for a fraction of the price of a parallel one.
Don't buy six 48-inch parallel clamps for one tabletop you'll build once. Borrow them from a neighbor or a friend. And when you do, bring them back with the glue scraped off the bars and a little paste wax on the threads. Return it cleaner than you got it and you'll never be short on clamps again.
A weekend plan
Friday evening. Measure your garage space. Order or pick up lumber, plywood, screws and glue. Have the plywood ripped at the store.
Saturday morning. Cut the 2x4s. Build the two end frames.
Saturday afternoon. Connect them with the long rails. Check for square. Fit the lower shelf.
Sunday morning. Glue and screw the top. Put weight on it.
Sunday afternoon. Build the two sawhorses while the glue cures. Sand the edges of the top lightly so you don't catch a sleeve.
Put the bench where the light's best, with room to swing a board on either end. If the garage is tight, How to Lay Out a Real Shop in a One-Car Garage covers where it should sit. And give your tools a home on the wall above it. Where Every Tool Goes and Why You'll Actually Put It Back is the system for that.
What to add later
After a few months, you'll know what's missing. If you keep fighting to hold small pieces, bolt a $40 to $100 vise to the front corner. If your clamps keep slipping off the edge, drill a grid of 3/4-inch holes in the top and buy a pair of hold-downs. Don't buy any of it before you've felt the need.
The first night you cut a board on that top, with the work pinned flat and nothing sliding, you'll understand why the clamps came first.
Dean Shaw
Gear & Garage
Reads the warranty, the parts list and the long-term owner reviews before anything else. Trucks, tools, watches, and the cheap version that costs more.

Watch
Watch how it's done
Picked for this article.
From channels we rate. Plays on YouTube.
Modern Builds
DIY 2x4 Workbench for Under $100 | Modern Builds | Woodworking
Read next