

Your Bathroom Fan Runs, but the Mirror Still Fogs. Fix the Duct
A fan that spins isn't a fan that works. Test the airflow first, then follow the air from the grille to the outside wall.
Quick answer: Nine times out of ten the motor is fine and the duct is the problem. Do the toilet paper test, check the outside vent cap, then look in the attic for a duct that's crushed, popped off, or dumping into the insulation.
You take a hot shower. The fan hums away the whole time. Ten minutes later the mirror's still white, the ceiling's beading up, and there's a gray freckle in the corner that wasn't there last spring.
Most guys hear that hum and assume the fan is dying, then spend $120 on a new unit and hang it on the same bad duct. The new one fogs the mirror too. Diagnose first.
Test the airflow before you touch anything
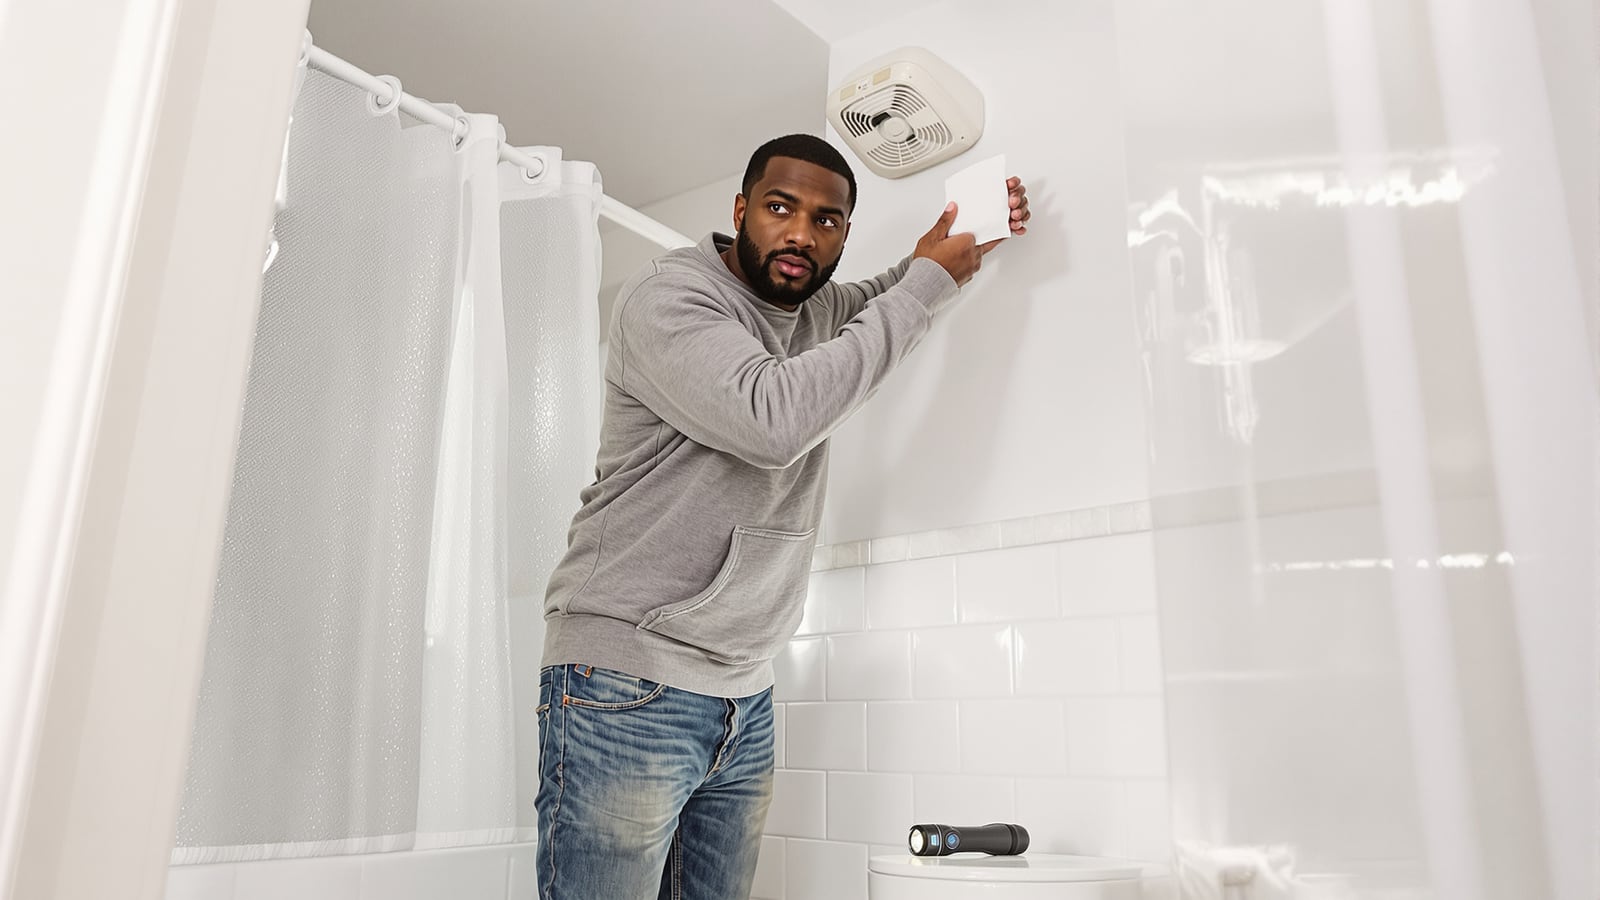
Tear off one square of toilet paper and hold it flat against the grille with the fan running.
A healthy fan grabs it and holds it there. If it flutters, slides off, or just hangs, air isn't moving. That tells you the problem is real, and the next two checks tell you where.
Now go outside and find the exhaust cap. It's a small hooded vent on an exterior wall, under the eave, or on the roof. Have somebody run the fan while you watch. The little flap should push open and stay open. Three things can go wrong here:
- The flap's stuck shut with paint, lint, or a wasp nest.
- There's no flap or cap at all, because the duct just ends somewhere.
- You can't find a cap anywhere, which means the air is going into the attic.
That last one is more common than it should be, especially in older houses and flips. Warm, wet air blown into an attic soaks the insulation and rots the roof deck. Code in essentially every area requires bathroom fans to vent outdoors. The details vary by city and county, so check with your local building department before you reroute anything.
Clean the fan itself (fifteen minutes, no cost)
Once you've confirmed weak airflow, start with the cheap fix.
Shut the power off at the breaker. Don't trust the wall switch. Confirm with a non-contact voltage tester, about $15 to $25 at any hardware store. Hold it near the fan's wiring or at the grille opening and make sure it stays silent.
Most grilles pull down and squeeze out on two spring clips. Some have a screw. Behind it you'll find a plastic or metal blower wheel that looks like a small hamster cage. Years of dust and lint pack into those blades and cut the airflow badly.
Vacuum it out with a brush attachment. Wipe the blades with a damp rag. Spin the wheel by hand. It should turn freely and not wobble on the shaft. Wash the grille in the sink, dry it, and snap it back on.
Restore power and rerun the paper test. If it sticks now, you're done. Go have a coffee.
If not, the problem is further up the line.
Follow the duct in the attic
This is where the real culprit usually lives. Pick a cool morning. Attics in July are how guys end up in the emergency room.
What you need:
- A headlamp or good flashlight
- N95 dust mask and work gloves (insulation itches and you don't want it in your lungs)
- Long sleeves
- A sheet of plywood or two boards to kneel on
- Foil tape, rated UL 181, about $8 to $12 a roll
- Two or three metal hose clamps, a few dollars
- A new section of 4-inch insulated flex duct if yours is shot, roughly $15 to $30
Step only on the joists. Put a foot between them and you'll be through the ceiling and standing in your own bathroom. If you do punch one, the drywall patching piece will get you out of it.
Find the fan housing from above and trace the duct away from it. Look for these, in this order:
- A disconnected duct. It slips off the fan collar or the wall cap all the time. The fan then blows into open attic. Reattach it, wrap the joint with foil tape, and snug a clamp over it.
- A crushed or kinked run. Someone stored a box on it or ran it over a rafter at a hard angle. Straighten it. If the inner liner is torn, replace the section.
- A long sag. Flex duct that droops between joists holds water. Condensation collects in the low spot and the fan has to push through it. Pull it taut and support it every four feet or so.
- Bare duct in a cold attic. Warm moist air hitting a cold duct turns to water and drips back toward the fan. Use insulated duct, or wrap the existing run in a duct sleeve.
- Too much duct. Every foot and every bend cuts airflow. A short, straight shot to the outside is the goal.
Seal every joint with foil tape or mastic. Don't use cloth duct tape. The adhesive dries out in a couple of years, and then you're back to step one.
Replace the cap if it's stuck or missing
A new wall or roof vent cap with a working damper runs $10 to $30. On a wall, it's a ladder job: pull the old cap, feed the duct through, attach the new one, and seal around it with exterior caulk.
Roof caps are different. If it's on the roof, and especially if the roof is steep or the shingles are old, call a roofer or a licensed contractor. A cap that's installed wrong leaks, and a leak costs a lot more than the $150 service call.
When the fan really is the problem
Some fans do wear out, and some were never big enough. Check the number printed on the housing label, the CFM. A common rule of thumb is about one CFM per square foot of bathroom floor for rooms up to 100 square feet. A 9 by 10 bathroom wants a fan rated at 90 CFM or better. If the label says 50, you've found your answer.
A basic replacement fan is roughly $50 to $80. A quieter, stronger one runs $100 to $200. Quiet matters. The loud ones are the ones people stop switching on.
A like-for-like swap is a reasonable weekend job if you're comfortable with basic wiring and have the power off. If the new fan needs new wiring, a new circuit, or a different box location, hire a licensed electrician. Codes vary by area, and some require a permit and inspection for exactly this.
Three cheap habits that make any fan work better
Run it twenty minutes after the shower. The steam doesn't leave when the water shuts off. A countdown timer switch costs $20 to $40 and takes the memory out of it. A humidity-sensing switch, around $25 to $50, turns the fan on and off by itself.
Crack the door or mind the gap. A fan can't pull air out of a sealed room. If the door seals tight to the floor, there's no air to replace what leaves. A gap of about an inch under the door lets it breathe.
Wipe the first spots right away. A little gray on the ceiling can be washed off with a mild detergent and water. Once it's spread over a patch bigger than about ten square feet, or it's coming back, the EPA's guidance is to bring in a professional. You want to find out why it's wet, not just paint over it.
Your furnace, your dishwasher and your fan all go wrong the same way. Something cheap in the path fails, and the expensive part takes the blame. The furnace walkthrough makes the same point about order. Start with what costs nothing.
And when you come down out of that attic, take the empty tape wrapper, the stray insulation, and your footprints with you. Leave it cleaner than you found it. The next person to crawl up there will be your son.
Wes Dunbar
Country & Skills
Grew up on an acreage and never quite left. Covers trucks, trades, land, and how to do the thing yourself.

Watch
Worth an hour of your evening
More from Can You Fix It.
From channels we rate. Plays on YouTube.
Read next