How to hang a door so it closes with one push
Most doors that stick were hung to a crooked frame. Set the hinge side plumb first and everything downstream gets easier.
Before you buy a thing, put a 6-foot level on the hinge jamb of the door that's annoying you. Hold it against the face of the jamb, then against the edge. If the bubble sits off to one side, you've found your problem, and it isn't the door.
A door is a flat rectangle hanging off three pieces of hardware. When it drags on the carpet, springs back off the stop, or needs a shoulder to latch, the fault is almost always the frame it's hanging in, or the depth of a hinge mortise. Fix the frame and the door behaves.
Work out what you're actually dealing with
Close the door until it's an inch from latching and look at the gap all the way around. That gap is called the reveal, and it should be about 1/8 inch at the top and down the latch side. A US nickel is close enough to gauge it.
Now read what you see:
- Reveal tight at the top of the latch side, wide at the bottom. The door is sagging, or the hinge jamb is leaning.
- Door swings open or shut on its own when you let go. The hinge jamb is out of plumb in the swing direction.
- Door hits the stop before the latch reaches the strike. Hinge-bound, or the hinge jamb is twisted.
- Latch touches the strike plate but won't drop in. Strike is off by a sixteenth. Easiest fix on this list.
- Everything's fine but the door drags on the floor. Trim the bottom, or fix a settled floor.
If the jamb itself is split, water-damaged, or was never plumb in the first place, stop trying to fit a slab into it. Buy a prehung unit. You'll spend less time and get a better result.
Prehung or slab
A prehung door comes already hung on its jamb with the hinges mortised and the latch bore drilled. You're installing a frame, not fitting a door. That's the right call for a new opening, a rotten jamb, or any time you'd otherwise be chiseling three hinge pockets by hand.
A slab is just the door. You fit it to the jamb you have. Do this when the existing frame is sound and painted and you don't want to tear out casing and touch up drywall. It's more fussy work with a chisel and a plane, and it's genuinely satisfying when it comes out right.
Standard interior slabs are 1-3/8 inches thick and 80 inches tall, with 3-1/2 inch hinges. Exterior doors are 1-3/4 inches with 4-inch hinges. Check what you've got before you order.
Safety, quickly
A solid-core door is heavy and awkward and it wants to fall on your foot. Get a second person, or lean it against the wall with the bottom kicked out so it can't slide. Eye protection whenever you're chiseling or routing, because end grain flicks up. Unplug the router before you change a bit. And if you're cutting a fire-rated door, don't. They can only be trimmed a small amount and it's usually printed on the edge.
Setting a prehung unit
Pull the shipping brackets but leave the door closed and the retaining nails in place if the manufacturer fitted them. They hold the reveal for you.
Check the floor first. Lay a level across the opening. If one side is high, cut that jamb leg short by the difference so the head jamb ends up level. Skipping this is why so many doors have a wedge-shaped gap at the top.
Stand the unit in the opening, casing side toward you if it's pre-cased. Shim behind the top hinge, get that jamb leg plumb in both directions, and drive one 8d finish nail through the jamb into the shim and the stud behind it. One nail. You still want to be able to move things.
Now shim behind the bottom hinge and the middle hinge, checking plumb each time. Nail those off. The hinge jamb is the whole job. If it's plumb and straight and not twisted, the rest is bookkeeping.
Move to the latch side. Shim behind the strike plate location, one shim pair near the top and one near the bottom, and set them so the reveal down the latch edge stays a consistent 1/8 inch top to bottom. Nail. Check the head jamb reveal and shim it if it's sagging in the middle.
Then do the thing most people skip. Take the pin out of the top hinge, pull one screw from the jamb leaf, and replace it with a 3-inch screw that reaches through the shim into the framing. Do the same at the bottom hinge. This is what stops a door drooping in year three.
Score the shims with a utility knife and snap them flush. Open and close the door twenty times. It should stay wherever you leave it at 45 degrees.
Fitting a slab to an old jamb
Measure the opening at the top, middle and bottom. Old jambs are rarely parallel. Transfer the narrowest width to the door, minus 1/8 inch for the latch-side reveal and 1/16 for the hinge side.
Trim the hinge edge, not the latch edge, when you can. Then plane a 3-degree bevel on the latch edge, leaning toward the stop side, so the leading corner doesn't catch the jamb as it swings shut.
Hollow-core doors have only an inch or so of solid wood inside each edge. Take off more than about half an inch and you're into cardboard. If you must cut a lot off the bottom, saw the offcut open, salvage the wooden rail inside it, and glue it back into the void.
Mark the hinges off the jamb, not off a tape measure. Set the door in the opening on a couple of shims, get the reveal you want, and pencil the top and bottom of each hinge mortise straight onto the door edge from the existing jamb leaf. Standard placement is 7 inches down from the top and 11 inches up from the bottom, with the third hinge centered between.
Cut the mortise to the exact thickness of the hinge leaf, usually about 1/8 inch. Too deep is worse than too shallow. A shallow mortise leaves the door a hair proud. A deep one makes it hinge-bound, so the door fights the stop and springs back at you.
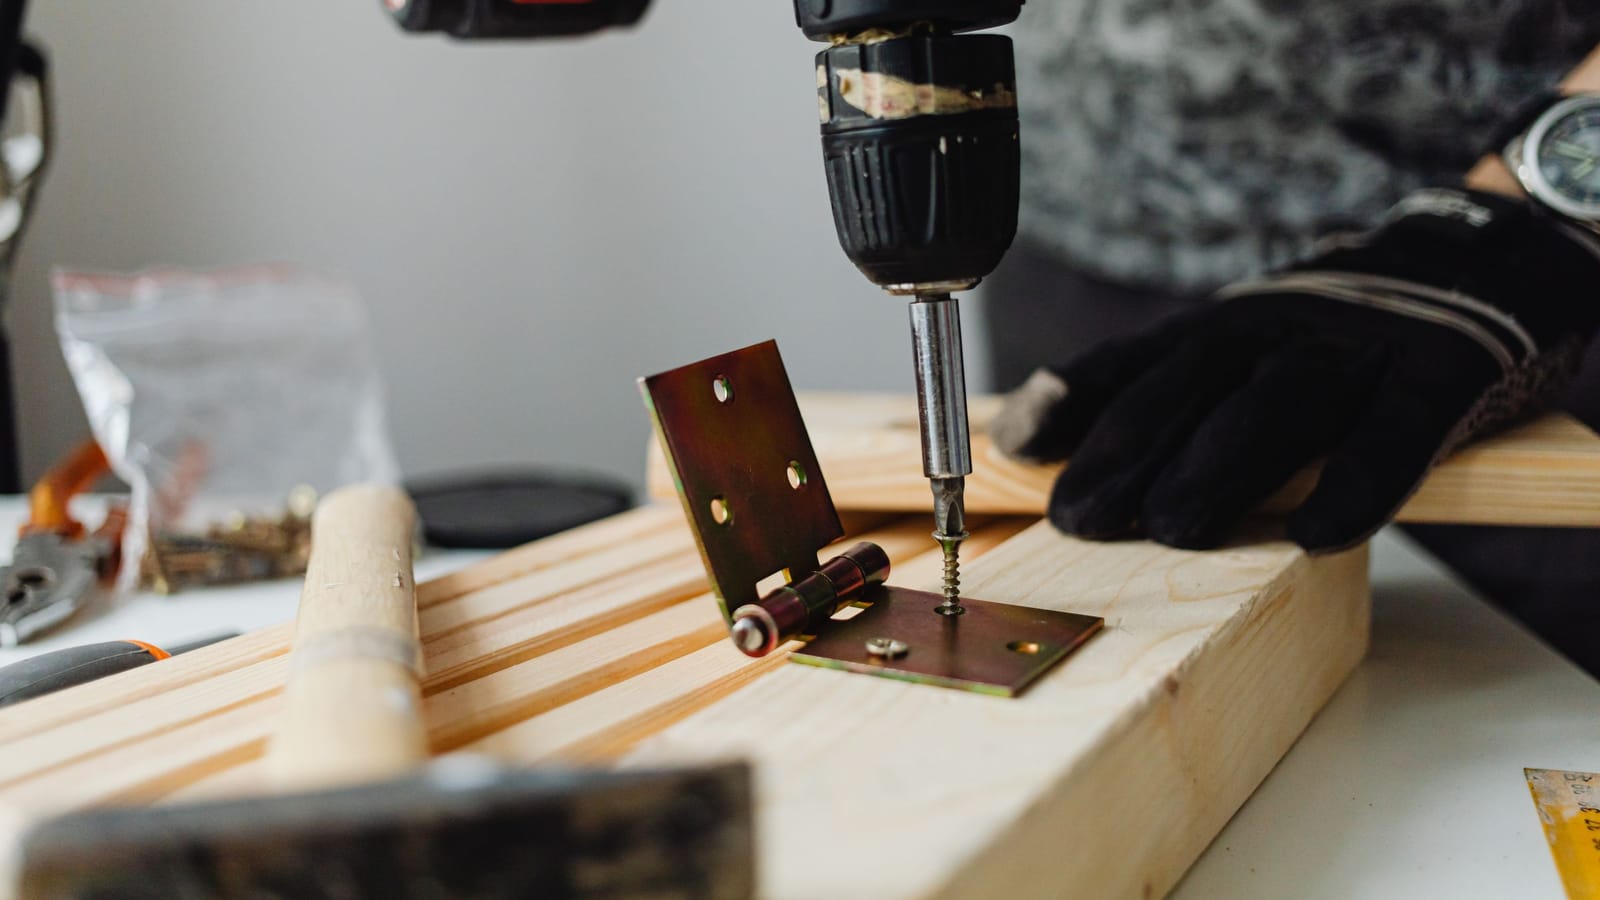
Drill pilot holes with a self-centering bit. A regular drill bit wanders off the countersink and pulls the hinge out of position, which is exactly the sixteenth of an inch that ruins the reveal.
Lockset and strike
Use the paper template that comes in the box. The face bore is 2-1/8 inches, the edge bore is 1 inch, and the backset is either 2-3/8 or 2-3/4 inches. Get the backset wrong and the latch won't reach.
Bore the face hole from one side until the pilot point just breaks through, then finish from the other side. Going straight through in one pass blows a crater in the paint-grade veneer.
For the strike, rub a pencil hard across the end of the latch bolt, close the door, and let the bolt mark the jamb. That tells you exactly where it wants to land. If it's within a sixteenth, a few strokes with a file on the strike opening fixes it. More than that, move the plate.
When it still isn't right
Door closes but won't latch, and there's a gap at the stop near the top hinge: put a strip of cardboard behind the top hinge leaf on the jamb side. It'll throw the door forward a fraction.
Door binds at the top of the latch side: run a 3-inch screw into the top hinge and snug it slowly. It pulls the whole door back toward the hinge jamb. Stop as soon as the bind clears, or you'll create a new one at the bottom.
Door rattles when the furnace kicks on: bend the tab inside the strike plate out a millimeter with a screwdriver.
The first prehung you set will take you most of a morning. The fourth takes about ninety minutes, and you'll stop needing the level as much because your eye starts reading the reveal on its own.
You'll know you got it when somebody closes that door behind them without thinking about it, and never mentions it again.
Wes Dunbar
Country & Skills
Grew up on an acreage and never quite left. Covers trucks, trades, land, and how to do the thing yourself.

Watch
Worth an hour of your evening
More from Skills.
From channels we rate. Plays on YouTube.
Read next