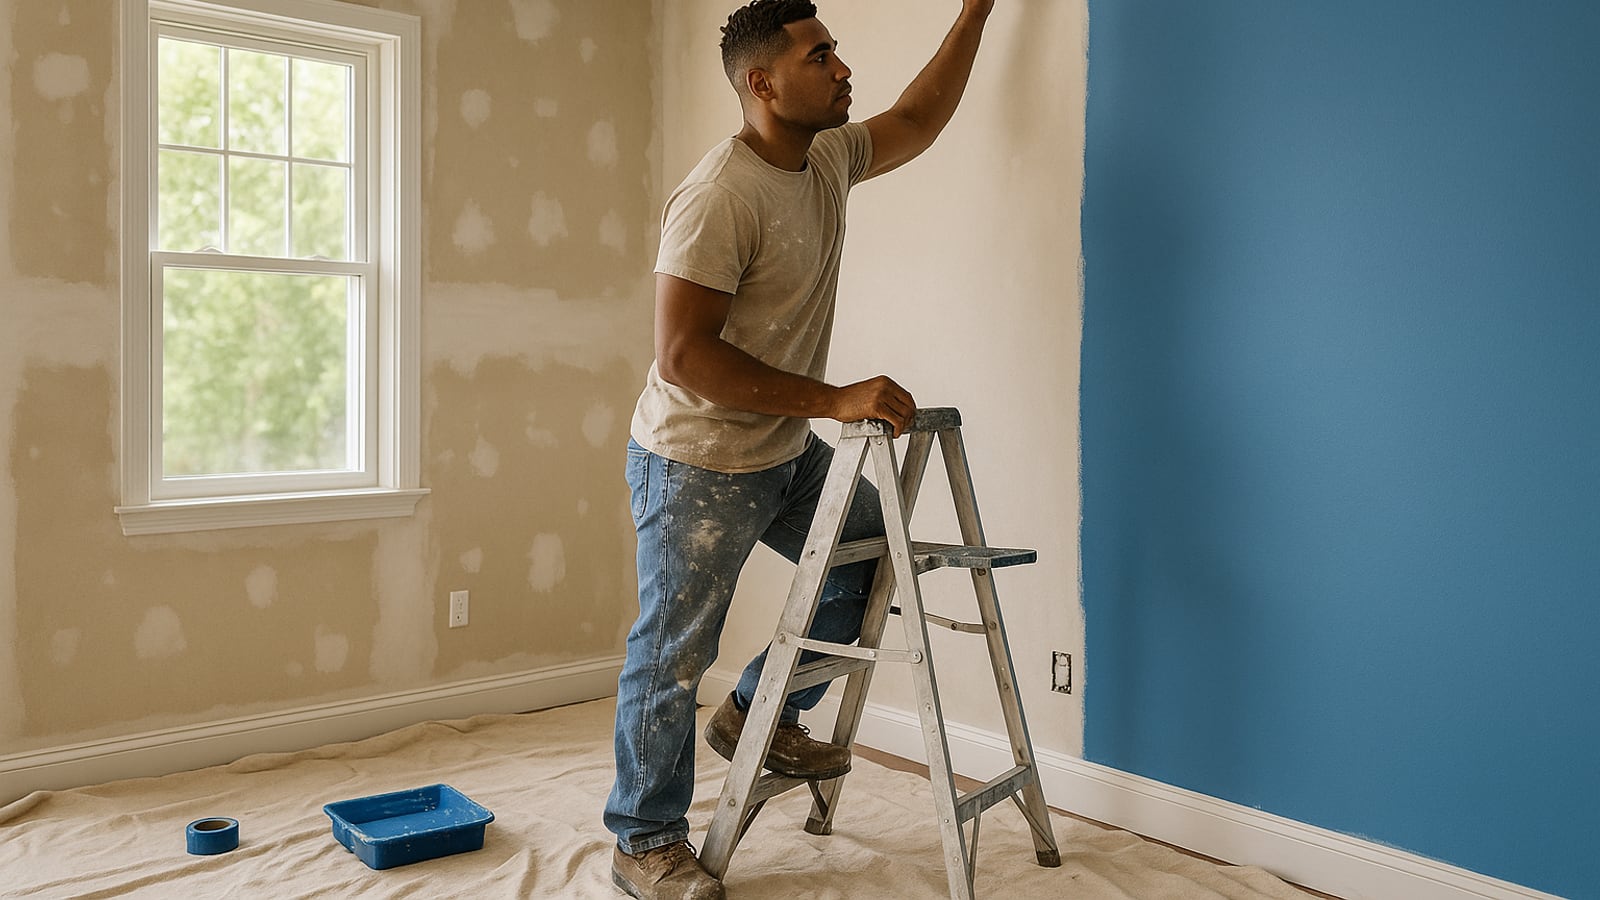
Two thirds of a good paint job happens before the lid comes off. The part that separates a room that looks painted from a room that looks done is filler, caulk, sanding and clean walls. A weekend painter spends four hours prepping and eight painting. Reverse that ratio and the same paint looks twice as good.
Start with a tape measure. Perimeter of the room times ceiling height gives you square footage. Don't subtract windows and doors. That overage is your margin for a heavy first coat and for the gallon you'll want in the basement in two years when a chair back scuffs the wall. Most cans claim somewhere around 350 to 400 square feet per gallon per coat, and most cans are optimistic on a thirsty surface.
Buy for two coats. Always. If you're going darker, or covering red or deep blue, plan on a tinted primer plus two.
Safety, briefly, because two of these will hurt you
If the house was built before 1978, assume there's lead paint under whatever you're looking at. Don't dry-sand it, don't heat-gun it, and don't let kids in the room. Test kits are sold at any hardware store, and the EPA's Renovation, Repair and Painting rule governs how contractors handle it. If you find lead and the surface is flaking, that's a call to a certified pro, not a Saturday project.
Ladders: the top step isn't a step. If you're stretching, get down and move it. Most falls happen on the last six inches of reach.
Open two windows, not one. You want cross-flow. And wear an N95 when you sand joint compound, because that dust is fine enough to stay in the air for an hour after you stop.
The kit that actually matters
You can skip almost everything and still need these.
- A 2.5-inch angled sash brush. Not the three-pack of cheap ones. A good brush holds a straight edge for years and pays for itself the first time you cut a ceiling line freehand.
- A 9-inch roller frame with a 3/8-inch nap cover for smooth drywall, 1/2-inch if your walls have any texture. Thicker nap holds more paint and leaves more stipple.
- A 5-gallon bucket and a grid, not a tray. Trays skin over, tip, and make you reload every forty seconds.
- Canvas drop cloths for the floor. Plastic is a skating rink and it holds wet paint on the surface where your shoes find it.
- A 5-in-1 tool, lightweight spackle, 120 and 220 grit, paintable latex caulk, and a bright work light you can set on the floor and aim up the wall.
That last one is the tool nobody buys. A cheap clamp light on the floor throws raking light across the wall and shows you every roller skip and every nail hole you missed. You'll find things the ceiling fixture hides completely.
Repair, clean, caulk, in that order
Fill nail holes and dings with spackle, slightly proud of the surface, then sand flush once it's dry. Run your palm over the wall afterward. Your hand finds ridges your eye doesn't.
Wash the walls. Everyone skips this and it's the reason paint peels off in sheets above a stove six months later. A sponge with warm water and a little dish soap is enough for most rooms. Kitchens need a degreaser. Let it dry fully.
Then caulk the gap where trim meets wall. Thin bead, run a damp finger along it, wipe the excess off your finger every foot or so. That one line of caulk does more for the finished look of a room than an extra coat of paint. A shadow gap along the baseboard reads as unfinished no matter how nice the color is.
Scuff-sand glossy trim with 220 so the new coat has something to hold.
The order of operations
Ceiling first. Then walls. Then trim and doors last.
Plenty of good painters do trim before walls and tape it off afterward, and their logic is sound: it's easier to tape a straight baseboard than to cut a clean line on one. I go ceiling, walls, trim because trim paint is the fussiest and I'd rather do it with a fresh eye and a dry wall behind me. Pick one and commit, because the worst version is deciding halfway.
Tape the edges you can't cut freehand. Press the tape down hard with the flat of your 5-in-1, then seal the edge with a thin pass of whatever color is already there. When paint bleeds under the tape, and some always does, it bleeds the old color and disappears. That trick alone is worth the roll of tape.
Kill the breaker before you pull switch plates and outlet covers. Pull them anyway, don't paint around them.
Cut in one wall, roll that wall, move on
This is the rule that makes the biggest visible difference, and almost every DIY job gets it wrong.
Don't cut in the entire room and then start rolling. The cut-in dries in twenty minutes, and when your roller meets a dry brushed band you get a visibly different texture around the edges of every wall. Painters call it picture framing. Once you've seen it you can't unsee it.
Cut in one wall. Roll that wall immediately, right up into the wet brushed band. Then move to the next.
Load the roller in the bucket, roll it out on the grid until it stops dripping, and lay the paint on in a section about three feet wide. Start roughly a foot up from the baseboard and push up first, so the heavy load goes onto the wall instead of sliding down it. Fill the section. Then, with almost no pressure, make one light pass floor to ceiling across the whole section in the same direction. That last pass is what evens the stipple.
Light pressure. Pressing harder doesn't get more coverage, it gets ridges from the roller's ends and a cover that's starved in the middle.
The lunch break that ruins a wall
Finish the wall you're on. All of it.
A roller lap mark, where wet paint meets paint that's an hour old, shows up as a faint stripe forever in side light from a window. You'll see it every morning for a decade. If you have to stop, stop at a corner.
Between coats, wrap the roller and brush tightly in a plastic grocery bag and leave them somewhere cool. Don't wash them mid-job. A washed brush goes back to work soggy and drips down your wrist.
Check the can for recoat time. Latex is usually ready in a couple of hours, and rushing it lifts the first coat off the wall in gummy little rolls.
Pulling tape, and the last twenty minutes
Pull tape while the paint is still slightly soft, not fully cured. Back at a 45-degree angle, slow and steady. If you've already let it harden overnight, score the edge with a fresh razor blade first, or the film tears and takes a strip of finish with it.
Then bring that work light back in, set it on the floor, and walk the room. Touch up with the same tool that laid the paint down. Brush touch-ups on a rolled wall show up as glossy patches because the texture doesn't match.
Label the leftover can with the room name and the date in marker on the lid. Not the side. You'll be looking down at it on a shelf.
The room will look wrong for about a day. Colors read darker in an empty room with bare floors, and every homeowner has a moment on Sunday evening where they're sure they chose badly. Put the furniture back and the rug down before you decide anything.
Wes Dunbar
Country & Skills
Grew up on an acreage and never quite left. Covers trucks, trades, land, and how to do the thing yourself.

Watch
Worth an hour of your evening
More from Skills.
From channels we rate. Plays on YouTube.
Read next