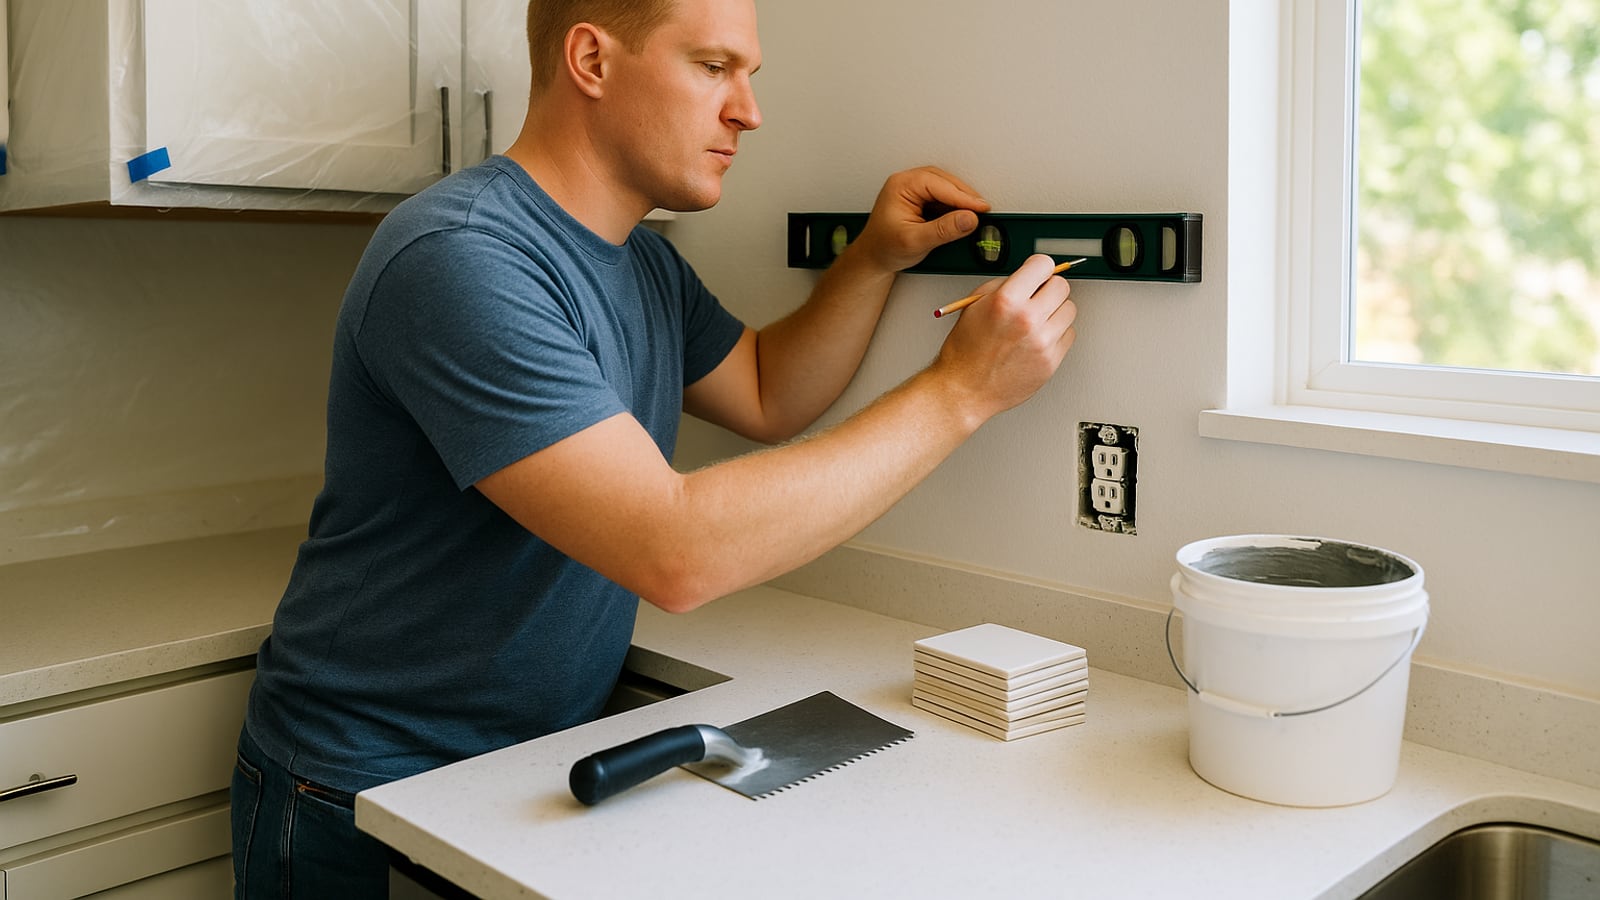
Don't start in the corner.
That's the mistake. You buy the tile, you're excited, you butter up a corner and start laying, and eighteen hours later you've got a two-inch sliver of tile sitting directly above the sink where your eye lands every single morning. The tile is fine. The grout is fine. But the layout is wrong and you can't fix layout after the fact.
So the job starts with a pencil, a level and about forty minutes of doing nothing that looks like progress.
Before anything, kill the power
Go to the panel and shut off the breaker feeding the kitchen counter outlets. Then test every outlet in the work area with a non-contact voltage tester before you take a single cover plate off. Kitchens often run two or three separate circuits, and the one you switched off may not be the one you're about to put a trowel next to.
Pull the cover plates. Loosen the outlet screws and let the receptacles sit slightly proud of the box so you can set them forward later. You'll need box extenders once the tile goes on, because the receptacle has to end up flush with the finished surface rather than buried a quarter inch behind it. They cost almost nothing and they're the difference between a cover plate that sits flat and one that rocks. If the wiring situation looks older than you're, or you find cloth insulation or no ground, stop and call a licensed electrician. Tile is a hobby. Wiring isn't.
Prep the wall you've actually got
Wipe the whole area with a degreaser. Kitchen walls carry a film of cooking oil you can't see, and thinset won't bond through it. Scrape off any paint that's flaking. Fill screw holes with joint compound and sand them flat.
Then hold a 4-foot level flat against the wall and look for daylight underneath. Most walls have a bow. If yours is out by an eighth of an inch over four feet, ignore it. If it's a quarter inch or more, you'll see it in the grout lines and you should skim the low spots before you tile.
Painted drywall is fine to tile over as long as the paint is stuck down hard. Glossy paint should be scuffed with 80-grit first.
Find the center, not the corner
Measure the main run and mark the exact middle with a vertical pencil line. Now dry-lay a row of tile on the countertop with your spacers in, centered on that line, and see where the end pieces fall. If you end up with less than half a tile at either end, shift the whole layout by half a tile width and check again. One of the two options will give you decent-sized end cuts on both sides. Take that one.
Do the same vertically. The critical zone is the top row against the upper cabinets and the strip behind the range if you have a hood or open wall there. A thin sliver at eye level looks like a mistake. A thin sliver tucked under a cabinet nobody notices.
Snap a level line for the bottom of your first full course. Countertops are rarely level, and if you set your first row on the counter and just follow it, the whole field tilts. Instead, find the highest point of the counter, mark one tile height up from there, and run a level line across the wall. Screw a straight length of 1x2 to the studs along that line as a ledger, tile above it, and come back the next day to cut the bottom row to fit the counter.
Adhesive, trowel, and the part people rush
For a dry kitchen wall with ceramic or porcelain, premixed mastic is easier for a first-timer. It grabs fast, it doesn't slide, and there's no mixing. For glass tile, natural stone, or anything behind a range where it gets hot and steamy, use a white modified thinset mixed to a peanut-butter consistency. Glass and stone are translucent enough that gray thinset will show through.
Trowel size follows tile size. Small mosaics take a 3/16-inch V-notch. Standard 3x6 subway wants a 1/4-inch square notch. Anything over 8 inches on a side, move up to 1/4 x 3/8.
Spread about three square feet at a time. Hold the trowel at a consistent angle, comb the ridges all in one direction, and don't let the adhesive skin over before the tile goes on. If you touch it and nothing comes off on your finger, scrape it and re-spread.
Set each tile with a slight twist, not a slap. Pop your spacers in as you go. Every few tiles, lay a level across the face and check for lippage — one tile standing proud of its neighbor. Fix it now. You can't sand it out later.
Cutting
A wet saw rental for a day is worth it over a manual snap cutter, especially for porcelain, and definitely for L-shaped cuts around outlets. Wear eye protection and don't cut indoors unless you enjoy cleaning tile slurry off cabinet doors.
Outlet cuts: mark the box on the tile, cut the two long sides on the saw, then nibble the waste with tile nippers and clean it up with a rub stone. It won't be pretty. The cover plate hides it.
Cut face-up on a wet saw. Go slow at the exit edge, which is where tiles chip.
Let it cure, then grout
Wait a full 24 hours. Grouting into soft mastic is the second most common first-timer failure, right after the corner-start layout.
Pull the spacers. Scrape out any adhesive that squeezed up into the joints with a utility knife — if it's sitting there, the grout won't have room and you'll get color variation. Choose sanded grout for joints wider than 1/8 inch, unsanded for narrower, and never sanded grout against polished stone or glass unless the manufacturer says so, because it scratches.
Work the grout in diagonally across the joints with a rubber float, then hold the float at a steep angle and scrape the excess off the same way.
Wait ten or fifteen minutes. Then wipe with a barely damp sponge, rinsed constantly, in circles. Wring it out until it's almost dry. A soaking sponge pulls the cement out of the joint and leaves you with pinholes.
A haze will come up over the next hour or two. Buff it off with a dry microfiber cloth.
The joints that never get grout
Where the tile meets the countertop, and where it meets an inside corner or a cabinet side, use 100 percent silicone caulk matched to your grout color. Not grout. Those joints move, and grout in a moving joint cracks within a year.
Run a thin bead, smooth it with a wet fingertip in one pass, and don't go back over it.
If you used cement grout, seal it after 72 hours. Two coats, wiped off the tile face before it dries.
Where I'd tell you not to bother
If you're renting, or you'll be out of the house in two years, peel-and-stick tile isn't a compromise you need to be embarrassed about. It looks decent from three feet, it comes off, and you won't lose a weekend.
But if it's your house, do the real thing. The cost is mostly your Saturday.
One last thing. Take a photo of the wall with the outlets exposed before you tile, so when you're drilling for an under-cabinet light two years from now, you know exactly where the wire runs.
Wes Dunbar
Country & Skills
Grew up on an acreage and never quite left. Covers trucks, trades, land, and how to do the thing yourself.

Watch
Worth an hour of your evening
More from Skills.
From channels we rate. Plays on YouTube.
Read next