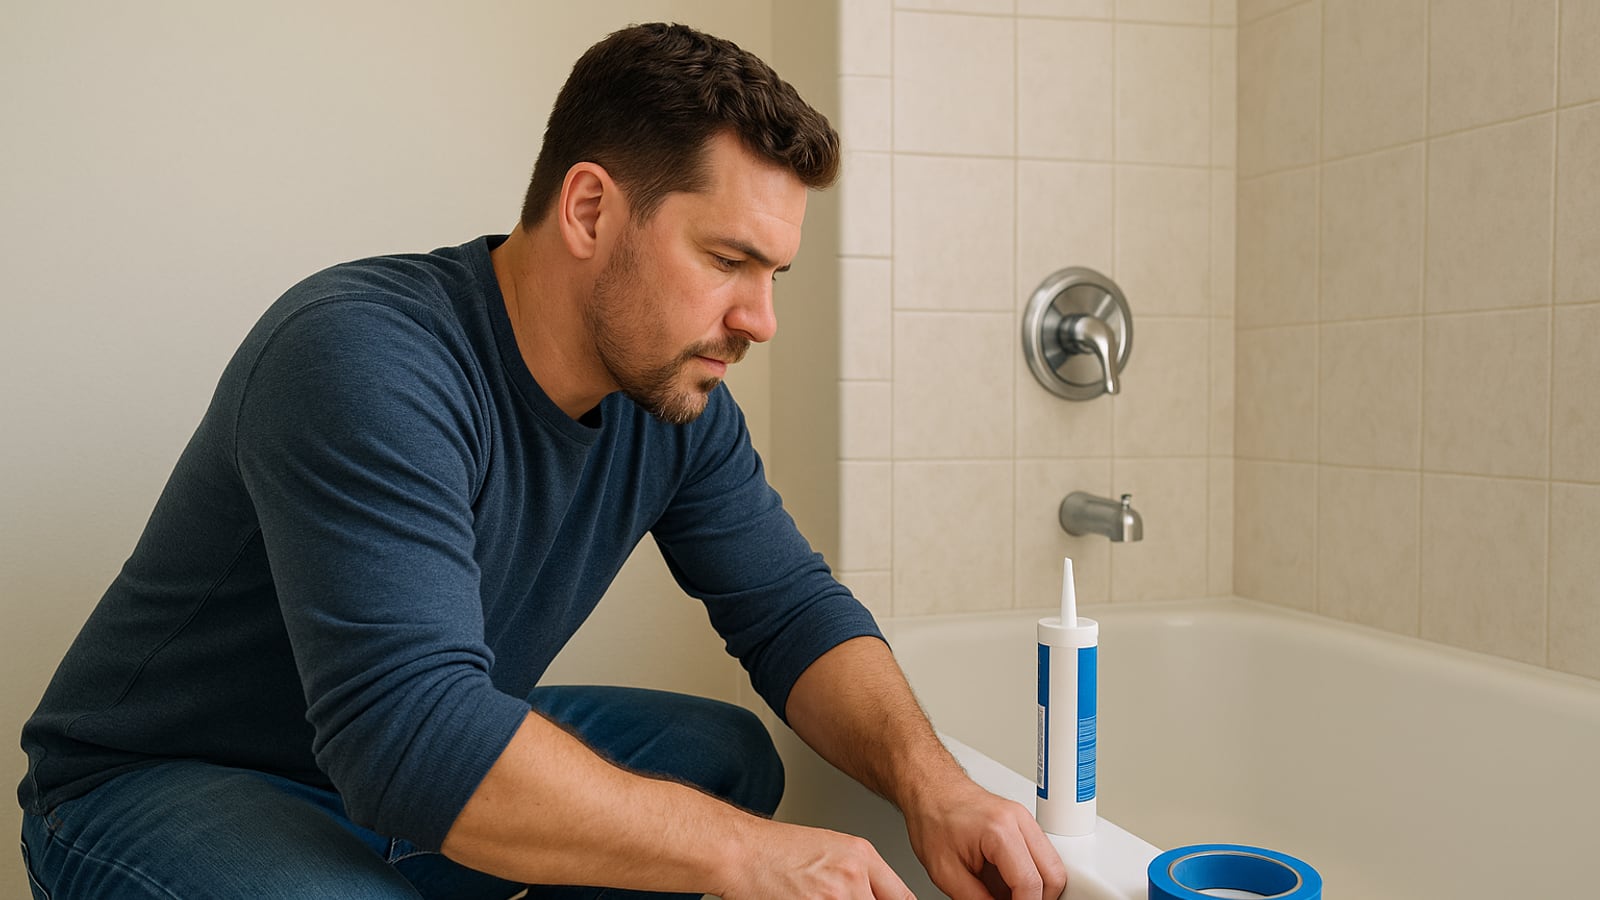
The black speckling along the back of your tub isn't dirt. It's mildew growing in and under the silicone, and no cleaner is getting it out. Once it's there, the joint is done. You replace it.
Budget two evenings and about fifteen dollars of materials. A standard 10.1 ounce cartridge of 100 percent silicone is plenty for a tub surround and the shower corners with some left over. The rest of the kit you probably own already.
The reason most re-caulking jobs fail isn't the bead. It's that people squeeze fresh silicone over a joint that's still slightly damp, or still has a film of old silicone on it. Silicone doesn't bond to silicone residue. It doesn't bond to soap scum either. Do the removal and the drying properly and the finishing part is genuinely easy.
Buy the right tube
100 percent silicone. That's what the front of the cartridge should say. Look for a kitchen and bath formula with a mildewcide in it.
Acrylic latex caulk, sometimes sold as painter's caulk, tools beautifully and cleans up with water. It's also the reason half the bathrooms in the country have a shrunken, split line behind the tub. It's for trim and baseboards. Not for standing water.
Siliconized acrylic sits in between. It's more forgiving to apply and you can paint it. In a shower that gets used every day, it still won't last as long as straight silicone. If you're doing the job anyway, do it once.
Get clear or white depending on what's around it. Clear hides a wobbly bead better than white does, which is worth knowing if this is your first one.
The rest of the kit
- A utility knife with a fresh blade, plus a plastic razor scraper if your tub is acrylic or fibreglass. A steel blade will score acrylic permanently.
- A silicone remover gel. It softens the residue so you're not scraping bare enamel for an hour.
- Denatured alcohol or isopropyl, and a stack of clean rags.
- Blue painter's tape.
- A caulk gun. The cheap ratchet ones work, but a dripless gun with a proper thrust ratio gives you far more control over how much comes out. Around ten dollars.
- A caulk finishing tool, or your finger.
Safety, briefly
Open the window and run the extractor fan. Silicone remover and denatured alcohol both give off fumes you don't want to sit in for an hour in a closed room.
If you use bleach on the mildew, never combine it with anything containing ammonia, and that includes some glass cleaners. The gas it produces is genuinely dangerous.
Wear gloves. Cut away from your hand, every time, and change the blade the moment it starts dragging instead of slicing. Dull blades slip.
Take the old caulk out completely
Run the knife along both edges of the bead, one cut against the tile, one against the tub. Shallow. You're separating it, not gouging.
Then get a corner of it up and pull. If the old silicone has failed properly, long ribbons come away in one piece and it's the most satisfying ten minutes of the job. If it's still partly bonded, it comes away in confetti and it takes forty minutes. Either way, it all goes.
Now the part people skip. Everything that's left, the thin gray film you can feel with a fingernail, has to go too. Apply the remover gel, leave it the time the tube says, usually two or three hours, then scrape with the plastic razor. Follow with alcohol on a rag and wipe until the rag comes away clean.
Run your finger along the joint. If it's smooth and squeaky, you're there. If it's slightly slick, you're not.
Kill the mildew, then dry it properly
Clean the joint and the surrounding six inches with a bathroom cleaner or a diluted bleach solution. Rinse. Then dry it.
Not "towel it off" dry. Dry. Silicone will cure over a damp substrate and look perfect for three months, then the edge lifts and the black comes back. Water is still sitting in the gap behind the joint from years of showering.
Hit the joint with a hairdryer on low for a few minutes, moving constantly, then leave the bathroom unused overnight with the fan running. That's why this is a two-evening job. Do the removal on a Friday, caulk on Saturday morning.
Fill the tub before you caulk
This is the single trick that separates a joint that lasts from one that splits at the back corner.
An empty tub sits higher than a loaded one. A cast iron tub with two hundred pounds of water and a person in it drops measurably against the wall. If you caulk it empty, the joint gets stretched every time somebody bathes, and silicone that's stretched at every use tears.
Fill the tub to a few inches below the overflow. In a shower stall, stand in it while you work and stay standing in it while you tool the bead. Leave the water in until the silicone has cured, then drain.
Tape, cut, and lay the bead
Two lines of painter's tape, one on the tile and one on the tub, leaving a gap of about a quarter inch. Press the edges down firmly with your thumbnail or silicone bleeds under them.
Cut the nozzle at roughly 45 degrees, and cut it small. Start at an eighth of an inch. You can always open it more. You can't make the hole smaller once you've cut it.
Load the gun and squeeze a test bead onto a scrap of cardboard until the flow is steady.
Then push the bead rather than dragging it. The nozzle goes ahead of the gun and shoves silicone into the gap instead of skimming it across the top. Move at a constant speed, keep constant pressure on the trigger, and do the whole run in one pass without stopping. If you stop mid-run you'll get a lump there, and you'll see it forever.
Release the trigger a couple of inches before the end of the run and let the pressure bleed off.
Tool it once
Wet your fingertip lightly with water, or use the plastic finishing tool. Draw it along the bead in one smooth movement, from one end to the other, wiping the excess off onto a rag as you go.
One pass. The temptation is to go back and fix a section. Don't. Silicone starts skinning within minutes and a second pass drags the surface into ridges that won't smooth out.
Pull the tape immediately, while the silicone is still wet, and pull it away from the bead at a shallow angle rather than straight up.
Let it cure
Check the cartridge, but assume 24 hours before the shower gets used. Skin time and cure time aren't the same thing, and the number on the front of the tube is usually the optimistic one. Keep the fan running. Silicone cures by reacting with moisture in the air, so a sealed, cold bathroom slows it down.
Drain the tub after it's cured, not before.
Two things caulk won't fix
Caulk belongs where two different materials meet, or where a surface changes plane. Tile to tub. Tile to tile in a corner. Around the base of a faucet.
It doesn't belong in the flat grout lines between tiles. If those are crumbling, you have a grout problem, and filling them with silicone just traps the water that's causing it.
And if the joint fails again within a few months on a properly prepared surface, water is very likely getting in behind the tile rather than over the top of it. That's a tiler or a plumber, not another tube.
One more: on a framed shower door, seal the outside of the frame where it meets the tile, and leave the inside bottom edge alone. Water that gets into the frame needs somewhere to drain back into the pan. Seal both sides and you've built a reservoir inside your own door.
Pull your finger along the finished joint tomorrow morning. If it's firm, even, and bonded at both edges, you've bought yourself five years.
Wes Dunbar
Country & Skills
Grew up on an acreage and never quite left. Covers trucks, trades, land, and how to do the thing yourself.

Watch
Worth an hour of your evening
More from Skills.
From channels we rate. Plays on YouTube.
Read next