

Why exterior caulk dies in three years, and what lasts ten
The tube you grabbed for a few bucks was never built for a joint that moves. Pick the right sealant, prep the joint properly, and do this job once a decade.
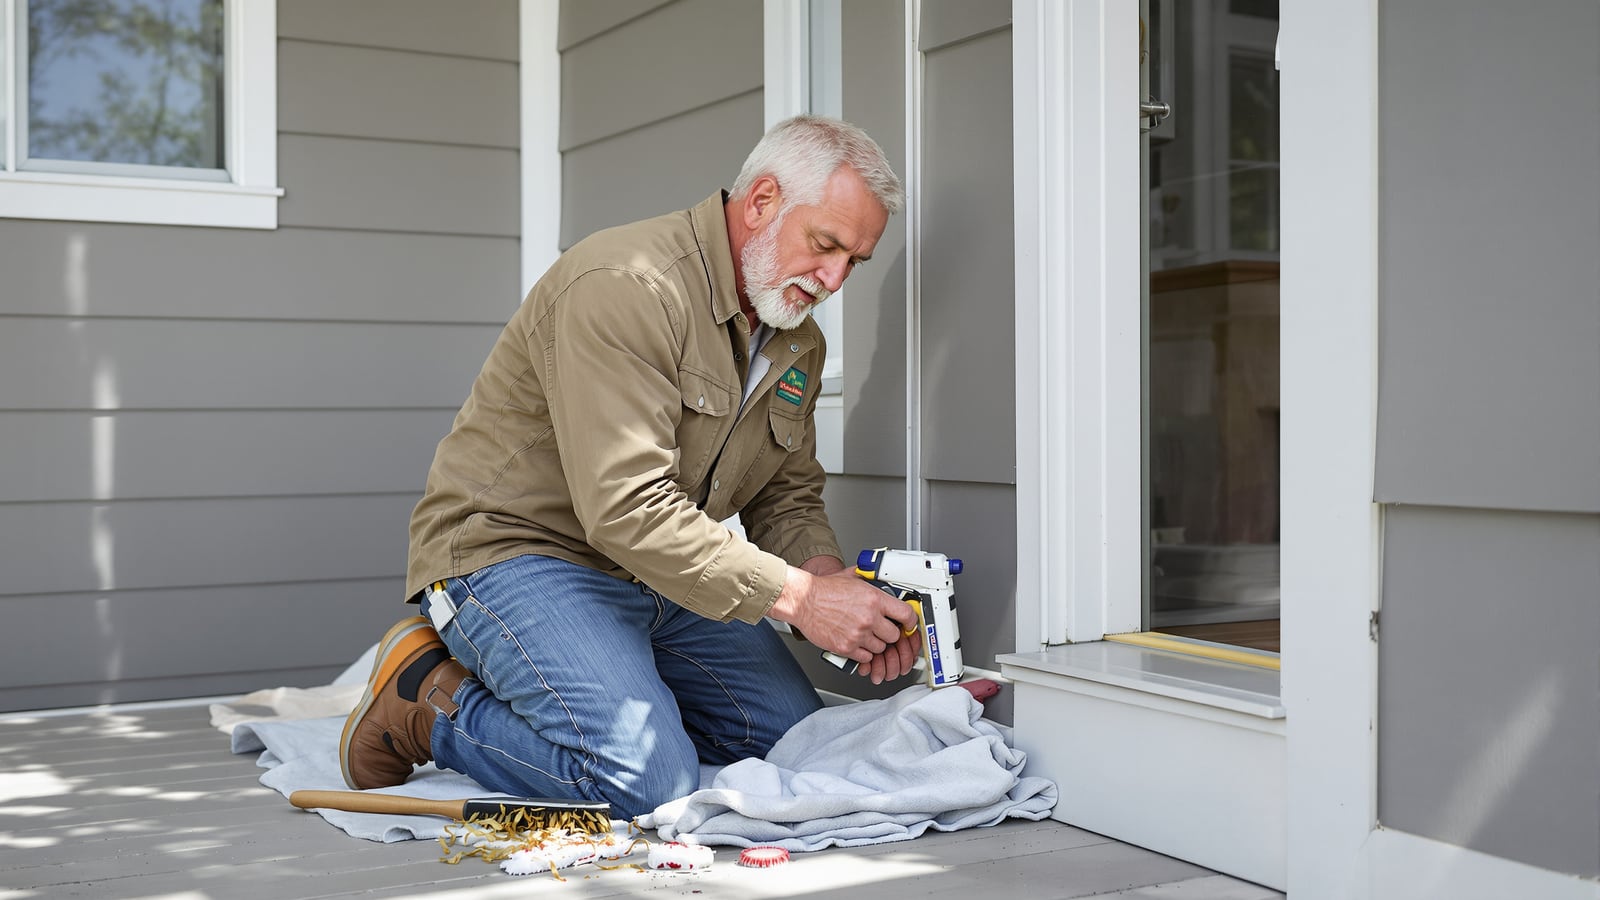
Quick answer: Use a polyurethane or hybrid polymer sealant on joints that move, and silicone on glass and bare metal. Skip the cheap acrylic "painter's caulk" outside. Then spend your real effort on prep, because a great sealant in a dirty joint fails faster than a decent one in a clean joint.
The tube on the end cap
You've seen it. White tube, bright label, "10-year" printed somewhere near the bottom, priced low enough that you toss two in the cart without thinking.
It's usually an acrylic latex, or a siliconized acrylic. It's easy to work, cleans up with water, takes paint beautifully. For a hairline crack on interior baseboards, it's the right call.
Outside, it's a three-year caulk. Maybe less on a south-facing wall.
The problem is movement. The joint between a window trim board and the siding isn't a crack in a wall. It's a gap between two materials that swell, shrink, heat up and cool down on different schedules. Every day, that gap opens and closes a little. Acrylic doesn't have much stretch in it. It also shrinks as it cures. So it pulls back from one side, splits down the middle, or lets go of the wood, and water gets behind it. You'll see a thin dark line first. Then you'll see peeling paint.
The tube didn't lie, exactly. The label tells you what it does in ideal conditions. Your house isn't ideal conditions.
What to buy instead
Read the label for two things. First, a flexibility rating. Good exterior sealants are rated to a spec called ASTM C920 and carry a movement class, such as 25 or 50. That number is how far the joint can open and close, as a percentage of its width, without the sealant failing. Acrylic caulks usually don't carry it. Second, the surfaces it's approved for. Wood, vinyl, brick, aluminum and masonry don't all behave the same.
Here's how the main types sort out.
- Polyurethane. Tough, flexible, sticks hard to wood, masonry and most siding. It's paintable. In direct sun, unpainted polyurethane can break down over time, so paint it. Check the label for cure time before rain.
- Hybrid polymers. Often sold as "MS polymer" or "silyl-terminated polymer" sealants. Flexible, paintable, low odor, and they stick to a wide range of surfaces. Many are easier to work than polyurethane. This is the sealant I'd reach for first on trim, siding joints and door frames.
- 100% silicone. Excellent on glass, metal and non-porous surfaces. Very durable. The catch is that almost nothing sticks to cured silicone, including paint and the next bead of caulk. If you use it on wood trim you plan to paint, you've made a mess you'll be scraping later. Keep it where paint isn't going.
- Acrylic or siliconized acrylic. Fine for tiny, static gaps you're going to paint right away. That's a short list outside.
The price gap between a premium sealant and the cheap tube is small next to the cost of your time and a ladder. You'll redo the cheap one three times in the life of one good one.
The prep nobody wants to do
Most failed caulk jobs fail at the bond, not in the bead. Dirt, dust and old caulk leave the new sealant gripping nothing.
Cut out the old stuff completely. Run a utility knife down both edges, then pull or scrape the old bead out. A plastic scraper saves your siding. A caulk remover product helps on stubborn silicone. Leave a ghost of old caulk behind and the new one bonds to it, not to the wall.
Clean the joint. Brush out dust and debris. Wipe the surfaces with whatever the sealant label calls for, often denatured alcohol on non-porous surfaces. Let it dry fully. Moisture trapped behind new caulk is how you end up with rot under a perfect-looking bead.
Stop and check the age of your house. If it was built before 1978, the paint under that caulk may contain lead. Don't dry-scrape or sand it. Get a lead test kit or a licensed tester first, and follow the safe-work steps for chipped paint. Very old caulk and glazing in older homes can contain other hazardous materials too. If you're not sure, have it tested before you disturb it. That's cheap insurance for your family.
Size the joint. A good bead is about half as deep as it is wide, and it shouldn't be deeper than about a half inch. For gaps wider than roughly a quarter inch, push in foam backer rod first, then caulk over it. Backer rod stops the sealant from sinking too deep and bonding to the back of the joint, which makes it tear. A deep, thick bead looks sturdy. It fails sooner.
Applying it
Work in dry weather within the temperature range on the label. Many sealants want it above about 40°F, and none like a rain shower in the first day. Check the forecast the way you would for painting. If you're also repainting, the same logic applies in the paint job that still looks right in three years.
Cut the nozzle tip at an angle, smaller than the joint. Run tape on both sides if you want straight lines. Push the bead into the joint, don't just lay it on top. Then tool it with a wet finger, a spoon, or a proper tooling tool, in one pass. Pull the tape while the bead is still wet. Don't go back over it ten minutes later. That's how you tear the skin and leave a ridge.
Keep a rag and the cleaning solvent handy. Wipe drips immediately. Dried sealant on siding is a permanent souvenir.
Where not to caulk
Don't seal the bottom edge of lap siding or the underside of trim boards. Walls have to drain and dry. Caulk the top and sides of window and door trim, corners, and gaps where pipes and wires enter. Leave weep holes in windows and brick alone. Sealing them locks water in.
When to put the caulk gun down
Caulk is a seal, not a repair. Stop and call a pro if you find any of these.
- Soft or crumbling wood behind the old bead. That's rot, and it needs to be cut out and replaced.
- A gap wider than about an inch, or a crack that keeps coming back in the same place. That's movement caulk won't solve.
- Failed flashing, chimney joints, or roof penetrations.
- Stucco or synthetic stucco with cracks or staining below windows.
- Anything above a one-story ladder reach. Falls off ladders hurt people badly. Pay a pro for the second story, or rent proper scaffolding and bring a second person.
When you do hire someone, get a quote you can trust and ask which sealant they'll use. If the answer is "whatever's on the truck," keep looking.
Make it a once-a-decade job
Walk the house every spring and fall with a notepad. Cracked, gapped or peeling beads go on the list. It's one line in the home maintenance calendar, and it keeps small leaks from becoming wall repairs.
Do one window this Saturday. Cut it out right, prep it, caulk it once, tool it clean. Then pick up your drips, wipe your tools and sweep the driveway. In ten years, you'll still know which window you did.
Wes Dunbar
Country & Skills
Grew up on an acreage and never quite left. Covers trucks, trades, land, and how to do the thing yourself.

Watch
Worth an hour of your evening
More from Home.
From channels we rate. Plays on YouTube.
Read next