

The pack doesn't need breaking in. You do.
A new backpack won't soften on the trail. Three loaded walks at home will show you where it fights you, while you can still fix it.
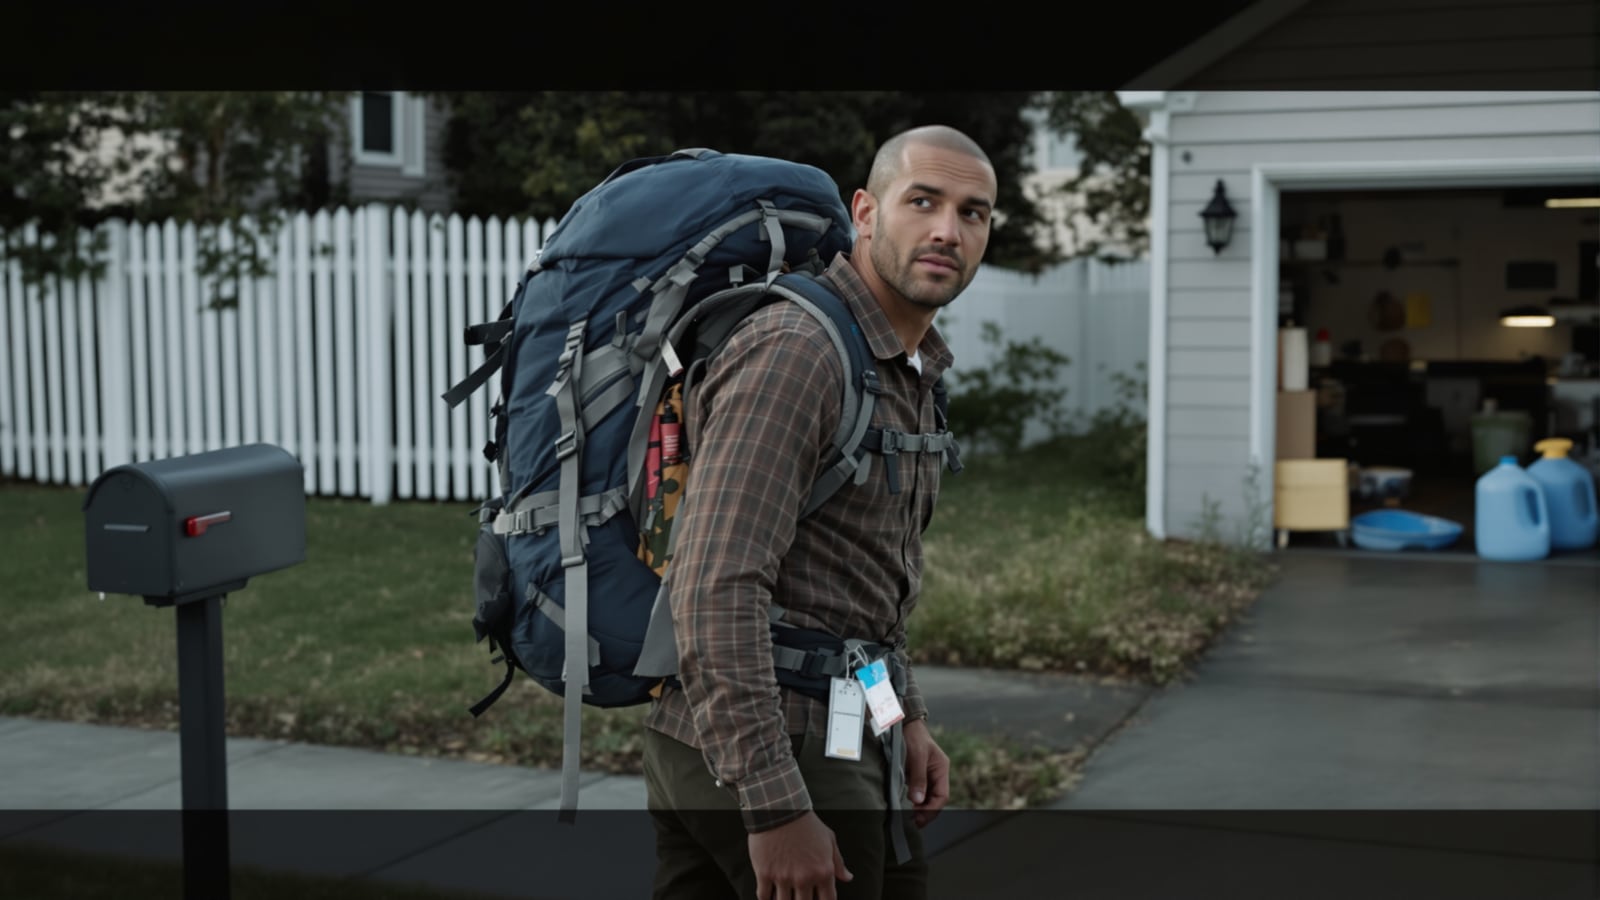
Quick answer: Fit the pack at home, load it with the weight you'll really carry, and walk it three times before the trip: two miles, then four, then five with hills. Fix every hot spot and strap problem on those walks, not on the trail.
Picture mile four of a first overnight. The pack came out of the box on Thursday. It's Saturday, and the hip belt has been sliding down since the trailhead. Your shoulders now carry weight they were never built to carry, and your lower back has opinions. You can't fix any of it here. You can only endure it, and you've got nine miles left.
That's the whole case for doing this at home.
You're not softening the pack
People talk about breaking in a pack the way they talk about breaking in boots or a baseball glove. Most modern packs are nylon, foam and plastic. They don't mold to you in any meaningful way. Whatever's wrong with the fit on day one is wrong on day ten.
So the job is different. You're finding out where the pack and your body disagree, and then adjusting until they stop. Your shoulders, hips and feet get a little conditioned along the way, which is a bonus. But the point is information. A living-room walk costs you nothing. The same discovery at mile four costs you the trip.
Start with the torso, not the straps
Before you load anything, check that the pack is the right size. Packs are sized by torso length, not by your height or the pack's capacity. Find the bony bump at the base of your neck. Have someone run a tape measure down your spine to the line between the tops of your hip bones. That number is your torso length, and the manufacturer's size chart tells you which frame fits it.
A pack that's one size off can't be saved by tightening things. If the numbers say you're between sizes, that's a conversation for the store, and it needs to happen before the pack gets muddy.
Which brings up the trade-off. Most retailers will take back gear that's been tried on and walked around the house. Few will take back a pack that's been through a creek and a campsite. Check the return policy before the first loaded walk, and keep the first walks clean: pavement, sidewalks, a park loop. Save the dirt for after you're sure.
Put twenty pounds in it and set it up in order
Load the pack with something close to what you'll carry. Your real sleeping bag, tent and stove if you've got them. Fill the gaps with water, because a gallon weighs about 8.3 pounds and it's easy to measure. Wrap the bottles in a towel or a spare jacket so they don't slosh against your spine.
Then adjust in this order, every time:
- Loosen everything. Shoulder straps, hip belt, load lifters, sternum strap. Start from slack.
- Hip belt first. Center it on top of your hip bones, not your waist, and cinch it snug. Most of the weight belongs here. If the belt rides on soft stomach, the pack is too long or the belt is too low.
- Shoulder straps next. Snug them until they hug your shoulders. They steady the load but shouldn't carry it. If they dig in, the belt isn't doing its job.
- Load lifters. Those small straps at the top of the shoulders should angle back toward the pack at roughly 45 degrees. Pull them gently. Overtightening lifts the load off your hips.
- Sternum strap. Snug across your chest, a few inches below the collarbone. It keeps the straps from sliding off your shoulders and doesn't need to be tight.
If you've got a friend handy, ask them to look at you from the side. The pack should sit close to your back, not leaning away from it.
The three-walk plan
Walk one is short. Two miles with the pack loaded to about fifteen pounds. You're checking whether the setup holds. Does the belt stay put? Do your shoulders go numb? Stop twice and adjust. Write down what changed.
Walk two is four miles at your full trip weight. Find a hill, or a set of stairs. Hills expose everything. A belt that holds on flat ground can slip going uphill, and a pack that feels balanced on level pavement can pull backward on a descent.
Walk three is five miles, as close to trail conditions as you can manage. Wear the socks and boots you're taking. Eat and drink on the move. Take the pack off and put it on a dozen times, because you'll do that on the trail and it should be easy by then.
Space them over two or three weeks if you can. Your body does the real conditioning between walks.
Fix hot spots before they're blisters
A hot spot is a patch of skin that feels warm and a little tender. It turns into a raw patch in about an hour if you ignore it. On pack walks, the usual places are the tops of the hips, the collarbones and the lower back where the belt rubs.
When you feel one, stop right then. Look at what's rubbing. Often it's a bunched shirt, a hip belt too far down, or a strap with twisted webbing. Fix the cause first. Then cover the spot with moleskin or athletic tape. Wear a snug, moisture-wicking shirt that doesn't bunch at the belt line, and tuck it if needed.
If you're getting the same hot spot on every walk, the pack and your torso aren't a match. That's why you did this at home.
Pack the way you'll pack on the trail
The loaded walks also teach you how to pack. Heavy items, like food and water, belong close to your spine and between your shoulder blades and hips. Light, bulky things like the sleeping bag go at the bottom. Things you'll need during the day, like a rain shell, snacks and the ten essentials, go where you can reach them without taking the pack off.
If you're planning your first night out, what to leave home is worth reading before you load anything. Every pound you don't pack is a pound you don't have to break in against.
And if your route has a weather window that matters, read the sky before you commit. A well-fitted pack is no help if you're walking into the wrong afternoon.
Leave it better than you found it
When you finish each walk, empty the pack completely. Unzip every pocket and shake out the crumbs. Hang it somewhere with air moving, and wipe down the back panel if it's sweaty. A pack stored damp starts to smell, and the smell does not go away.
Do the same for the gear you borrowed. If a buddy lent you his tent or stove for the practice walk, return it cleaner than it left. That's how you keep getting loans.
The payoff
On the trip, you'll forget the pack. That's the sign you did it right. The belt will sit where you put it, the straps will feel like nothing, and your attention will go where it belongs: the trail, the weather, the person you came with.
The hardest mile of a bad pack is the one you could have walked in your neighborhood three weekends earlier.
Wes Dunbar
Country & Skills
Grew up on an acreage and never quite left. Covers trucks, trades, land, and how to do the thing yourself.

Watch
Worth an hour of your evening
More from Outdoors.
From channels we rate. Plays on YouTube.
Read next