A four-by-eight raised bed, built in one afternoon
Four feet wide, nine inches deep, three boards and a box of screws. The build takes 90 minutes. Hauling the soil is the real work.
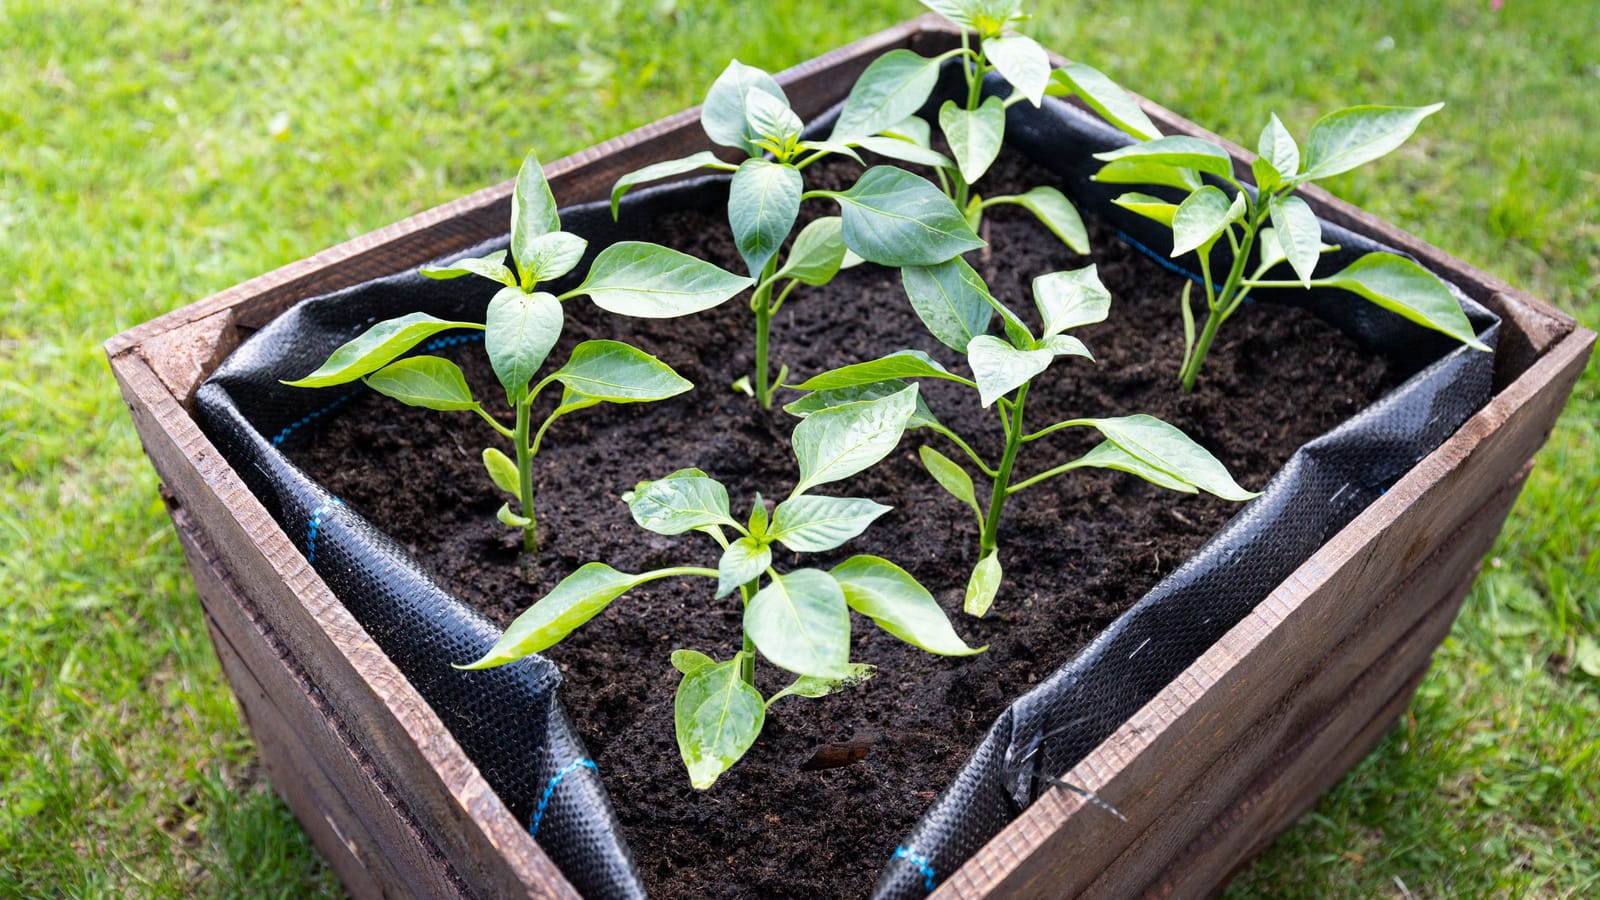
Make it four feet wide. Not five, not "about four and a half because that's how the boards came." Four feet means you can reach the middle from either side without standing in the bed, and standing in the bed is how you compact soil you just paid for. Eight feet long is the other easy number, because that's how lumber is sold.
So: a bed that finishes at 48 inches by 96 inches, one board deep. Three 2x10s, a short length of 4x4, a box of exterior screws. That's the whole bill of materials.
Pick the spot before you pick up a saw
Six hours of direct sun is the working minimum for tomatoes, peppers, squash and beans. Greens and herbs will forgive you four. Go outside at 9am, noon and 4pm on a clear day and actually look at where the shade falls, because the tree that's bare in April will be a green umbrella by June.
Then check two boring things. How far is the hose, and can you get a wheelbarrow to the spot without going up steps? A bed thirty feet from the spigot gets watered. A bed a hundred feet away, uphill, with a gate in the way, gets watered in May and abandoned in July.
Lay the bed out with the long axis running north to south if you have the choice. Tall plants at the north end then shade less of everything else.
What to buy
- Three 8-foot 2x10s. Two stay full length. One gets cut in half-ish for the ends.
- A 3-foot length of 4x4 for corner blocks. If the yard only sells 8-footers, buy it and keep the offcut for stakes.
- Two 2-foot lengths of 2x4 or two hardwood garden stakes, for the middle of the long sides.
- Thirty 3-inch exterior screws. Star drive, coated for outdoor use. Deck screws are fine.
- Cardboard. Flattened moving boxes, tape and labels removed.
On the wood: untreated pine is the cheapest and will give you maybe five to seven seasons before the bottom edge goes soft. Cedar lasts longer and costs considerably more. Pressure-treated lumber sold for residential use in the United States hasn't used chromated copper arsenate since the end of 2003, and the copper-based preservatives that replaced it are what almost every deck in the country is built from. Plenty of gardeners still won't put it around food, and that's a reasonable preference rather than an argument. If you want treated wood for the lifespan but not the contact, staple heavy plastic sheeting to the inside faces and leave the bottom open to the ground.
Skip the 2x12 unless you have a reason. It costs more, it needs more soil, and nine and a quarter inches of good soil over open ground grows almost everything. The exception is long carrots and parsnips, which want a deeper bed or they fork.
Safety, briefly and seriously
Eye protection before the saw comes out, every cut, including the one you think is too small to matter. Support each board on two sawhorses with the cut line outside the supports so the offcut drops free instead of pinching the blade. A pinched blade kicks back, and a circular saw kicks back toward your body.
Gloves for handling rough lumber. Take them off for the saw.
Before you drive a stake eighteen inches into the ground, know what's under there. In the US, call 811 a few days ahead and they'll mark buried utilities for free. Irrigation lines and invisible dog fence wire won't be marked, so if you installed either one, go from memory and dig the first few inches with a trowel.
Cut list and assembly
Two boards stay at 96 inches. Cut the third into two pieces at 45 inches. Forty-five, not forty-eight: the two end boards sit between the long boards, and an inch and a half of board thickness on each side brings you to exactly 48 inches outside.
Cut four blocks from the 4x4 at 9 inches. These sit inside each corner and are what you actually screw into, which means your corners don't depend on screwing into the end grain of a 2x10. End grain holds screws badly. This is the difference between a bed that's still square in year four and one that's a parallelogram by autumn.
Assemble it upside down on flat ground, or right side up if you've got a helper. Stand a long board on edge. Clamp or hold a corner block flush with the end and the top edge, and drive three screws through the long board into the block. Repeat at the other end. Do the same on the second long board. Now you have two long sides with blocks at each end, and the 45-inch end boards screw into those blocks, three screws each.
Pre-drill within two inches of any board end. Pine splits, and a split corner is a weak corner.
Check square by measuring corner to corner both ways. The two diagonals should match within a quarter inch. Push the long way on whichever diagonal is longer until they do.
The part the instructions leave out
An 8-foot 2x10 filled with wet soil will bow outward. Not dramatically, but enough to look sloppy and enough to pull a corner screw over a couple of years. Fix it now while the box is empty.
Drive a 2x4 stake or a hardwood stake into the ground at the midpoint of each long side, outside the board, until about ten inches stands proud. Screw the board to the stake with two screws. Two stakes, four screws, four minutes. It's the cheapest insurance in the whole build.
Site prep and filling
Don't strip the sod. Mow it short, set the bed in place, then lay cardboard over the grass inside the frame, overlapping the seams by six inches. Grass under cardboard under nine inches of soil dies and turns into worm food. Digging it out costs you an hour and removes soil you'd rather keep.
Level the frame before you fill it. Put a 4-foot level across the frame, and if it's off, dig soil out from under the high side. Don't shim the low side up, because the shim compresses and the bed settles crooked.
Now the maths. Forty-eight by ninety-six inches at 9.25 inches deep is about 25 cubic feet. A cubic yard is 27 cubic feet, so one yard of bulk soil fills this bed with a little left over. In 1.5-cubic-foot bags, that's around seventeen bags, and bags cost several times what bulk costs by volume. If you can get a yard delivered, get a yard delivered.
A good fill is roughly half screened topsoil or garden loam, a third finished compost, and the rest something to keep it open: coarse vermiculite, perlite or pine bark fines. Skip bagged potting mix, which is designed for containers and dries out fast in a bed this size. Skip pure compost too. It looks beautiful and it shrinks by a third in one season.
Fill it heaped an inch above the boards. Water it thoroughly, let it sit overnight, and it'll settle to about level. Top it up with compost in a month.
Realistic timings
Site prep and layout, 30 minutes. Cutting and assembly, 45. Placing, levelling and cardboard, 20. Filling, somewhere between one and two hours depending on how far the soil pile is from the bed and whether anyone helps you push the wheelbarrow.
The build is the easy half. The soil is the afternoon.
Plant something the same day, even if it's only a row of radishes and a few lettuce transplants. An empty bed stays empty. A bed with something green in it gets visited, and a bed that gets visited gets watered.
You'll build the second one in ninety minutes, and you'll want it before the tomatoes come in.
Wes Dunbar
Country & Skills
Grew up on an acreage and never quite left. Covers trucks, trades, land, and how to do the thing yourself.

Watch
Worth an hour of your evening
More from Skills.
From channels we rate. Plays on YouTube.
Read next