Read a tape measure right the first time
The marks, the sliding hook, the diamond at 19.2 and the one habit that stops you cutting a shelf a sixteenth short.
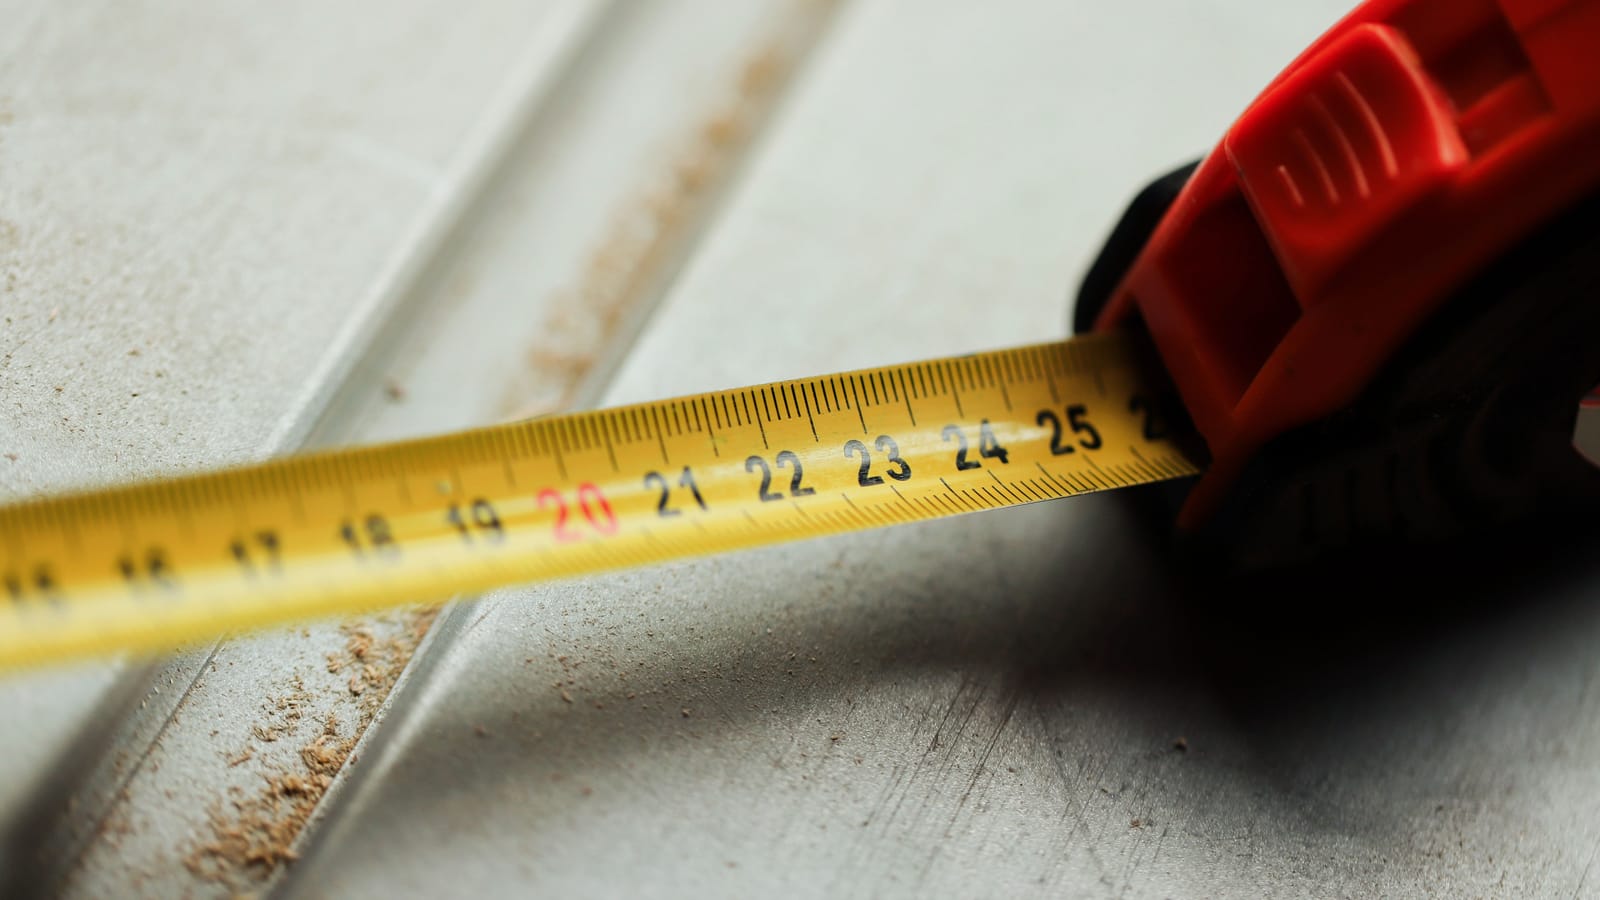
Every mark on an imperial tape is made by cutting something in half. That's the whole system. One inch, halved, gives you 1/2. Halve it again, 1/4. Again, 1/8. Again, 1/16. Sixteen little spaces to the inch, and the height of each line tells you exactly which one you're looking at.
Once you see it that way, you stop counting tiny lines with your nose an inch from the blade. You find the tallest mark nearby and work down.
Start with the tape itself, before you measure anything.
Check your tape while it's still on the bench
Pull the blade out about a foot and look at the end. The hook wiggles. It's riveted through two slots and it slides maybe a sixteenth of an inch, which is exactly the thickness of the hook metal. That isn't wear and it isn't a defect. When you push the tape against something, the hook slides in and takes its own thickness out. When you pull off an edge, it slides out and adds it back. Both readings land at true zero.
So don't ever bend that hook straight because it looks loose. And if it's been dropped and the rivets are sloppy or the hook is visibly bent, retire the tape. A wandering hook is the most common reason two people measuring the same board get two different numbers.
Now flip the case over. Most tapes have the case length printed on the back, often three inches or seventy-five millimeters. You'll need that in about four paragraphs.
Safety, briefly, because a tape can hurt you. A 25-foot blade snapping back at full speed will cut a finger and can catch an eye. Never let it retract freely from a long pull. Thumb the brake, walk it back, or let it feed through a loosely closed hand. The edge of the blade is thin steel and it will slice you if you run a finger along it. Treat the last few feet as the dangerous part, because that's where the spring is wound hardest.
Reading the marks by height, not by counting
Look at one inch of blade. The longest line in the middle is the half. The next longest pair, either side, are the quarters. Shorter again, the eighths. Shortest of all, the sixteenths. Some tapes run 1/32 marks through the first inch or the first foot only, and those are for fine work, not for framing.
Read it in two moves. First, the whole inches: find the last printed number you passed. Say it's 7. Second, the fraction: find the nearest tall mark and adjust.
If the edge lands one short line past the half, you're at 7 and 9/16. Not "7 and a bit past half". Say the fraction out loud.
The mistake that costs money is 7/16 versus 1/2. They sit next to each other, one is a stubby line and one is the tall one, and in bad light on a dusty blade they look similar. When it matters, put your thumbnail on the half mark first and then step off from there.
Plenty of tapes now print the fractions in small type next to the marks. If you're learning, buy one of those. There's nothing noble about squinting.
Write it down the second you read it
Say the number, then write it. Same format every time: 34 5/8. Not "thirty-four and a half-ish plus a sixteenth".
Carry a pencil and use the back of an offcut if you have nothing else. Memory holds one measurement across a room, maybe. It doesn't hold three measurements and a phone call from your wife about dinner. I've cut a shelf 1/16 short because I carried 34 5/8 down a ladder and it arrived as 34 9/16. You can see a sixteenth-inch gap at the end of a shelf from across the room. It looks exactly like what it is.
Reduce fractions only if you're sure. 8/16 is 1/2, 12/16 is 3/4. But when you're adding or subtracting, force everything to sixteenths first and do the arithmetic there. 9/16 plus 3/8 is easier as 9/16 plus 6/16. Fifteen sixteenths. Done.
Inside measurements, where most errors live
To measure a window opening, a cabinet interior or between two studs, you can't hook anything. Two options.
The clean one: push the tape into the corner and bend the blade up the far side so the case sits flat against one edge. Read at the case edge, then add the case length printed on the back. Three inches of case means a reading of 28 1/4 is an opening of 31 1/4.
The one I use more: bow the blade gently into the opening and read the point where it just touches the far side, with the blade slightly curved. It's fast but it reads long if you push too hard. Good enough for a rough opening. Not good enough for a cabinet door.
Burning an inch is the third option, and it's worth knowing. Instead of hooking the end, line the 1-inch mark up with your starting edge and subtract one inch from whatever you read. You get a clean start point with no hook slop at all, which matters on fine work. The obvious hazard is forgetting to subtract. Write "-1" next to the number when you jot it down.
The numbers already printed on your blade
Every 16 inches there's a red number or a black box: 16, 32, 48, 64, 80, 96. That's standard stud and joist spacing, sixteen inches on center. Six of them across an eight-foot sheet, with the sheet edge landing on the center of the seventh stud. That's why plywood comes in 4x8.
Then there's the little black diamond, roughly every 19.2 inches. Five evenly spaced members per eight feet instead of six, used for engineered joists and some truss layouts. If you've never needed it, fine. Now you know it isn't a printing error.
Marking, cutting and the width of a pencil line
A sharp carpenter's pencil draws a line close to a sixteenth wide. A fat line ruins a measurement you took carefully.
Mark with a V, point down, tip exactly on the measurement. Then run your square through the point of the V. The V tells you where the mark is; a plain dash doesn't, because you can't tell later which end of it you meant.
Cut on the waste side of the line. Every time. The saw kerf eats about an eighth of an inch, and if you cut down the middle of the line you lose half of that off your good piece.
One more habit: use the same tape for the whole job. Two tapes can disagree slightly over a long run, and the difference shows up when the last piece won't fit. Mark yours so it comes home with you.
And if you're building something from scratch with no existing dimensions to match, switch to the metric side and never think about fractions again. Millimeters add up without any effort at all. You just don't get that choice when the lumber is nominal 2x4 and the plywood is 3/4.
Wes Dunbar
Country & Skills
Grew up on an acreage and never quite left. Covers trucks, trades, land, and how to do the thing yourself.

Watch
Worth an hour of your evening
More from Skills.
From channels we rate. Plays on YouTube.