Stop a basement wall leaking before it reaches the framing
Most interior sealing jobs fail because the water was never dealt with outside. Do this in order and the patch has a chance of lasting.
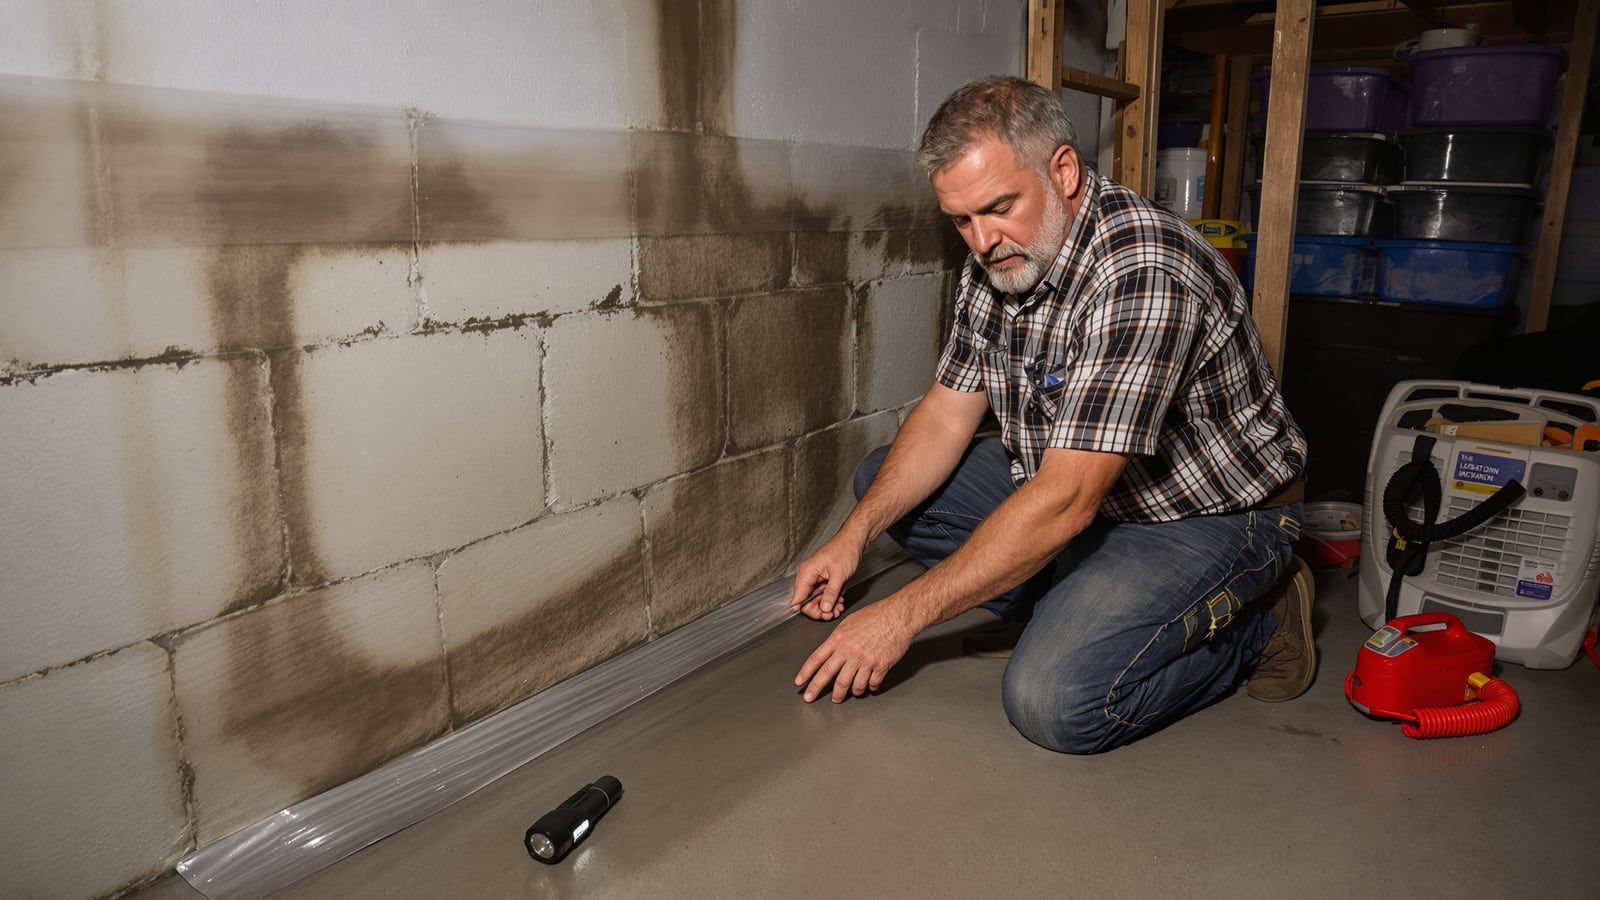
Quick answer: Fix the water outside first (gutters, downspouts, grade). Then strip the wall back to bare masonry, plug active cracks with hydraulic cement, coat the whole wall with masonry waterproofer, and dry the space out before anything gets rebuilt against it.
Interior sealing has a reputation problem, and it's earned. You're holding back water from the wrong side of the wall. Done on a wall with real water pressure behind it, the coating blisters and peels within a season or two. Done on a wall that's seeping because the yard sheds water toward the house, it can be the difference between a damp wall and a rotted one.
So the first job isn't inside at all.
Start outside, with a garden hose and a tape measure
Walk the house during a hard rain, or run a hose and watch. Look for three things.
- Downspouts that dump at the foundation. Extend every one at least six feet from the wall.
- Gutters spilling over. A clogged gutter puts a waterfall right where you least want it.
- Dirt that slopes toward the house. You want about six inches of drop over the first ten feet. If it's flat or backward, add fill and tamp it.
This costs a few bags of soil and some downspout extensions. It's also the part most people skip because it's not the dramatic part.
Confirm it's a leak, not condensation
A cold wall in a humid basement sweats, and that looks a lot like seepage.
Tape a two-foot square of aluminum foil flat to the wall, sealing all four edges with duct tape. Leave it 24 hours. If the moisture is on the room side of the foil, you've got humidity, and a dehumidifier is your fix. If it's under the foil, water is coming through the wall. Go on to the next step.
White, chalky crust on the masonry (efflorescence) is another giveaway. That's mineral salt left behind as water moves through and evaporates.
Safety before you swing a hammer
Chiseling and wire-brushing concrete throws silica dust, and hydraulic cement is caustic when wet.
- Wear safety glasses, a respirator rated N95 or better, and chemical-resistant gloves.
- Shut off power to any outlet or fixture on the wet wall at the breaker. Test the outlet before you touch it. If wiring runs through the wet area, read the wiring jobs worth doing yourself and the ones that aren't before you decide what's yours to handle.
- Never work in standing water with a power tool plugged in.
- If cement gets on bare skin, wash it off right away with plenty of water.
Strip the wall back
Pull everything off the wall. Move the boxes, the shelving, and that carpet remnant somebody swore would help.
If there's finished wall, drywall that's wet or stained at the bottom comes out. Cut a straight line at least a foot above the highest sign of moisture. Then look at the framing. Poke the bottom plate and lower studs with a screwdriver. Wood that's firm is fine. Wood that's soft or crumbles is rotten, and that section needs replacing, which at some point means a carpenter if it's load-bearing.
A pin-type moisture meter is cheap and tells you more than your fingers do. Wood reading much above 20 percent needs to dry before it gets covered up again.
Next, clean the masonry itself:
- Scrape off loose paint and old coatings. Waterproofer won't bond to paint.
- Wire-brush away the white crust and any flaking concrete.
- Scrub with a stiff brush and a mix of white vinegar and water, then rinse and let the wall dry.
- Vacuum the dust.
You want bare, clean, sound masonry. Anything less and the next steps are cosmetic.
Plug the cracks
Hairline cracks that aren't actively leaking can take the waterproofer. A crack that's weeping or wet needs hydraulic cement.
Open it up first. With a cold chisel and a hammer, cut the crack into a groove about three-quarters of an inch wide and deep, wider at the back than at the face. That undercut is what locks the plug in. A smooth V will push out under pressure. A dovetail won't.
Then:
- Mix a small batch. Hydraulic cement sets in a few minutes, so mix what you can place in about two. Aim for a stiff putty, closer to modeling clay than pancake batter.
- Dampen the groove with a wet sponge.
- Press the putty in hard with a gloved hand or a putty knife, and hold it for the full minute or two it takes to stiffen.
- Shave it flush with the wall before it sets fully.
Do the joint where the wall meets the floor the same way. That joint is the most common weak spot in a basement, and a bead of hydraulic cement along it is cheap insurance.
Work in sections. You'll waste a batch or two the first time. Everyone does.
Cracks wider than a quarter inch, horizontal cracks, and stair-step cracks in a block wall are a different problem. See the last section.
Coat the wall
Once the patches have cured per the label, apply a masonry waterproofing coating (Drylok is the one most hardware stores stock) with a stiff masonry brush, not a roller. The brush works it into the pores. Most products want the wall damp but with no standing water, so read the can.
Put on two coats. Let the first cure fully before the second, following the label's recoat time. Skipping that wait is how people end up with pinholes.
Mark the date on the wall in pencil.
Dry it out and test it
Run a dehumidifier in the space and aim to hold humidity around 50 percent or lower. Give the wall a few days before you judge anything.
Then wait for rain. Put your foil square back on, or just look for darkening and white crust over the next couple of storms. If it stays dry through two good rains, you've won.
When you rebuild, leave air behind it. Use rigid foam against the masonry if you insulate. Keep the bottom of any new drywall about half an inch off the floor, and don't use paper-faced board against a wall that's ever been wet.
When this isn't your job
Stop and call a foundation contractor or a structural engineer if:
- The wall is bowing or leaning inward.
- You see horizontal cracks, or stair-step cracks along the mortar lines of a block wall.
- Water is coming up through the floor-wall joint after every rain.
- The leak returns after you've done all of the above.
A bowed wall is a structural problem, and no coating helps with it. A wall that keeps leaking under pressure usually needs an interior drain and sump pump, and a pro should size and install it.
None of that makes your work wasted. Fixing the gutters, clearing the wall, and plugging the cracks is what a contractor would tell you to do first. You'll just be handing them a cleaner wall and a shorter bill.
Leave the space better than you found it. Sweep up the grit, bag the old drywall, and write what you did and when on the wall in marker, behind the new framing. Whoever owns this house after you will thank you, even if it's you in ten years.
Wes Dunbar
Country & Skills
Grew up on an acreage and never quite left. Covers trucks, trades, land, and how to do the thing yourself.

Watch
Worth an hour of your evening
More from Skills.
From channels we rate. Plays on YouTube.
Read next