Two 4x8 sheets of 3/4-inch plywood will give you a bench 67-1/2 inches long, 24 inches deep and 36 inches tall, with a shelf underneath and enough offcut left for a vise block. No mortises. No hardwood. One circular saw, one drill, a bottle of yellow glue and an afternoon.
Buy the sheets a few days early and lay them flat on the floor, stickered off the concrete with a couple of scraps. Plywood stored on edge in a hot garage takes a set, and a bowed sheet fights you the whole build.
The cut list
Sheet one is the top and the shelf.
- Two top layers, 67-1/2 x 24. Cut them side by side down the length of the sheet. You'll have a 28-1/2 x 48 piece left.
- Shelf, from that offcut. One piece 48 x 19-1/2 and one piece 18 x 19-1/2. They butt together over a center support.
Sheet two is the base.
- Two aprons, 66 x 6. Rip two 6-inch strips off the long edge, then crosscut each to 66.
- Two end panels, 34-1/2 x 19-1/2. Crosscut two 34-1/2 pieces from what's left, then rip each to width.
- Everything else is gussets, cleats and a laminated block for a front vise.
The height math is simple. End panel plus 1-1/2 inches of top equals finished height. If you want 38 inches because you mostly assemble rather than plane, cut the panels at 36-1/2 and be done. If you're adding 3-inch locking casters, take that off the panels too.
Cutting straight without a table saw
Ask the store to break the sheets down to rough size on the panel saw. Their cuts won't be dead accurate, but a 96-inch sheet is awkward and heavy, and fighting one across sawhorses is how you get a wandering cut and a bad back.
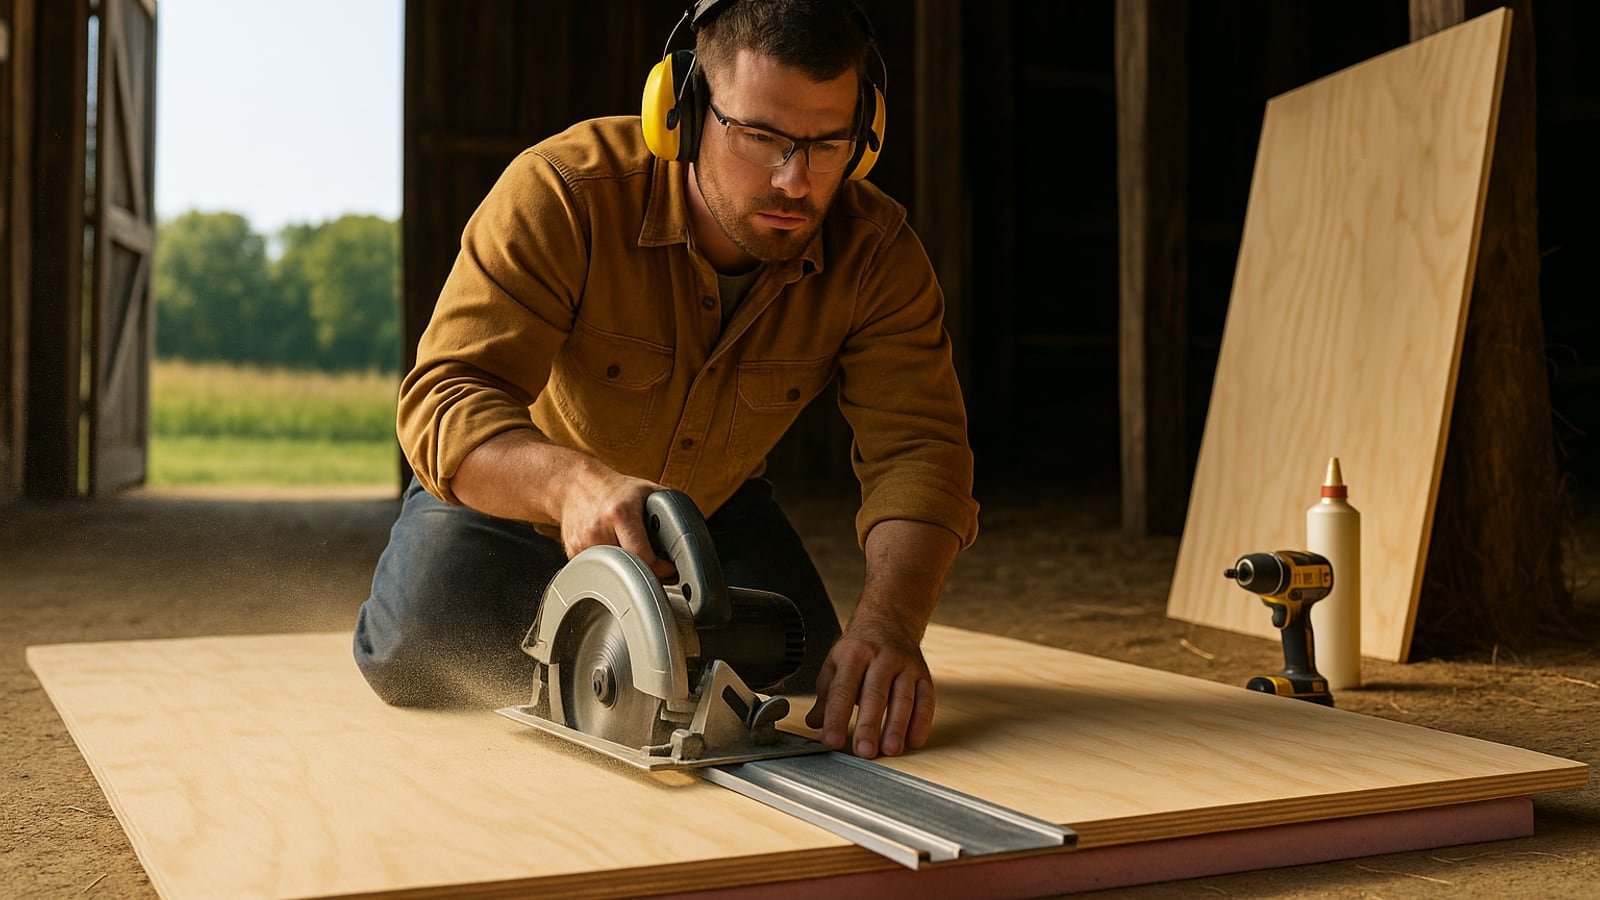
At home, cut with a straightedge clamped to the work. An 8-foot level works. So does the factory edge of an offcut. Measure the distance from your saw's blade to the edge of the baseplate, set the guide that far off your line, and check it twice before you pull the trigger.
Cut face down. A circular saw blade rotates up through the stock, so the tearout lands on the side facing you. Set the blade depth so roughly a full tooth clears the underside, not three inches of steel flapping around.
Use a 40-tooth blade. The 24-tooth framing blade that came with the saw will shred plywood veneer and leave you sanding.
Glue up the top first, because it needs the drying time
Roll glue on one face. Actually roll it, don't squiggle it out of the bottle and hope. A cheap 4-inch foam roller gets you an even coat in under a minute, and yellow glue gives you roughly ten minutes of working time in a warm shop before it starts to skin over.
Stack the second layer, line up one corner and one long edge, and start driving screws from the underside. Use #8 x 1-1/4 inch. Two layers of plywood measure about 1-7/16 total, so a 1-1/4 screw buries itself with room to spare. Grab the 1-5/8 box by mistake and you'll have thirty screw points standing proud of your brand new work surface.
Countersink every one. A screw head that isn't sunk holds the two layers apart, and you end up with a top that rocks a sixteenth of an inch under a straightedge.
Forty screws isn't too many. Start in the middle and work out in a spiral so you squeeze the glue toward the edges instead of trapping a bubble in the center. Then pile every heavy thing you own on top of it and leave it alone for an hour.
The base, and the thing that makes it rigid
Plywood end panels aren't legs. They're shear panels, and that's the whole trick. A four-legged bench with skinny stretchers racks side to side forever. A bench with two solid 19-1/2 x 34-1/2 panels at the ends doesn't move, because you'd have to distort the panel itself.
Before you assemble, cut an arch in the bottom of each panel: 3 inches tall, 12 inches wide, centered. Jigsaw is fine, nobody sees it. That leaves a 3-3/4 inch foot at each corner instead of a continuous 19-inch edge, so the bench sits on four points and doesn't rock on a garage floor that slopes toward the drain.
Now the honest part about fasteners. The aprons attach to the edges of the end panels, and screws in plywood edge grain hold less than screws in a face. Glue the joint, screw it, and then add a cleat of leftover ply in each inside corner, glued and screwed to both surfaces. Four cleats, ten minutes, and the joint stops depending on threads biting into layers of veneer.
Check your diagonals with a tape before the glue grabs. Corner to corner, both ways, same number.
Run a cleat along the inside of each apron near the bottom for the shelf, and a short crosspiece in the middle where the two shelf pieces meet. Screw the shelf down. A loose shelf just sits there; a fastened one adds real stiffness.
Attaching the top
Don't screw down through the top. Put cleats along the inside top edge of both aprons, then drive #8 x 1-1/4 screws up through the cleats into the underside. The top face stays clean, and if you chew the surface up in five years you can unscrew it and build a new one from a single sheet.
Set the base so you get 1-1/2 inches of overhang front and back. That gap is what lets you drop an F-clamp over the edge and hold work down. Without it, your clamp head hits the apron and you're wedging scrap underneath forever.
Dog holes, finish, and a sacrificial layer
Drill 3/4-inch dog holes with a Forstner bit, clamped over a backing board so the exit doesn't blow out. A row about 3 inches in from the front edge, spaced 6 inches apart, covers most work. Don't drill the whole top on day one. Put in six, use the bench for a month, and you'll know exactly where you want the rest.
Two thin coats of wiping polyurethane, sanded lightly between. Not for looks. Raw plywood drinks glue drips and never lets go, whereas dried squeeze-out pops off a sealed top with a chisel.
If you work with a knife or a router a lot, screw a sheet of 1/4-inch tempered hardboard over the whole thing with countersunk screws. It costs a fraction of a plywood sheet, it takes all the damage, and you replace it when it looks like a butcher block.
Where this bench isn't the answer
It's light. A plywood bench weighs a fraction of a laminated maple one, and if you plane long boards by hand it will slide. Two fixes: load the shelf with something heavy that you'd have to store anyway, or run two lag screws through the back apron into wall studs. The second one costs nothing and ends the argument permanently.
Mounting a front vise is fine as long as you glue up a block from your offcuts, three or four layers thick, and bolt through it rather than screwing into a single sheet of ply.
And if you're chasing a heirloom bench with a leg vise and a wagon vise, build that instead. This isn't that bench. It's the bench you build so you have somewhere flat to build that one.
Cut the top layers oversize by half an inch and trim them flush after glue-up with a router and a flush-trim bit. Two minutes of work, and the edge comes out looking like you know what you're doing.
Wes Dunbar
Country & Skills
Grew up on an acreage and never quite left. Covers trucks, trades, land, and how to do the thing yourself.

Watch
Worth an hour of your evening
More from Woodworking.
From channels we rate. Plays on YouTube.
Read next