What a 3D printer is actually good for in the shop
It won't replace your table saw, but it'll solve the twenty-dollar adapter that doesn't exist, and about forty other small problems.
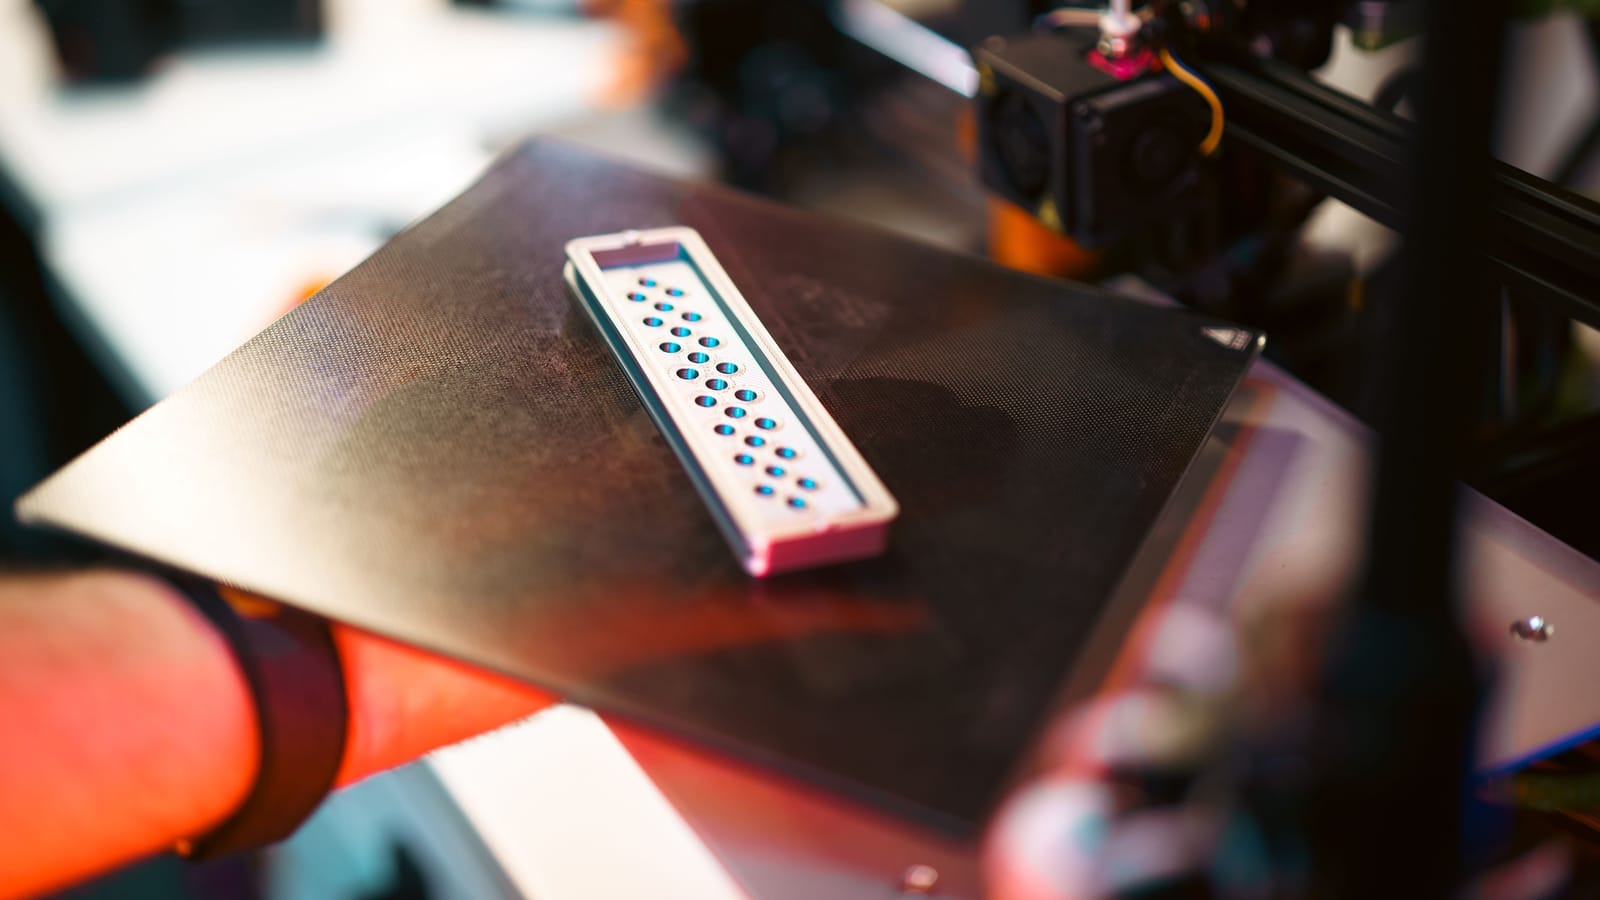
The first genuinely useful thing I ever printed was a hose adapter. My shop vac hose is 2.5 inches. The dust port on the miter saw is some oddball 1.5-inch oval that no store in town stocks a fitting for. I'd been taping it. Duct tape, every few weeks, for about two years.
The adapter took 40 minutes to print and used maybe sixty cents of plastic. It's still on the saw. That's the honest pitch for a 3D printer in a workshop: it's not a manufacturing revolution, it's a machine that makes the specific plastic part nobody sells you.
The jobs it actually wins
Think of it as a parts shop for things that are small, oddly shaped, and not load-bearing.
Dust collection. Adapters, reducers, blast gate brackets, port shrouds for the random orbital sander. Every shop has a different mix of hose diameters, and the aftermarket covers maybe half of them.
Tool holders and French cleat hangers. Drill bit indexes with the sizes labeled in raised text. A holder that grabs your specific caliper. Wrench racks sized to your wrenches, not a generic one that leaves a gap at both ends.
Jigs and fixtures. Drill guides for shelf pin holes. Centering finders for dowels. Corner clamps for glue-ups. Small positioning blocks that only need to survive a dozen uses.
Replacement plastic on things you already own. The knob that snapped off the bandsaw. The battery-pack belt clip. The dust bag latch. The little plastic gear inside a cordless tool that costs $4 as a part and $14 in shipping, if the manufacturer even still lists it.
Knobs, handles, and thumbscrews. Print a knob with a hex pocket, drop in a nut, thread a bolt through. That combination alone replaces half the hardware store's clamping accessories.
That's the pattern. Small, custom, plastic, not being hit with a hammer.
Where it'll let you down
Layer lines are a real weakness, and they run in one direction. A printed part is strong across the layers and weak between them. Pull on it the wrong way and it delaminates like a stack of business cards. Anything taking shock load, bending force, or a mallet strike is the wrong job.
Heat is the other killer. PLA, the default beginner plastic, starts going soft somewhere around 140°F. That's a car dashboard in July. That's an uninsulated garage in Phoenix. It's also anywhere near a heat gun, a router motor housing after a long cut, or a light fixture. I've watched a PLA hook sag under nothing but its own weight in an attic in August.
And it's slow. A fist-sized part is an hour or two. A big shop fixture can run overnight. If you need it before dinner, go cut a block of scrap maple. Honestly, half the jigs people print would be better as hardwood and would've been done in eleven minutes.
If your shop already has decent storage and standard fittings, you may not need one at all. That's a fair call.
Three plastics, and when each one earns its place
PLA. Cheap, prints easily, stiff, dimensionally accurate. Use it for indoor organizers, prototypes, and anything that lives in a climate-controlled space. Roughly twenty bucks a kilogram for the common stuff, and a kilogram goes a long way on small parts.
PETG. Tougher, handles heat better, more flexible before it breaks. This is the shop default for me. Dust fittings, brackets, anything that's going to get bumped. It's slightly fussier to print and the surface finish is less crisp, but it doesn't shatter.
ASA or ABS. Real heat resistance, UV stable, good for anything going outside or under a hood. It also wants an enclosed printer and good ventilation because it stinks and it warps. Skip it until you have a specific reason.
TPU. Rubbery. Excellent for non-marring clamp pads, vibration feet, and grippy inserts. Prints slowly and hates any printer that pushes filament through a long tube.
Start with PETG and one spool of PLA. That covers most of a year.
The settings that matter more than infill
Everybody obsesses over infill percentage. It's mostly the wrong lever. Strength in a printed part comes from the walls, the solid perimeters around the outside.
Bump your wall count from the default two up to four or five. Leave infill at 20 percent. You'll get a dramatically stronger part for a small time penalty. Cranking infill to 80 percent instead mostly buys you plastic and hours.
The bigger lever is orientation. Decide which direction the part gets pulled, then lay it on the bed so the layers run across that pull, not along it. A printed hook that hangs a 30-pound tool should be printed lying on its side, not standing up. Standing up, the layer boundary is exactly where the load wants to split it.
Also: put a chamfer on every bottom edge. Squish at the first layer makes a tiny flare at the base that keeps parts from sitting flat. A 0.5mm chamfer fixes it.
Threads, and the trick that makes plastic parts serviceable
Printed threads work once or twice and then strip. The fix is brass heat-set inserts. You buy a bag of M3 and M4 inserts, design a plain hole in the part, and press the insert in with a soldering iron set to around 500°F. The plastic melts around the knurling, the insert locks in, and now you've got a real metal thread you can take apart fifty times.
A $20 pack of inserts and a cheap soldering iron turns printed parts from disposable into repairable. It's the single upgrade that changed what I bother designing.
Calipers first, CAD second
You can't design a part you haven't measured. A set of digital calipers is the actual prerequisite here, not software.
Downloading other people's designs from Printables or Thingiverse is fine for getting started, and there's a mountain of good shop stuff up there. But the whole value proposition is the part nobody else made, and that means drawing it yourself.
Onshape is free for hobby use in a browser. Fusion has a free personal tier. Neither is fast to learn. Give it three evenings and a simple goal like a rectangular block with a hole in it, and you'll be able to draw 80 percent of what a shop needs. Nobody in a garage needs surface modeling.
What to actually buy
The bed-slinger era of constant tinkering is over. A current-generation printer from Bambu Lab or Prusa in the few-hundred-dollar range runs reliably out of the box, does its own bed leveling, and doesn't need you to be a printer hobbyist to be a printer owner. That distinction matters. If you wanted a project, buy a project. If you want parts, buy the boring reliable one.
Put it somewhere that isn't the shop floor. Sawdust in a printer is bad news, and a machine sitting on the same bench as a planer will vibrate its way through a print. Mine lives on a shelf in the laundry room. My kids check on it more than I do, which is its own argument for having one.
Keep a running list on your phone of every time you say "they don't make one of those." In six months that list is your print queue, and about two-thirds of it is stuff you'd otherwise have taped.
Wes Dunbar
Country & Skills
Grew up on an acreage and never quite left. Covers trucks, trades, land, and how to do the thing yourself.

Watch
Watch how it's done
Picked for this article.
From channels we rate. Plays on YouTube.
Miles McGrew Woodworking
Functional 3D Prints For Woodworkers.
Artisan Made
3d Printing For Woodworkers / 3D Printers Solve Problems In The Workshop / Improve Your Workflow
Read next