Build the workbench first, and buy only four tools
Skip the floating shelves. Your first project should be a flat surface at the right height, and it takes four tools to build it.
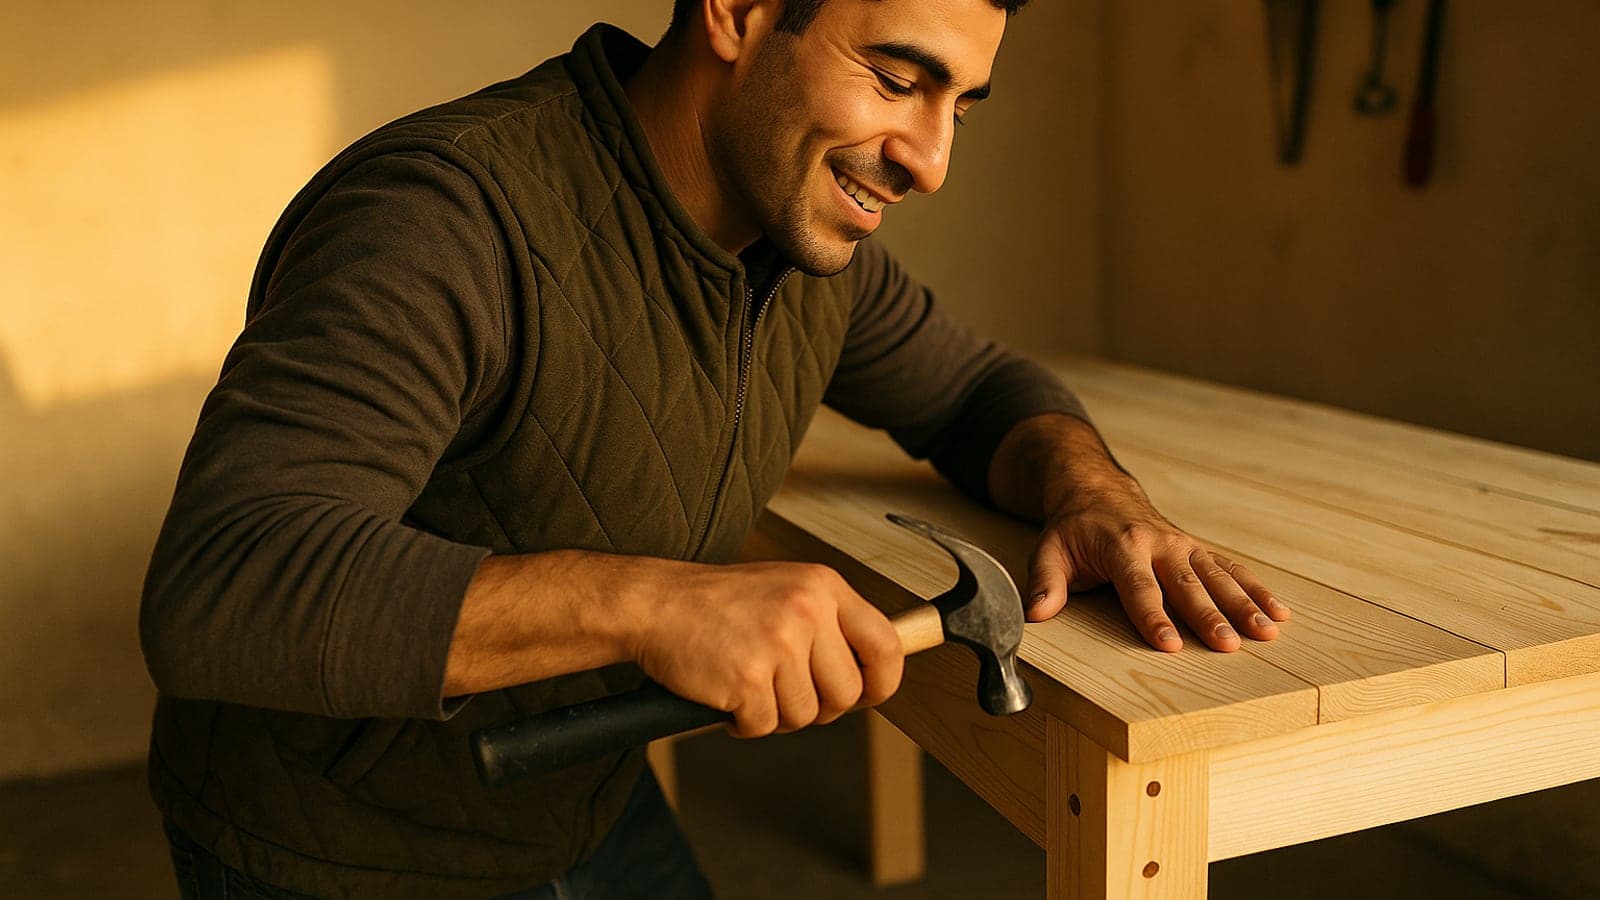
Build a workbench. Six feet long, two feet deep, thirty-four inches tall, a 2x4 frame with a double layer of 3/4-inch plywood on top. It'll cost you somewhere in the neighborhood of a hundred dollars in lumber and take a Saturday.
Not floating shelves. Not a planter box. A bench.
Two reasons. The first is that every project after this one needs a flat surface at a height you can lean into, and right now you're working on the garage floor or the tailgate of your truck, which is why your cuts wander. The second is that a workbench forgives you. Nobody gets down on the concrete to inspect the underside of your bench. Your first dovetail will be judged. Your first lap joint on a stringer will be covered by a sheet of plywood forever.
The cut list
Buy four 2x4s at 8 feet, two at 10 feet, and one sheet of 3/4-inch plywood. Get the plywood in sanded pine or birch if you can stomach the price difference; construction-grade sheathing works fine and looks like it.
- 4 legs at 32.5 inches
- 4 end crosspieces at 21 inches
- 4 stringers at 72 inches
- Top: two pieces of plywood at 72 x 24, laminated together
- Shelf: one piece at 65 x 21
The geometry is simpler than it reads. Each end is an H: two legs with a crosspiece at the top and another eight inches off the floor. The four stringers screw to the outside faces of the legs and tie the two H's together. The 21-inch crosspieces plus the 1.5-inch thickness of a stringer on each side gives you exactly 24 inches of depth. The shelf drops in between the legs and sits on the lower crosspieces.
Legs at 32.5 plus 1.5 inches of doubled plywood puts the top at 34 inches. That's about wrist height for a man around six feet. If you're 5'6", cut the legs at 30. If you're 6'4", go to 35. Measure from the floor to the crease of your wrist with your arm hanging, then subtract an inch. Working on a bench that's too low will wreck your back faster than anything else in the garage.
Tool one: a corded circular saw
Seven and a quarter inch blade, corded, expect to spend somewhere between sixty and a hundred dollars for a decent one. Cordless is nicer and costs three times as much, and you're going to leave this saw plugged in on the same bench for the next decade anyway.
Buy a 40-tooth finish blade for it on the same trip. The blade that comes in the box is a 24-tooth framing blade, it will tear the veneer off plywood, and it costs about twenty dollars to fix that problem.
You also need a straightedge. An eight-foot level, a factory edge ripped off the plywood, or a proper saw guide. Clamp it to the sheet, measure the offset from your blade to the edge of the saw's shoe, and set the guide that distance off your cut line. Check the offset on a scrap before you commit. Every saw is a little different and every one of them is different from what the manual says.
Cutting a full sheet of plywood by yourself is the hardest thing in this whole build. Lay a sheet of 2-inch rigid foam insulation on the garage floor, put the plywood on top of it, set your blade depth to about 13/16 of an inch, and cut straight through into the foam. The sheet is supported everywhere, nothing pinches, nothing falls. The foam costs about twenty-five dollars and you'll use it for the next five years.
Tool two: a drill and driver
One 18-volt or 20-volt cordless drill/driver with two batteries will build this bench. Two tools will build it faster and with fewer stripped screws: a drill for pilot holes and an impact driver for sinking them. Combo kits are common and the second tool usually adds less than you'd guess.
If you buy one, buy the drill. If you buy the kit, the impact driver is the one you'll reach for ninety percent of the time.
Use 3-inch star-drive structural screws, not drywall screws. Drywall screws are hardened and brittle, they snap off inside a 2x4, and getting a broken screw out of a leg you just cut is a bad way to spend forty minutes. Star drive over Phillips, always. Phillips bits cam out and chew the head, then the screw is stuck halfway in and you're out of options.
Drill pilot holes within two inches of the end of any board. Splitting a 2x4 lengthwise because you were in a hurry is the most common failure on this build.
Tool three: four clamps
Twenty-four-inch F-style bar clamps, four of them, probably fifteen to twenty-five dollars each. This is the purchase people skip and then regret in the first hour.
Clamps hold your straightedge to the plywood. They hold two boards in alignment while you drive a screw, which is the only way to get a joint that's actually square instead of one that slipped an eighth of an inch when the screw pulled. They press the two layers of plywood together while the glue sets. They are the second pair of hands you don't have.
Four is the minimum. Six is better. You will never once wish you owned fewer clamps.
Tool four: a square
A speed square is about twelve dollars and does two jobs here. It marks your crosscut lines square across a 2x4, and it acts as a saw guide for those cuts if you hold it tight against the edge.
Check your frame with it after every joint, before the screw goes in. A bench that's a quarter inch out of square across 72 inches will read as crooked from the doorway, and once the plywood's on there's no fixing it.
A tape measure and a carpenter's pencil round out the kit. Both cost less than lunch. Buy the pencil, not a pen. Pen lines on rough lumber are guesses.
What goes wrong
The lumber is wet and twisted. Sight down every 2x4 in the rack before it goes in your cart. Reject anything with a visible bow or a crown you can see from twenty feet. Expect to sort through fifteen boards to get six good ones, and don't feel bad about it.
The store's panel saw isn't accurate. Having them break down the sheet into manageable chunks is worth it if you drive a sedan. Don't ask them for finished dimensions. Cut oversize at the store, cut to size at home.
Your floor isn't flat. Concrete garage slabs are poured with a drainage pitch. Your bench will rock. Fix it with a cedar shim under one leg and a drop of construction adhesive, and stop thinking about it.
Glue squeeze-out. When you laminate the two layers of plywood, glue will come out the edges. Wipe it while it's wet with a damp rag. Dried glue doesn't take stain and doesn't sand out easily.
When this is the wrong first project
If you live in an apartment with no garage and no space to leave a 72-inch bench standing, don't build one. Build a torsion box top, 48 x 24, that sits on two folding sawhorses and stores flat behind a door. Same four tools, same skills, a third of the footprint.
And if you already own a miter saw because somebody gave you one, use it for the 2x4 crosscuts and it'll be faster and cleaner. The circular saw still has to handle the plywood.
Once the top's on, do one more thing before you stop for the day. Take your pencil and write the date on the underside of a stringer where nobody will see it.
You'll want to know, eventually, how long the thing's been holding up.
Wes Dunbar
Country & Skills
Grew up on an acreage and never quite left. Covers trucks, trades, land, and how to do the thing yourself.

Read next