

Know which way your tool wants to throw the work
Every saw, bit and blade pushes your workpiece somewhere. Clamp against that push and both hands stay on the tool, where they belong.
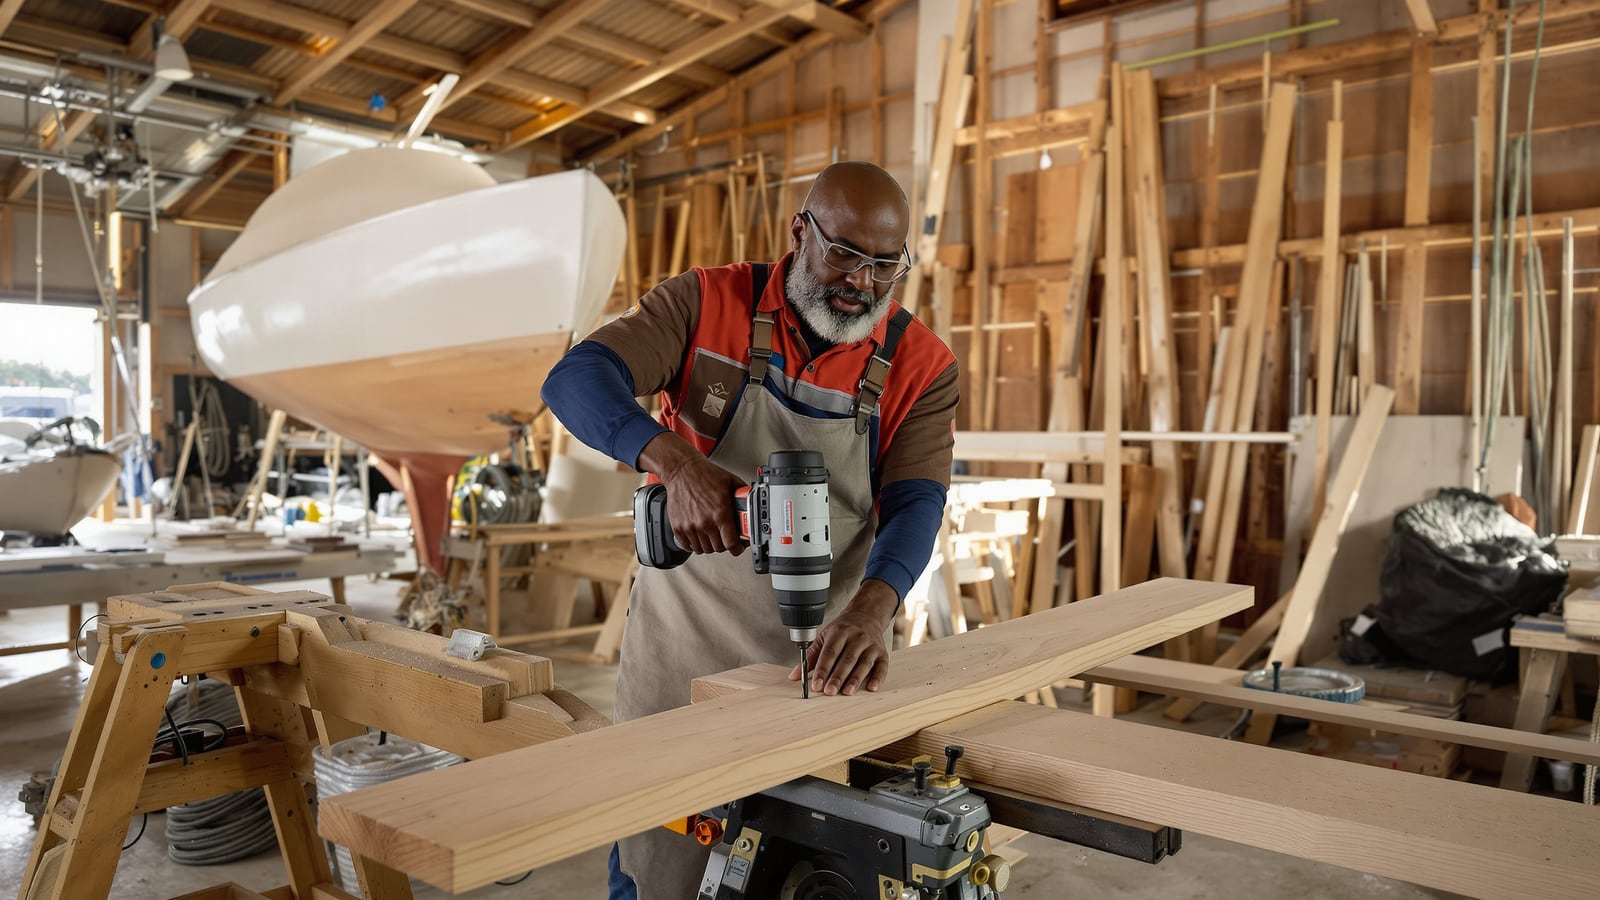
Quick answer: Work out which way the tool will push the board, then put the clamp on that side. Keep every clamp out of the path of the cut, and give the board a hard tug before you switch anything on.
Every tool shoves the work somewhere
Most people clamp to make the piece sit still. That's half the job. The better question is where the tool is trying to send it.
A drill bit tries to spin the board. A handsaw on the push stroke shoves it away from you. A router pulls it sideways. A plane drives it down the bench. Once you know the direction, the clamp goes in the obvious place. Without that, you end up with a clamp on the wrong end and a board that walks anyway.
Drilling is the one that bites
Picture a 1-inch spade bit in a pine 1x8, the board held by your left hand "just for a second." The bit bites, the wood catches, and the board turns into a propeller with your knuckles on it. It happens in about half a second.
The danger point is breakthrough. That's when a bit grabs hardest, and it's why even a light job needs the board held down.
- Clamp the piece to the bench, or to the drill press table, so it can't rotate.
- Put a scrap board underneath. The bit exits into the scrap instead of your bench, and the hole comes out clean on the back.
- On a drill press, never hold small stock by hand. A cheap drill press vise or a fence clamped to the table keeps the piece from spinning. The fence matters most.
- Set the clamp so the work can't rise up the bit on the way out.
Hand drills have the same rule. A piece you can drill freehand with a 1/8-inch bit still wants a clamp when you step up to a bigger one.
Sawing: push down, then push back
A Western handsaw cuts on the push stroke, so it shoves the board away from you. A Japanese pull saw does the opposite and drags the work toward you. Same board, opposite problems.
Hold the work against a stop in the direction the saw pushes. A bench hook does this well. It's a flat board with a cleat on the underside that hooks the bench edge and a cleat on top that stops the work. You can build one from scrap in twenty minutes. If you haven't built the sawbench yet, start there. It's the most useful piece of workholding in the shop.
The knee-on-the-board trick is fine for rough cuts on a sawbench. For anything you plan to fit later, clamp it. A board that creeps a sixteenth ruins the careful work you did with the marking and measuring.
Routers and sanders move the work sideways
A router bit pulls the piece in whichever direction it's spinning. Feed it the wrong way and it grabs and runs. The fix is the one most people skip: clamp the work down on two sides, not one, and put the clamps where the router base won't hit them. A clamp in the router's path gets cut or hit, and either one is bad news.
An orbital sander doesn't throw the work, but it creeps it across the bench. Use a non-slip mat or a cleat screwed to the bench. A roll of rubber shelf liner from the hardware store handles light sanding, and it's cheap enough to keep three pieces in the shop. It's also why a sanding problem often starts with a board that moved.
Planing and chiseling need a stop behind the work
When you plane, the work wants to travel the length of the bench. Give it something to push against. A bench dog does it. So does a 2x4 clamped across the end, or a stop screwed to the bench top.
For chiseling, one rule covers everything: both hands stay behind the cutting edge. If a hand is in front of the blade, you aren't holding the work, you're guarding it with your body. Clamp it, and put the hand on the handle where it belongs.
What you actually need to own
You don't need thirty clamps. You need a handful that match the work.
- Four 12-inch bar or F-style clamps for most of what you build.
- Two longer bar clamps, 24 to 36 inches, for panels and glue-ups.
- A pair of one-handed quick-grip clamps for holding something while you reach for another.
- Two small C-clamps for the drill press table.
- Rubber shelf liner, a few scrap boards for clamp pads, and a bench hook.
Wood pads matter. A steel jaw dents softwood quickly, and a scrap of cardboard or a thin offcut solves it. Wipe the glue off the bars the same day, or the next glue-up gets stuck to the last one. And if you borrow a friend's clamps, bring them back cleaner than you got them, with the bars wiped and the screws turned back.
When you're ready to start the tool collection, the tool tote piece covers the tools clamps should sit beside.
There's a trick for small trim pieces too. Painter's tape on both the piece and the bench, a drop of thin CA glue between the tape layers, and the piece holds for sanding or shaping. It lets go cleanly with a twist of a chisel. It won't hold against a router, but it works fine for hand work.
The tug test
Before you start the tool, run through this.
- Tug the work. Pull hard in the direction the tool will push. If it moves, it isn't held.
- Check the clamp path. The blade, bit or router base shouldn't touch a clamp at any point in the cut.
- Put hands behind the edge. Both hands, every time.
- Pad the exit. Scrap under the drill, scrap behind the cut.
- Look at your cord. A cord pulled taut will yank the tool just as the cut starts.
Someone will tell you they've drilled by hand for thirty years. Some of them still have all ten fingers. Others stopped saying it after the first time they didn't.
Running the clamp takes ten seconds. A sixteen-inch cut takes twenty. Put in the ten.
Wes Dunbar
Country & Skills
Grew up on an acreage and never quite left. Covers trucks, trades, land, and how to do the thing yourself.

Watch
Worth an hour of your evening
More from Woodworking.
From channels we rate. Plays on YouTube.
Read next