
Quick answer: Don't thrash. Your first minute is a gasping reflex, not hypothermia, and it passes. Then you have roughly ten minutes of useful muscle control. Use them to get out the way you came in.
Most people picture falling through the ice as instant freezing. It isn't. The water is around 35°F, and what hits you first is a reflex. You gasp, you hyperventilate, your heart rate spikes. If your head is under when the gasp comes, you inhale water. That's how a strong swimmer drowns in four feet of lake.
Dr. Gordon Giesbrecht, the University of Manitoba researcher who has spent a career immersing himself in cold water, boiled it down to the 1-10-1 principle. One minute to get your breathing under control. Ten minutes of meaningful movement. One hour before hypothermia knocks you unconscious. The numbers are rough. Body fat, clothing and water temperature move them around. The order doesn't change.
Minute one: do nothing clever
You go in. Your chest locks and you gasp. Keep your face up, hold on to anything solid, and ride it out. Tell yourself the thing that will actually help: this passes. It does, in about a minute, and your breathing slows on its own.
Don't try to swim yet. Don't try to climb yet. Your hands will already feel clumsy, and every second you spend fighting the reflex is a second you aren't spending on the plan.
Keep your clothes on. Heavy coat, boots, all of it. Trapped air in the layers gives you some buoyancy, and you'll need every bit while you sort out your next move.
Minutes one through ten: you still have hands
Cold doesn't shut you down at once. It works on your arms and fingers first, and somewhere around ten minutes they stop doing what you tell them. Everything useful happens before that.
Here's the sequence:
- Turn toward where you came from. That ice held your weight. It's the best bet to hold it again.
- Get your forearms up on the edge. Reach as far as you can and lay them flat.
- Kick your legs behind you until your body floats level. Think of heaving yourself onto a dock from the water.
- Dig in your ice picks if you have them. Alternate hands. Pull and kick together.
- Expect it to take several tries. The ice may break again. Keep kicking, keep reaching, and keep working the same direction.
- Once your chest is out, don't stand. Roll or wriggle away on your belly, back along your own track, until you're well clear. Standing puts all your weight on a few square inches of ice that's already been proven weak.
If you can't get out
Sometimes the edge keeps crumbling, or your arms have quit. Stop spending strength. Lay your forearms on the ice and keep your face up. Wet sleeves can freeze to the surface and hold you there, which keeps you from slipping under while you wait.
Yell. Wave. If your phone survived, call 911 now, not later. You're buying time, and you're buying it for the people coming to get you.
This is the one stretch where waiting beats fighting. Past the ten-minute mark, you're not out of the lake because your arms gave out, not because you gave up.
Helping someone else: reach, throw, don't go
The second body in the water is the most common ending to a rescue gone wrong. Don't run to the hole.
Call 911 first. Then:
- Reach. Lie flat to spread your weight and push out a ladder, a long branch, a pole, a hockey stick.
- Throw. A rope, a floating cushion, a line with a loop on the end.
- Don't go. Walking out to them is how a rescue turns into two.
Once you've pulled them to the edge, keep them moving away from the hole on their belly, same as you'd do yourself.
After you're out
Getting out isn't the end. Wet clothes keep stealing heat, and you may feel fine for the first ten minutes and then not fine at all.
Get inside or into a vehicle with the heater on. Strip the wet layers and replace them with dry ones, then add a blanket or coat. A warm, sweet drink helps if you're alert and swallowing normally. Warm the trunk of your body, not just your hands. And get checked by a professional, even if you feel normal. Cold-water victims can have water in the lungs and a core temperature that keeps dropping after they're out. Call 911 or go to the ER.
This is general education, not medical advice. A paramedic or physician decides what happens next.
The gear: what we'd buy
Most of it costs less than a tank of gas.
- Ice picks, about $10 to $20 a pair. Wear them on a cord around your neck, outside your jacket, where cold hands can find them. In a pocket, they're useless.
- Throw bag with 50 feet of rope, about $25 to $50. Keep one in the sled or truck.
- Ice cleats, about $20 to $40. Most falls on the ice are the ordinary kind, and these prevent them.
- A float coat, roughly $150 to $350. Buy this one if you spend real hours on the ice or open water. It keeps you up while you work through the first minute.
- A waterproof phone pouch, about $10 to $20. The phone only helps if it still works.
- A dry bag in the truck with wool socks, a hat and a base layer. Cheap, and the first thing you'll want afterward.
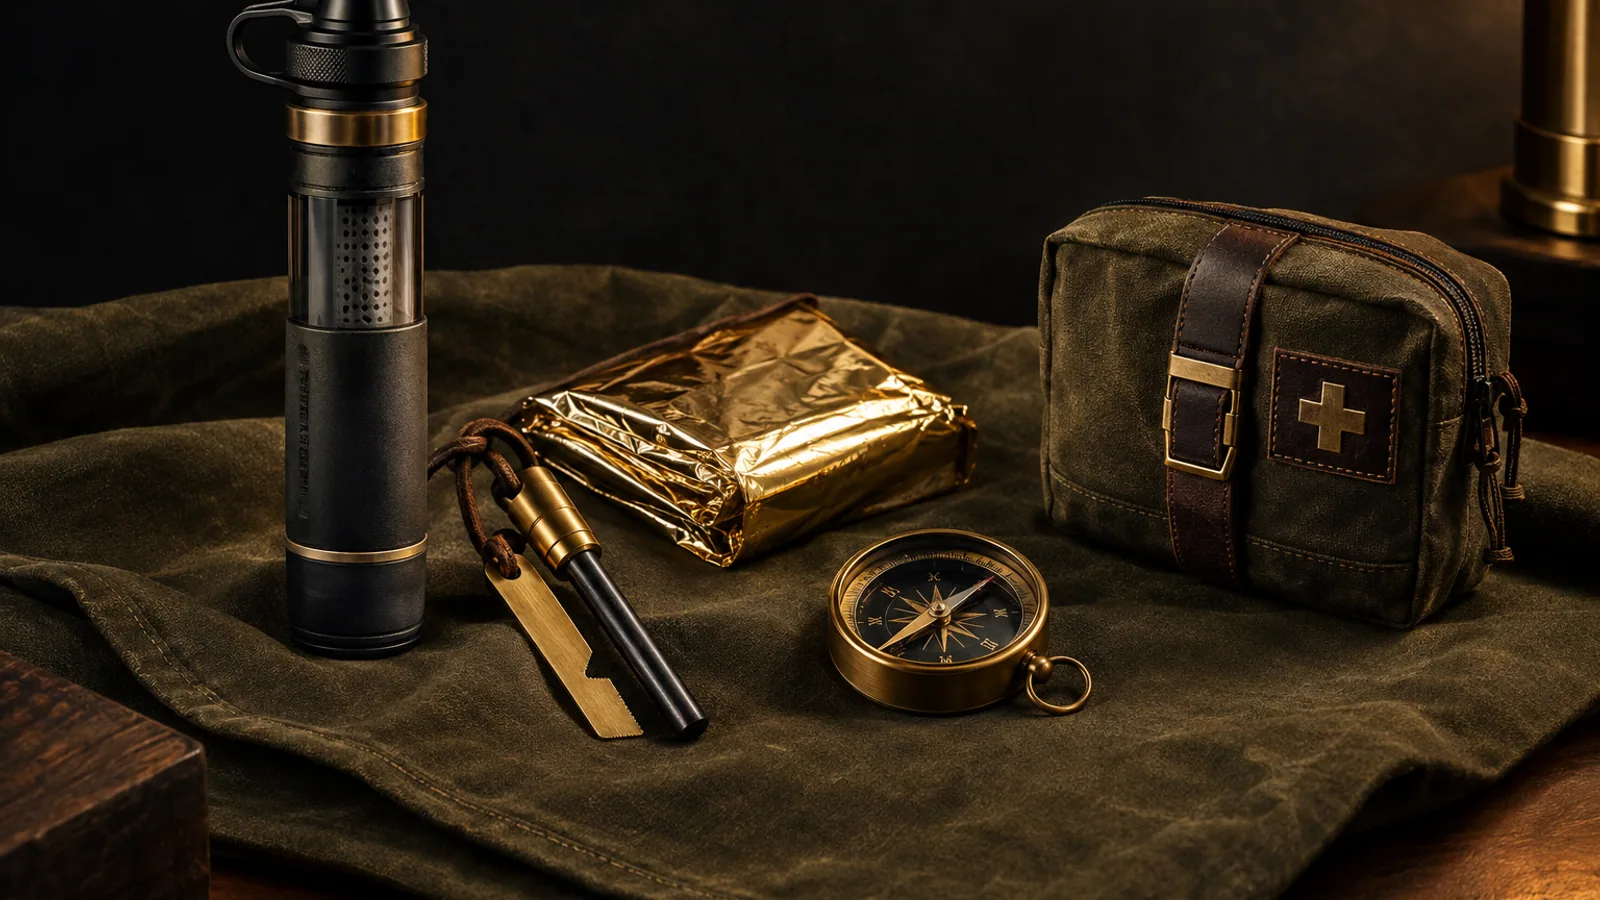
What we'd skip: the "survival" gadget with six functions and one that works. Pick the pick and the rope.
Before you step on it
Ice thickness depends on who's publishing the number. Most state and provincial agencies publish a rough guide: around four inches of clear, solid ice to walk on, more for sleds and machines, a lot more for vehicles. Check your local wildlife or natural resources office, because the figures vary and the ice doesn't care.
Clear blue ice is stronger than white or slushy ice. Moving water near inlets, outlets, bridges and springs is thinner. Never go alone, and tell somebody where you're headed and when you'll be back. If you're already in trouble on the shore, the same discipline from what to do in the first hour you're lost in the woods applies: stop, think, then act.
The best practice you can get is a hands-on class. A local ice rescue course or a wilderness first aid class costs a couple hundred dollars and puts you in cold water on purpose, with an instructor standing by. That's worth far more than any article, this one included. It follows the same logic as your first firearms class: learn from someone qualified, in a controlled setting, before you need it for real.
Ice doesn't give second chances to people who plan to figure it out in the water. Spend twenty dollars and ten minutes now, and the lake will have a much harder time winning.
Wes Dunbar
Country & Skills
Grew up on an acreage and never quite left. Covers trucks, trades, land, and how to do the thing yourself.

Watch
Worth an hour of your evening
More from Survival & Self-Defense.
From channels we rate. Plays on YouTube.
Read next