

A bench hook is the vise you can build before supper
One scrap board, two cleats and eight screws will hold your work steadier than most clamps. Here's the build, and the mistakes that ruin it.
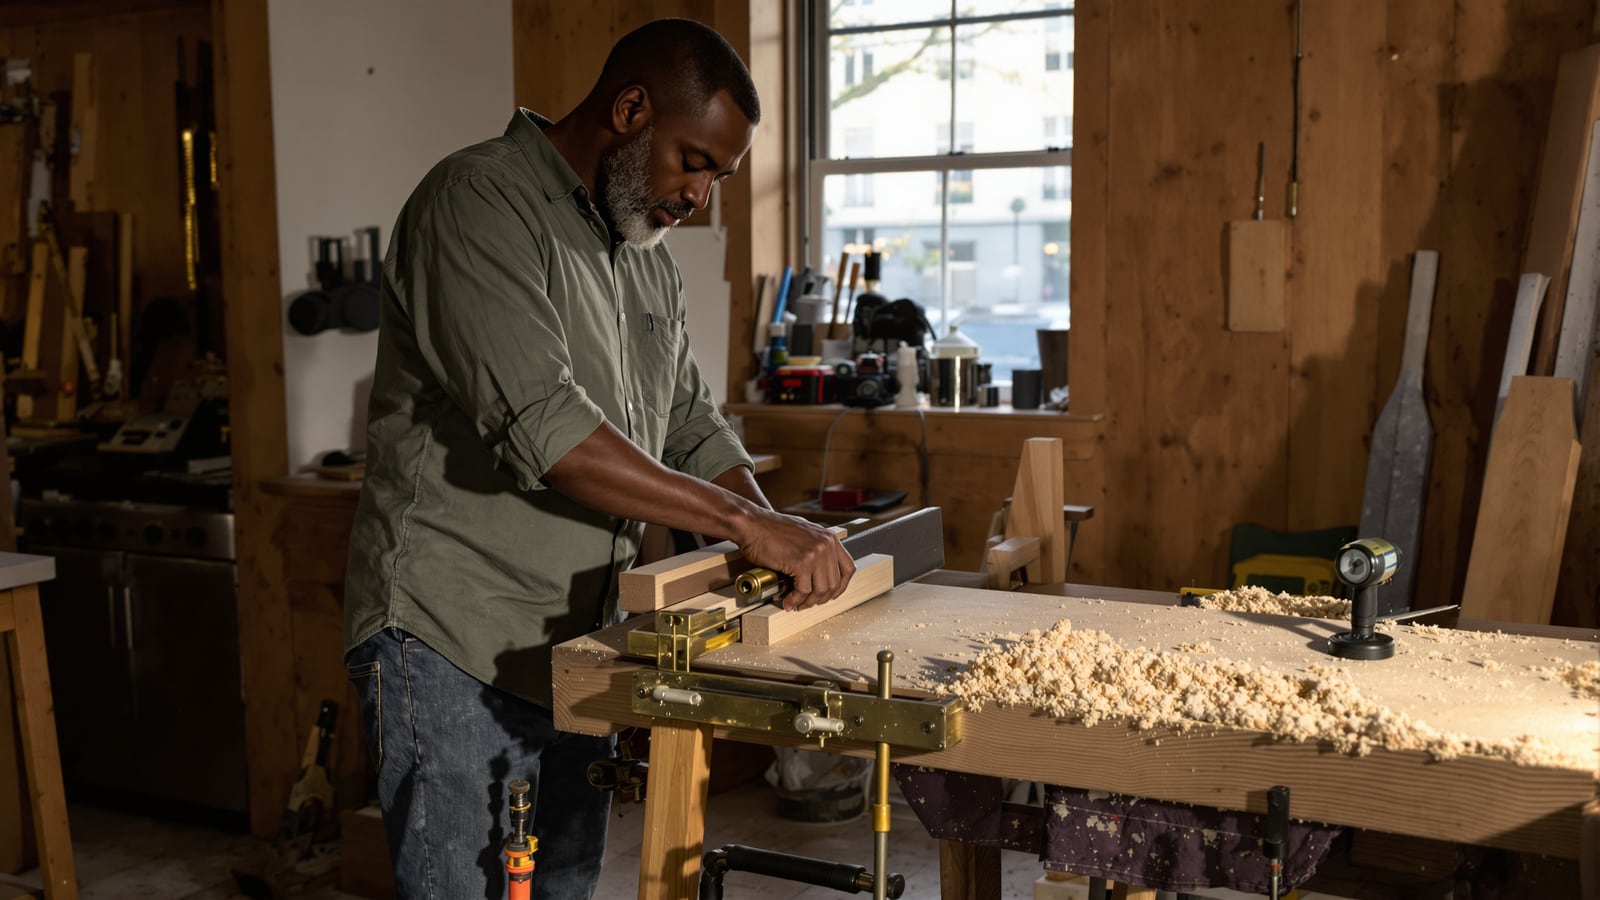
Quick answer: A bench hook is a flat board with one cleat underneath that catches the bench edge and one on top that stops the work. Your push drives the wood against the stop, so the hook holds the wood and your hands run the tool. Build one from scrap in under an hour.
The problem it solves
You don't have a vise yet, or you do and it's the wrong tool for a four-inch crosscut. So you hold the board on the bench with one hand, saw with the other, and the board creeps. The cut wanders, you start gripping harder, and eventually the saw finds a knuckle.
A bench hook ends all of that. A handsaw pushes the work away from you, and the hook turns that push into pressure against a fixed stop. The harder you saw, the tighter the work sits.
It's also the oldest answer to the problem. Joiners were using something like it long before anybody sold a clamp in a blister pack.
What you need
Scrap is fine. Don't buy anything special.
- One base, about 3/4 inch thick, roughly 8 by 12 inches. Plywood works. A straight hardwood board works better.
- Two cleats, each about 3/4 by 1-1/2 inches and as long as the base is wide. Pick the straightest, squarest stock in your offcut bin.
- Eight screws, 1-1/4 inch, plus wood glue.
- A square, a drill and a handsaw.
The cleats go on opposite faces at opposite ends. One hangs down off the front of the base. The other stands up at the back. If you can picture a Z lying on its side, you've got it.
Building it
Mark the cleat positions flush with the ends of the base. Glue first, then clamp or hold the cleat, then drill pilot holes through the base into the cleat. Without pilots, the cleat will split along the grain, and you'll find out about it halfway through a cut.
Put the screws near the ends of each cleat. That's the whole trick. Your saw is going to run a kerf into the middle of that base, and a screw in the line of the cut will take the teeth off a good saw in a single stroke.
Check the top cleat with a square against the bench-side cleat. If the top fence isn't square to the edge that rides your bench, every cut you make with the hook will lean. Fix it now with a shim of paper or a plane stroke, not after you've ruined a board.
Don't finish it. Finish makes the surface slick, and slick is the opposite of what you want. Leave it raw.
Using it without losing a thumb
Set the hook so the bottom cleat hangs over the front edge of the bench and the top fence sits away from you. Lay the work flat on the base and push it tight against the fence.
Hold the work with your off hand, but keep that hand well back from the line of cut. A good habit is to lay your thumb up against the side of the saw plate as a guide, then pull it back a few inches once the kerf is started. Start the cut with a few light backward strokes. Then saw with long, relaxed pushes and let the saw's weight do the work.
The saw will cut into the base. That's normal. The kerf becomes a guide for the next cut, and it's why you keep the screws out of the middle. When the base gets chewed up past use, turn it around or make a new one. A new hook costs you a scrap and half an hour.
If you want to see how that affects your layout, measure and mark so the cut is right the first time covers the part before the saw touches the wood. And if the bench itself is a problem, build a sawbench first, then build everything else on it is the next project.
Where both hands get involved
For sawing, one hand holds and one hand cuts. The hook is a help there, but it's not a miracle.
Where it earns its keep is paring and trimming. Put a small piece against the fence, and the fence takes the push. Now both hands are on the chisel, one guiding the blade and one driving it. Same for a spokeshave on a short piece or a block plane on an end grain edge. The work stays put, and your hands never leave the tool.
A sharp tool matters here more than usual. A dull chisel makes you push harder, and pushing harder is how a slip gets from the wood to your hand. If yours aren't sharp yet, raise a burr, and the rest of sharpening follows.
The honest limits
A bench hook won't hold anything long. A twenty-inch board will tip off the front. It won't hold round stock, and it won't take a hard side-to-side shove. Anything you need to hold at an angle or work on its edge wants a vise or a clamp.
It also slides if your bench top is slick or the front edge is rounded over. A dab of non-slip shelf liner under the base fixes that, though it's a patch, not a cure.
And a hook is a right-hand or left-hand tool. Build it for the way you saw. If you're left-handed, mirror the whole thing and hang the hook from the other side of the bench. If two of you share a shop, build two.
Make three
Once you've made one, you'll want a second. A hook with a notch cut into the fence is good for small stock. A taller hook handles thick lumber. A third, built to hold a miter angle, saves you a box.
Keep them on a nail by the bench, within reach. The one you can grab without walking across the shop is the one you'll use. And the one you use will keep your fingers where they belong.
Wes Dunbar
Country & Skills
Grew up on an acreage and never quite left. Covers trucks, trades, land, and how to do the thing yourself.

Watch
Worth an hour of your evening
More from Woodworking.
From channels we rate. Plays on YouTube.
Read next