
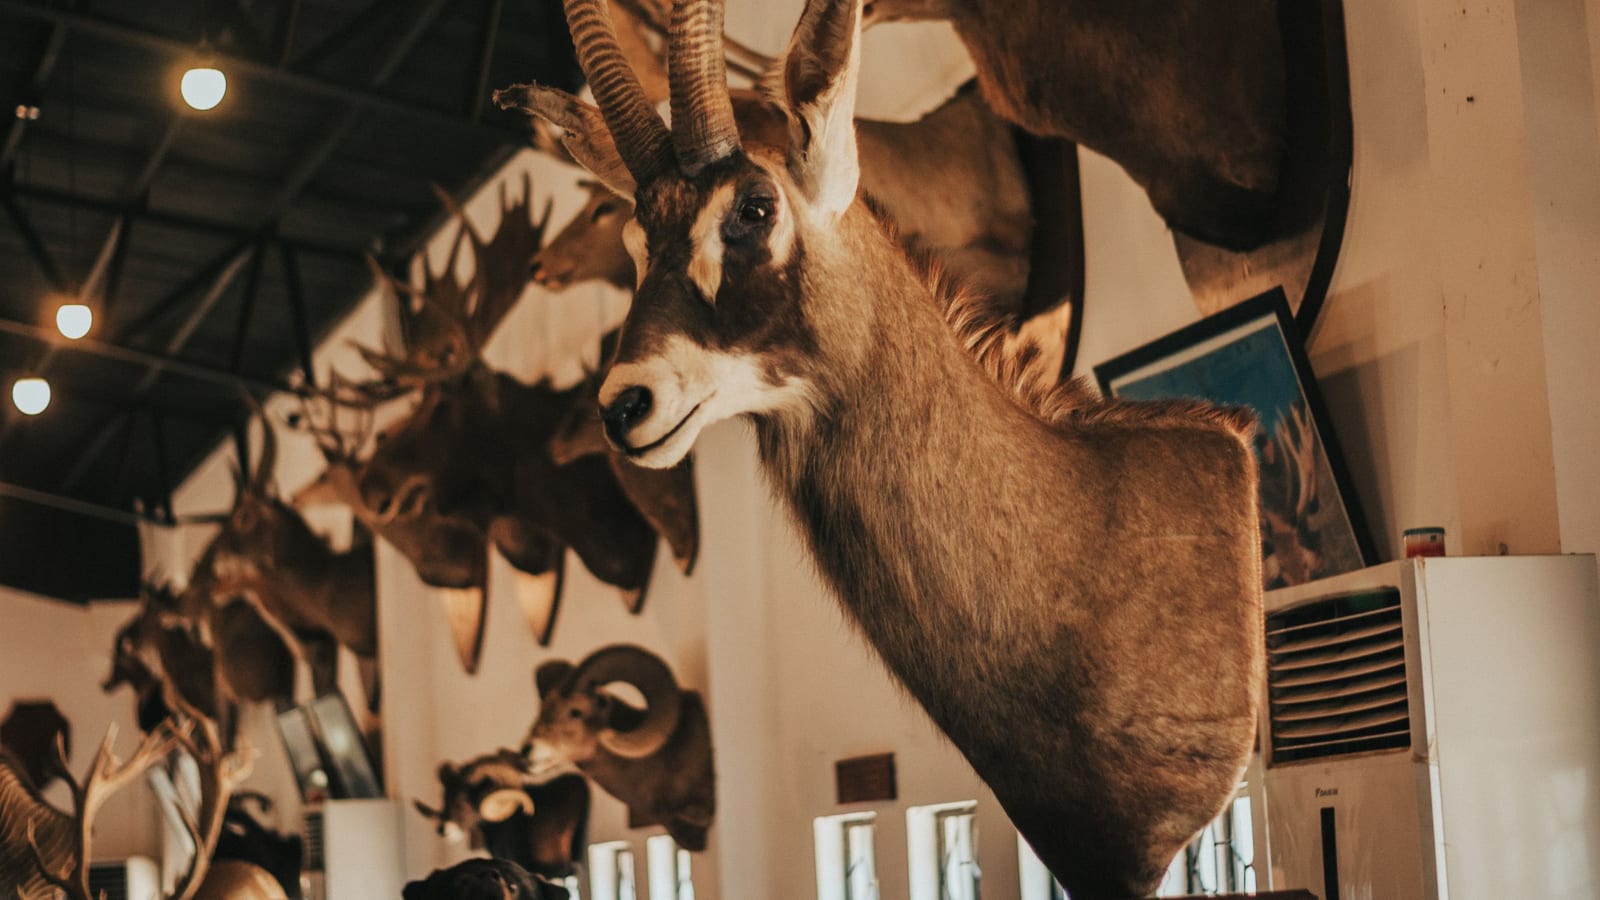
Quick answer: Don't cut the throat or open the brisket. Make one circle cut well behind the front legs, peel the hide forward to the skull, separate the head at the first joint of the neck, and get the whole thing cold and to your taxidermist fast. Leave the face to the professional.
Ask any taxidermist what walks through the door in November and you'll hear the same story. A good buck, a hunter beaming, and a cape split up the front of the neck from the brisket to the chin because that's how his granddad field dressed every deer he ever shot. That one habit turns a clean mount into a repair job. Sometimes it means buying a replacement cape, and a replacement cape isn't your deer.
The irony is that the hunter was trying to help. Most of what goes wrong with caping comes from doing too much, not too little.
Make the phone call in September
Every taxidermist has preferences. Some want the whole deer, gutted and nothing else. Some want the cape and head, nothing more. Some will meet you in the parking lot that night, and some close at five and don't answer on Sunday.
Find yours before opening day. Put the number in your phone. Ask three questions: how they want it delivered, whether they'd rather you leave the cape on the carcass, and what you should do if you get a buck on a Saturday night when they're closed. Their answers beat anything in this article, including this sentence.
If you're hunting close to the shop and the weather's cold, the best caping job you can do may be none at all. Gut the deer, keep it cool, and drive it in whole.
The field-dressing cut stops at the ribs
This is the big one. For a shoulder mount, your gutting cut runs from the pelvis forward and stops at the bottom of the sternum. You don't split the brisket. You don't open the throat. You don't "stick" the deer to bleed it, because a deer shot through the vitals has already bled out and that cut buys you nothing but a seam your taxidermist has to hide.
Reach up inside the chest cavity to cut the windpipe and esophagus free. It's awkward and a little blind, and you'll want a short, sharp blade with good control rather than a big fixed blade. If you're doing this by yourself on the ground, field dressing alone walks through the positioning that keeps you from fighting the animal.
While you're there, keep blood off the neck and shoulders. Blood on light hair stains. Cold water or clean snow lifts it if you get to it early. Don't scrub.
Getting him out with the hair still on
A rope around the neck and a long drag over rocks and logs will rub bald patches into the exact hair you're paying to preserve. Hair on a deer's neck doesn't grow back on the wall.
Tie off at the base of the antlers instead, and if the ground is rough, use a game cart or a cheap plastic sled. On a horse or ATV, pad the contact points. When you sit him up for photos, tuck the tongue, wipe the nose, and set him on grass rather than gravel.
And look at where the bullet went in and came out before you start. A small entry hole is no trouble. A big exit wound on the shoulder is something your taxidermist needs to hear about up front, not discover.
The cuts, and only these cuts
You need a sharp knife and patience. No saw. The whole job comes down to this:
- The circle cut. All the way around the body, well behind the front legs. Go back farther than feels right, roughly the middle of the rib cage. A taxidermist can trim extra hide in a minute. He can't stretch hide that isn't there.
- The legs. Circle each front leg at or just above the knee. Some taxidermists want a cut up the back of each leg to the armpit to meet the circle cut. Others want you to work the leg out of the hide like a sock with no slit at all. This is a question for September.
- Nothing on the front. No cut up the chest, no cut up the throat.
Now peel the hide forward, working the knife toward the meat and away from the skin. Roll it up the neck like you're taking off a turtleneck, inside out, until you hit the base of the skull.
Find the joint where the skull meets the first vertebra. Tip the head forward, work the knife into the joint, and twist. It'll give. Now you have the head and cape together in one piece, with the cape turned inside out over the neck.
Many old guides tell you to also cut a line up the back of the neck to the antlers, a "Y" to each antler base. Unless your taxidermist asks for it, skip it. Tubing the cape forward works without it, and that's one less seam that you put in the wrong place.
Leave the face alone
Turning the ears, splitting the lips, working around the eyes and nose. These are the cuts taxidermists get paid to do, and they're the ones hunters wreck. A slipped knife at the corner of the eye leaves a hole they can't fully hide.
The exception is a backcountry hunt days from a road or a freezer. Out there, a cape left on the skull spoils, and you may have to skin the head out, turn the ears and lips, and salt it in camp. If that's your trip, learn it on a doe hide before you go, and talk it through with your taxidermist ahead of time. Everyone else should hand over the head with the face intact.
Your pack knife and saw setup should carry a small, very sharp blade for caping, separate from the one you gut with.
Cold, then colder
Heat and bacteria cause "hair slip." The hair follicles loosen, and the hair pulls out in patches once the hide is tanned. Nothing fixes it. The enemy is time spent warm.
- Get the cape off the body and cooling as soon as you can. A gutted deer in a warm truck bed is a cape in trouble.
- Don't seal a warm cape in a plastic bag. It holds heat like a lunch cooler in reverse.
- Lay it out flesh side up in the shade, or hang it, until it's cool.
- If you can't get to the shop the same day, fold it flesh to flesh with the hair out, put it in a heavy bag, push the air out, double-bag it, and freeze it. Freezing a cape is fine. Leaving it to sit isn't.
- Don't salt it unless your taxidermist says to. Salt doesn't penetrate a hide that still has fat and meat on it and unturned ears and lips. It just makes the hide harder to work.
- Don't soak it in water to "cool it down."
If the weather's warm, this part matters more than every cut above it.
The law rides along with the head
Caping isn't only about craftsmanship. It's where wildlife law shows up.
Chronic wasting disease has led many states and provinces to restrict moving whole carcasses, heads, and spinal tissue out of certain zones or across state lines. Some require you to bone out the meat and bring only a cleaned skull plate and the cape. Some allow a whole head to go directly to a licensed taxidermist. Some require testing. These rules vary by state, by zone within a state, and they change from season to season.
So check your state wildlife agency's current regulations, and if you're crossing state lines, check the rules where you're going home to as well as where you hunted. Keep your tag with the head and carcass the way your state requires, and keep your license handy. A taxidermist may be required to record your tag information, so bring it.
What to say at the counter
Hand it over cold and in one piece, and tell them:
- Where the bullet holes are, entry and exit.
- Any cuts you made that you're not sure about. They'd rather know now.
- The pose you have in mind. Upright or a sneak, left or right turn, where it'll hang in the room.
- Whether you want the meat from the neck back.
Then pay your deposit without being asked, show up for pickup when they call, and don't make the shop store your buck for a season after it's done. Taxidermists remember the hunters who bring them clean, cold capes with honest notes about the holes. They also remember the guy who brought a ripped throat and a warm bag three days late.
You only get to shoot that particular buck once. The hour after the shot decides whether he looks like himself on the wall.
Wes Dunbar
Country & Skills
Grew up on an acreage and never quite left. Covers trucks, trades, land, and how to do the thing yourself.

Watch
Worth an hour of your evening
More from Hunting & Shooting.
From channels we rate. Plays on YouTube.
Read next