

The belt diagram is free, so what are you paying for?
The routing diagram costs nothing and takes ten seconds with a phone. Here's what a belt job actually involves, and when paying for it's the smart call.
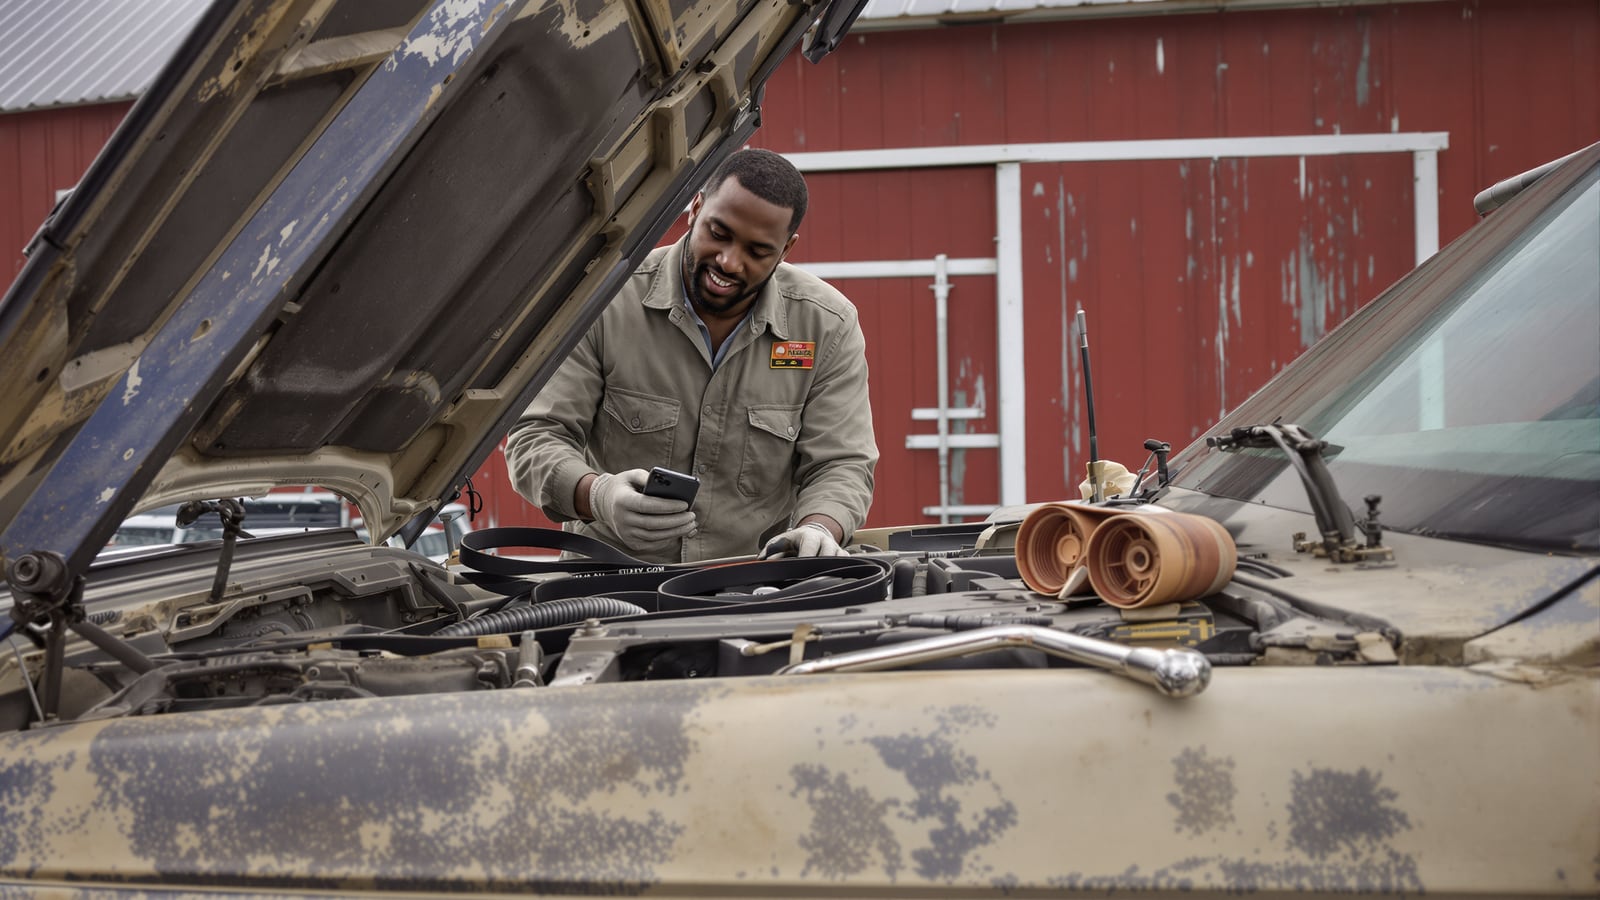
Quick answer: The routing diagram is printed on a sticker under your hood, and if it isn't, a photo before you loosen anything gives you one. A shop's charge for a belt is labor and liability, not the diagram. On plenty of cars you can do the job in half an hour. On some, you should hand over the keys.
The sticker you've never read
Pop the hood and look at the radiator support, the fan shroud, or the underside of the hood itself. On most cars built in the last thirty years there's a decal with a drawing of the belt snaking around the pulleys. It looks like a plate of spaghetti with labels: ALT, A/C, P/S, W/P, and a little circle with an arrow for the tensioner.
That drawing is the entire secret. Mechanics don't hide it. They also don't need it, because they've routed a few thousand belts and can do it from memory. But the diagram isn't what's on your invoice. If the sticker's faded or gone, your owner's manual often has it. A parts store counter can pull it up on screen in under a minute, and an engine-specific video will show the same path.
The cheapest insurance is free. Before you touch a wrench, photograph the belt from above, from the side, and from wherever you'll be standing when you do the job. The sticker can be wrong for your exact engine, especially on a swap or a trim with different accessories. The photo can't be.
What you're actually paying for
A belt is a modest part. The labor is where the bill comes from, and it breaks down like this:
- Book time. Shops bill from a guide that lists a set number of hours for each job. A serpentine belt is usually a fraction of an hour on an easy engine.
- The shop minimum. Even a ten-minute job carries a floor, because the lift, the bay, the insurance and the guy's wages are running either way.
- The inspection. A good tech doesn't just swap the belt. He checks the tensioner, spins the idler pulleys by hand and listens for a gritty bearing. That's worth something.
- The guarantee. If the belt jumps off in two weeks, it's his problem, not yours.
So when you ask why they charge you to look at a diagram, the honest answer is that they don't. They charge you for the thirty minutes after the diagram, plus the risk. That's fair, and sometimes it's a bargain.
When you should pay somebody
I'll concede the real cases. Some engines are miserable. A transverse V6 crammed sideways into a small front end can leave you a couple of inches of working room. Some need a wheel and the inner fender liner off. A few want the motor mount unbolted and the engine jacked. If your belt sits behind something you can't see and can't reach, the shop's price starts to look reasonable.
Pay for it too if you have no ratchet-length breaker bar, no safe place to work, or no patience for a job that can pinch your fingers. Nobody's a lesser man for that. A man who knows his limit and writes the check is doing the same thing as a man who does it himself: handling his business.
How to do it yourself on an easy engine
Most modern belts are held tight by a spring-loaded automatic tensioner. You release it, slide the belt off, route the new one, and let the tensioner snap back.
- Engine off, key out, engine cool. Belts and fans don't care how careful you're if the engine fires.
- Photograph the routing and compare it to the sticker.
- Find the tensioner. It's the pulley on a swinging arm. There's usually a square hole for a half-inch or three-eighths ratchet, or a bolt head sized around a 15mm or so. Check your car, because they vary.
- Rotate the tensioner with a long handle until it relaxes. It's under serious spring load. Keep your hands clear of the path the belt takes if the bar slips.
- Slip the old belt off one smooth pulley and let the tensioner back down slowly.
- Match the new belt to the old. Belts are labeled by rib count and length, something like 6PK1900, which means six ribs and 1,900 millimeters. A belt a half-inch off will either hang slack or never go on.
- Route the new belt, leaving the last pulley for the end. Pick one that's easy to reach, like the alternator or an idler. Rotate the tensioner, slip the belt on, and release.
- Check every groove. Every rib on the belt needs to sit in the matching groove on every ribbed pulley. One rib off the edge will shred the belt in a short drive.
Start it and watch the belt for a minute. It should run straight, quiet, and centered on the pulleys.
Mistakes that cost money
Routing it wrong is the big one. On many engines the belt also turns the water pump. A belt threaded backward around the wrong pulley can spin the pump the wrong direction or not at all, and an engine that's overheating in ten minutes is an expensive lesson.
The second mistake is putting a new belt on a bad tensioner. If the tensioner arm shakes, the pulley wobbles, or the bearing growls, the new belt will chirp and wear fast. A belt kit with the tensioner and idlers costs more, but you'll do the job once.
Third, don't skip the look at the old belt. Older rubber belts show cracks across the ribs. Newer EPDM belts often don't crack at all. They just wear away the rib material until the belt slips, so look for ribs that look flat or shiny, and ask the parts counter about a belt wear gauge. It costs a few bucks.
What happens if you ignore it
If a belt snaps, you lose the alternator first, and the battery light comes on. Power steering assist can vanish on cars with a hydraulic pump, and the wheel suddenly feels like it's set in concrete. If the belt also drives the water pump, the temperature gauge climbs fast. When that happens, pull over and shut it off. Don't try to limp three more miles.
That's why the servicing that can't wait includes the belt. It's also on the list in what it takes to get a car past 250,000 miles, because a belt is cheap and a tow isn't. A flashlight look with the engine off, the kind of thing in twenty minutes with the engine off, will tell you whether yours is due.
The part nobody mentions
Keep the old belt. Coil it and stash it in the trunk or the garage. If the new one ever fails on the road, that scrap might be the thing that gets you home, and if the new belt needs a match, you've got the size right there.
And leave the engine bay better than you found it. Wipe the pulleys and the sticker with a rag while the belt's off. A clean look under the hood tells you right away when something starts leaking or shedding, and that's worth more than the ten minutes it takes.
Dean Shaw
Gear & Garage
Reads the warranty, the parts list and the long-term owner reviews before anything else. Trucks, tools, watches, and the cheap version that costs more.

Watch
Watch how it's done
Picked for this article.
From channels we rate. Plays on YouTube.
HumbleMechanic
How to Replace a Serpentine Belt
EricTheCarGuy
How To Replace a Serpentine Belt - EricTheCarGuy
Read next