

Chicken backs make better broth than the carton ever did
A pot of cheap bones, a low flame and an afternoon beat boxed broth on flavor and cost. Here's the technique, and the mistakes that ruin it.
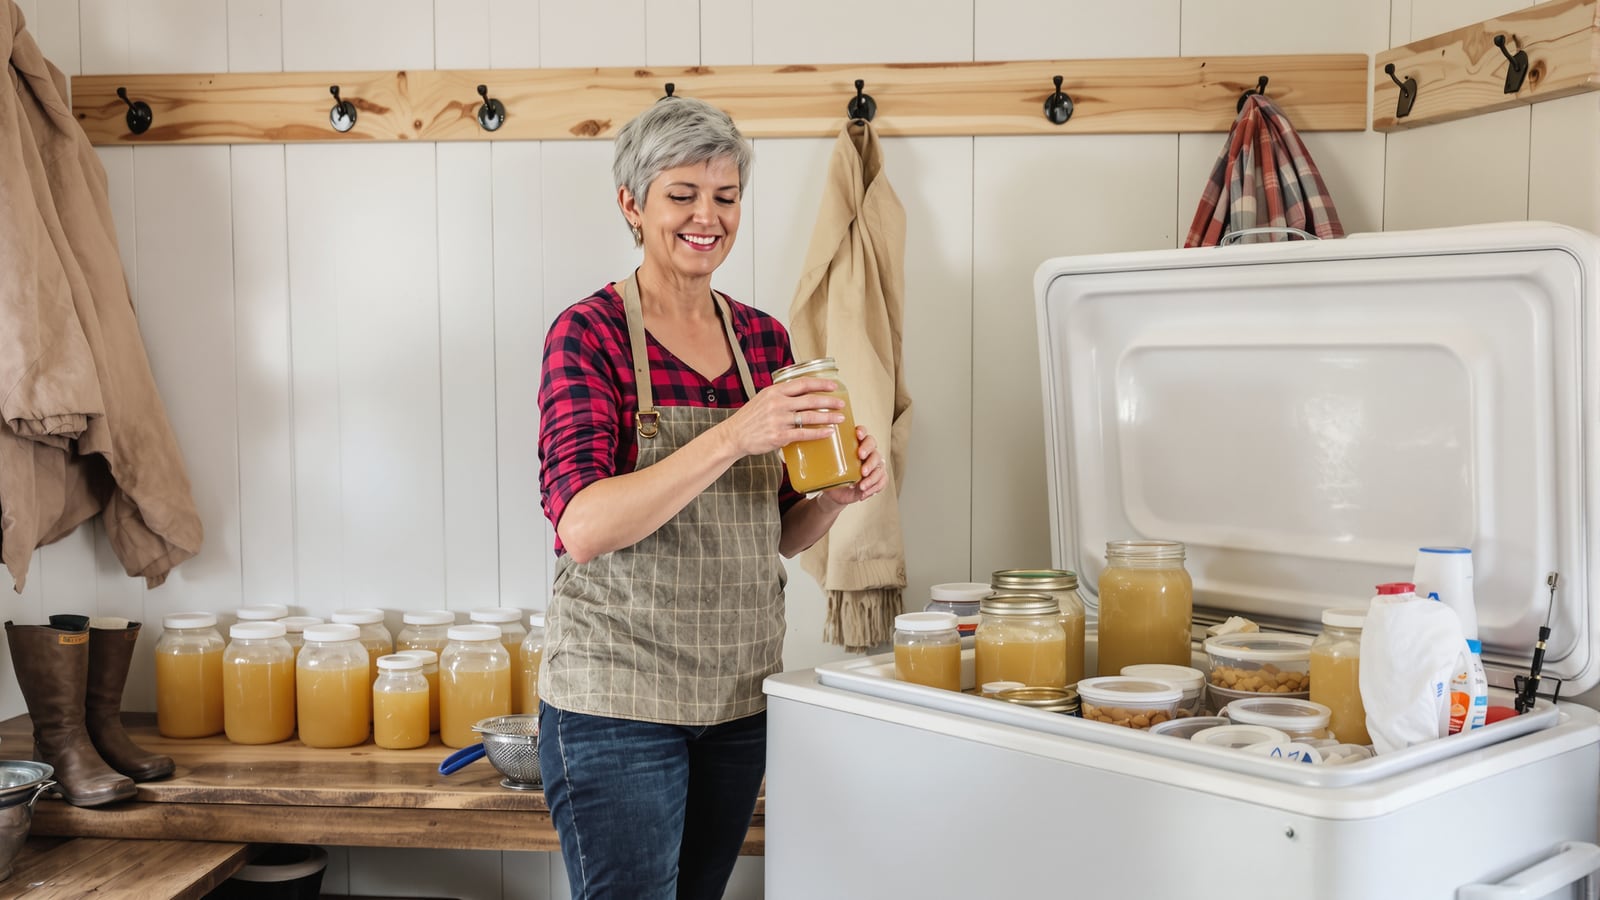
Quick answer: Put 3 to 4 pounds of chicken backs in a big pot, cover with cold water by an inch or two, and bring it up slowly. Hold it at a bare simmer for 4 to 6 hours, skimming early. Strain, chill fast, and freeze in portions. Never let it boil hard.
The math you can check yourself
Pull out the last few grocery receipts and count the cartons of broth. Say your household goes through three a week at around four dollars each. That's close to fifty dollars a month, spent on salted water with a rumor of chicken in it.
Your numbers will differ, so run them. The point holds anyway. Backs are the part of the bird the store has trouble selling, and they're loaded with the things that make broth worth drinking: bone, cartilage, connective tissue and a little fat. You're buying flavor by the pound instead of by the carton.
And the result isn't close. Good homemade broth sets up like soft Jell-O in the fridge. Boxed broth never does, because it has almost no gelatin in it. That jiggle is the whole difference, and it's why a pan sauce or a pot of rice made with the real thing tastes like it has a spine.
Where to get the backs
Ask at the meat counter. Many stores keep backs, necks and wing tips in the back and will sell them for very little, sometimes bagged in the freezer case near the whole birds. A butcher who cuts his own chickens will often hand you a bag.
The other source is free. Every time you roast a chicken, the carcass goes in a gallon freezer bag instead of the trash. Pull the meat off first, but don't pick it clean. Add to the bag until it's full, then make broth. The Sunday roast pays you twice this way.
Mixing is fine. Backs for body, a few wings for gelatin, roasted carcasses for depth.
The setup
You need a pot that holds at least 8 quarts. A tall, narrow one beats a wide one because less surface means less evaporation over the long simmer.
- 3 to 4 pounds of backs, necks or carcasses
- Cold water, about 4 quarts, enough to cover by an inch or two
- 2 tablespoons of apple cider vinegar
- 1 onion, halved, skin on
- 2 carrots and 2 celery stalks, roughly chopped
- A few peppercorns and a bay leaf
Start with cold water. Hot water seizes the proteins on the outside of the bones and traps flavor inside. Cold water lets it all drift out as the pot warms. The vinegar helps pull minerals and collagen from the bone, and you won't taste it in the end.
Want a darker, deeper broth? Roast the backs on a sheet pan at 425°F for about 40 minutes first, until they're browned. It adds an hour of work for noticeably more flavor. For plain soup and rice, skip it. For gravy and sauces, do it.
The heat is where everything goes wrong
Most people ruin broth in the first twenty minutes, and the cause is always the same. They crank the burner and let the pot boil.
A hard boil churns the fat into the liquid and breaks the proteins into tiny particles that never settle. You get a cloudy, greasy broth with a flat, muddy taste. No amount of straining fixes it.
What you want is a bare simmer. A bubble breaks the surface every second or two, and the pot looks almost still. On most stoves that's the lowest flame, with the lid cracked or set slightly off-center. If the whole surface is rolling, turn it down. If you can't get it low enough, a flame tamer or a 200°F oven with the pot inside does the job without watching.
In the first half hour, grayish foam collects on top. Skim it with a spoon and toss it. That's the part that clouds the pot and tastes off. After that you can mostly leave it alone.
Vegetables, salt and time
Chicken bones take 4 to 6 hours. Past that, the flavor turns from chicken to something closer to boiled bone. Beef bones can go twice as long. Chicken can't.
Add the vegetables for the last hour or two, not the whole stretch. Left in all day they turn to mush and make the broth sweet and slightly bitter. If you're lazy about timing, drop them in at the start and accept a slightly sweeter pot. It's not a disaster.
Don't salt the pot. Broth reduces, and salt doesn't. Season at the stage where you cook with it, so one batch works in soup, in a sauce or in a pot of beans without ending up too salty. This is the single most common reason homemade broth gets blamed unfairly.
Strain, then chill fast
Pull the big pieces out with tongs, then pour the rest through a fine strainer into a clean container. Discard the solids. They've given everything they had.
Now deal with cooling. A giant pot of hot liquid left on the counter sits in the temperature range where bacteria thrive for hours, because the center of that much liquid cools very slowly. The general food-safety guidance is to get it cold within about two hours.
So split it into shallow containers. Set them in a sink of ice water if you're in a hurry. Put them in the fridge uncovered until they're cold, then lid them.
By morning, a layer of fat has hardened on top. Lift it off in one piece. Save a little for frying potatoes or onions if you like. The broth underneath should wobble when you tilt the container.
Storing it so you use it
Fridge life is about four days. Anything beyond that goes in the freezer, where it keeps for months.
Freeze in sizes you'll actually use:
- Quart containers for soup nights
- Pint containers for pots of rice or beans
- Ice cube trays for pan sauces, then bag the cubes
Leave an inch of headspace, because liquid expands. Label with a marker and a date. Nobody remembers what's in the unmarked container.
Putting it to work
Cook your rice in it. Thin out gravy with it. Drink a mug of it on a day when you're run down, with a little salt and pepper. Warm it with noodles, a handful of frozen peas and whatever meat is left from the roast, and dinner is done in fifteen minutes.
It also slots into the habit of cooking components instead of meals. One long Sunday simmer feeds a week of weeknights. And if the grocery bill is the real pressure, feeding a family well on a tight budget starts with exactly this sort of move: turning the cheapest part of the bird into the most valuable thing in the freezer.
Make a double batch once. Hand a quart to a neighbor who's under the weather, and keep the container's return a casual matter. You'll find out fast who knows what the real thing tastes like.
Wes Dunbar
Country & Skills
Grew up on an acreage and never quite left. Covers trucks, trades, land, and how to do the thing yourself.

Watch
Worth an hour of your evening
More from Food.
From channels we rate. Plays on YouTube.
Read next